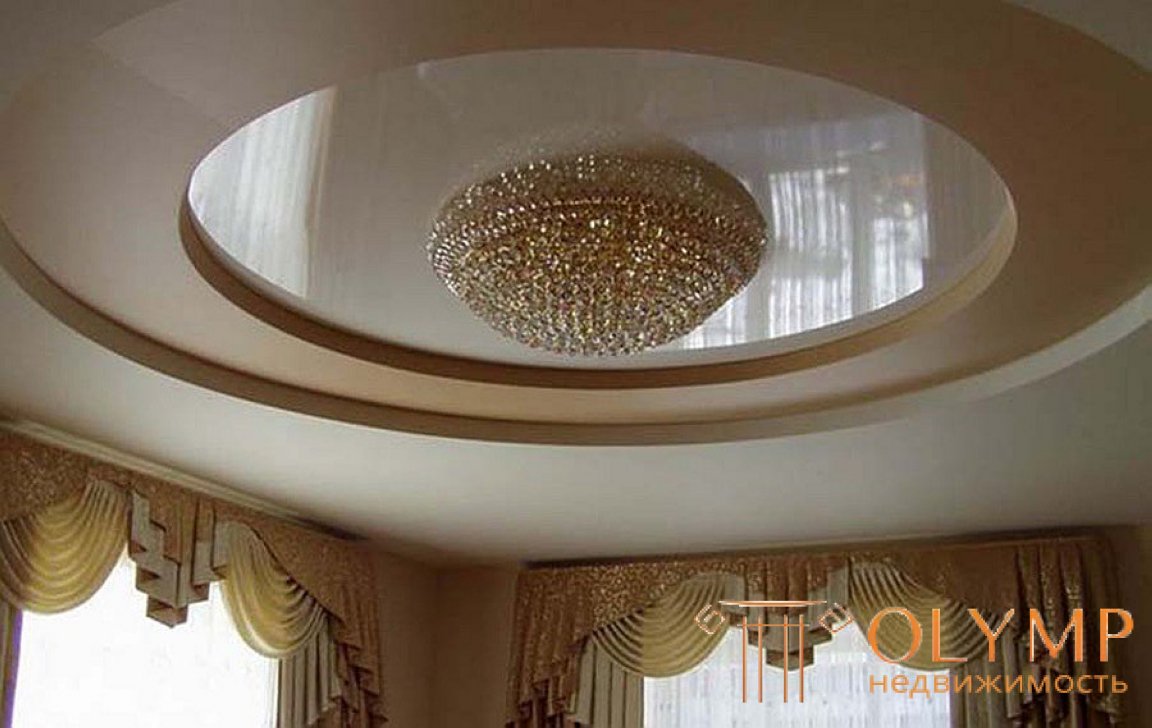
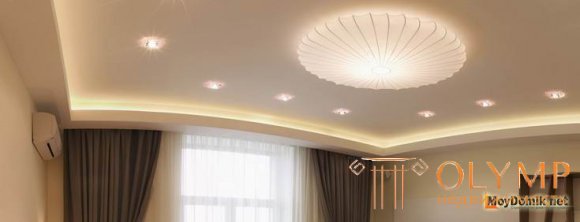
Beautiful, stylish, original ... many more epithets can be chosen while admiring the beautiful two-level ceiling from gypsum board. That this is the unusual design of these ceilings. The fact that each ceiling looks different.
And the more imagination you show when developing sketches of the ceiling, the brighter it will characterize you and decorate the hall, bedroom, living room or kitchen.
At first glance, it seems that only a tandem designer plus professional builders can create such beauty. But no, for the construction of ceilings from the GK there is no need to finish an art school, to have a higher education in the specialty "builder". Not required and a set of special tools. It is enough to have an idea of what kind of ceiling you want to make and receive. And also to show some creativity. The rest is a matter of technique.
Despite the fact that visually all the ceilings are different, the difference to them gives the final decoration and a good design. Someone cares more about the warming of the ceiling, and some design, although, these processes may be related, complementing each other.
The technology of a two-level drywall ceiling is identical for each type (single-level, multi-level). And to make it easier for a beginner, this article will provide step-by-step instructions on how to install 2-level gypsum ceilings. But, first, a little theory ...
First of all, there are several important points to consider:
Council
If you have a perfectly flat ceiling, then you can mount the second level of the frame directly on it. So you will save space.
Lamps can purchase any power. Plasterboard systems do not impose any restrictions on your choice. As, for example, suspended ceilings or plastic, where there is a danger of using powerful light fixtures (it can lead to deformation and even fire).
Council
In order to protect the drywall from moisture, a primer is used in several layers.
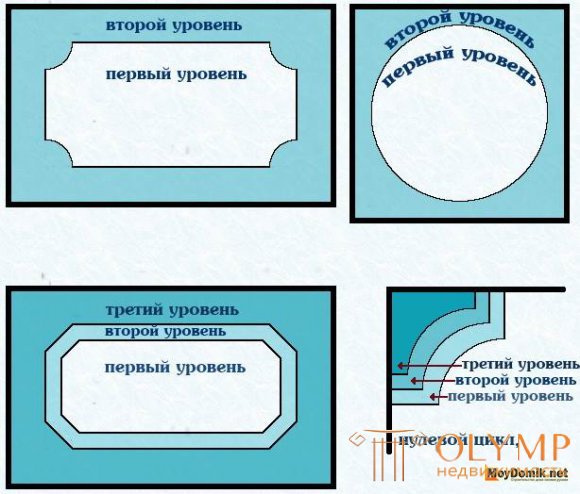
(single-level, two-level and multi-level)
This selection is needed so that you can calculate and know exactly what to buy, what an element looks like, and what purpose it is used for. We hope that thanks to such a detailed description you will not buy too much and save money and nerves.
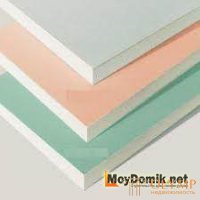 Drywall
As a rule, ceiling gypsum board is used. Its thickness is 9.5 mm.
For the second tier, which is not provided for lamps and sidewalls, you can use arched drywall. Its thickness is 6 mm.
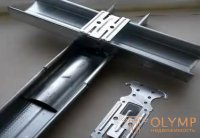
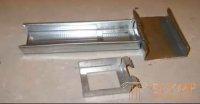
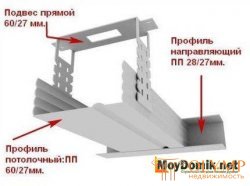
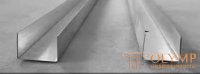 UD profile
 CD profile
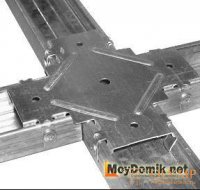
 CD connector.
Designed for splicing two CD-profiles.
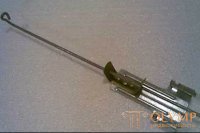
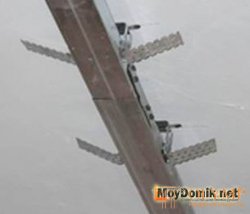
 Direct ceiling suspension or ES - bracket.
On it, the profile is attached to the ceiling.
 Spring suspension.
It is used if the length of the direct suspension is not enough for installation. That is, the second ceiling level is lowered too low.
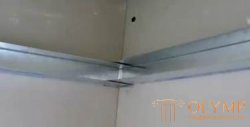
Two-level connector.
To connect CD-profiles at different levels.
Council When installing, try to reduce the number of extensions of this type of profile.
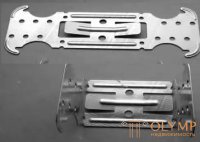
 Crab for drywall.
Designed to connect CD-profiles on the same level.
 Council
Crab can be replaced. How to do this can be seen in the photo.
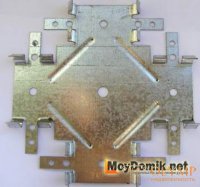
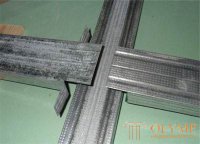
 Corner profile connector.
Its purpose is to connect the CD-profile perpendicular and at the same level.
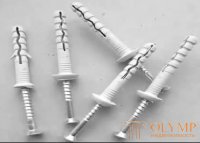 Dowel screw for mounting profiles.
 Anchor wedge for mounting profiles.
The choice depends on the material from which the walls and ceiling are made.
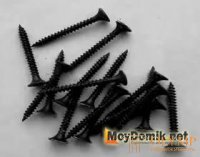 Self-tapping screw for fixing sheets of drywall.
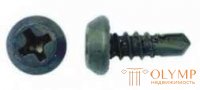 Metal screws 3.5 by 9.5 mm. - “flea.”
 Serpyanka tape (self-adhesive)
For gluing seams or flizelin for pasting the ceiling completely.
 Putty for sealing seams and joints.
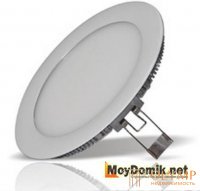 Recessed lights
(ceiling, spot, halogen or led led).
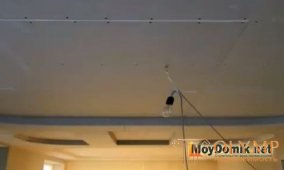
Council The wiring for the fixtures starts up before the plasterboarding work begins.
Knowing what you want to see on the ceiling will significantly simplify your material calculation and work.
Before making ceiling drawings, familiarize yourself with what types of two-level plasterboard ceilings exist.
The first method consists in the device of the second level without mounting the first one. Used if you have an ideal ceiling surface. And the lamp is supposed to be placed in the frame.
The approach is the same. But the lamps are mounted on the side of the frame.
Installation of two frames. Lamps are mounted in the second of them.
The installation approach is the same. But the lamps are located on the perimeter of the second tier.
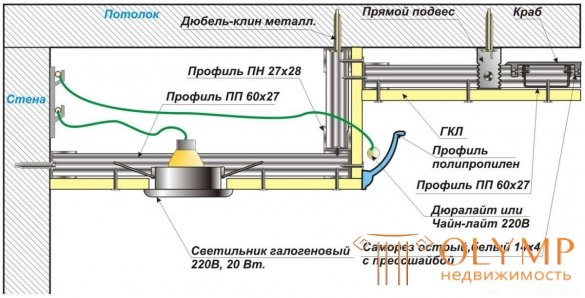
A similar approach. But for the side lamps, instead of the frame, arrangement of the polypropylene profile is provided, which is glued to the frame of the second level with the help of putty.
Using one of the basic types of installation presented, you can easily create such sketches of a two-level ceiling that will appeal to all family members.
It should be noted that among the professionals there is disagreement in which order to implement the device tiers. Two ways can be distinguished.
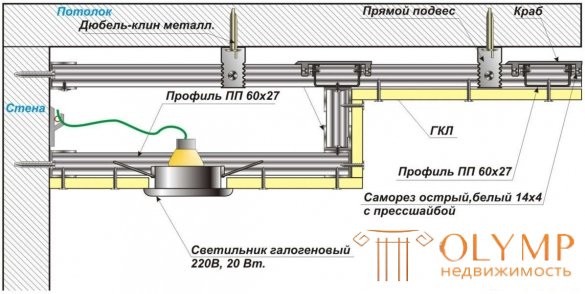
We will talk in more detail about the first version of the installation of a two-level ceiling. This will give you basic installation information. The second option, more complex, will be described below and illustrated in the photo.
We make a two-level plasterboard ceiling consistently and in accordance with the instructions, then the work will be done qualitatively.
The technology of manufacturing 2-level gypsum ceilings provides for performing work in the following order:
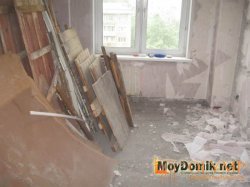 Finishing the ceiling is not like screwing a light bulb - here you can't do without carrying out furniture.
Free up the room and the approaches to it, so it will be easier to install. It is important to prepare the surface itself. Agree, it is better to do something in a free space than constantly bending around, cutting, washing off some remnants. All loose plaster should be removed. Some craftsmen leave it, but all that does not hold well sooner or later will disappear.
To do this, take the following steps:
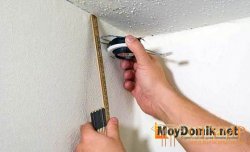 - measure the height of the corners in the room;
- determine the angle with the smallest height.
It will serve as a starting point for marking. After all, we need to design was flat relative to the horizontal;
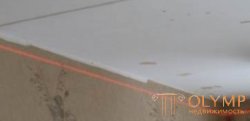 - make markup.
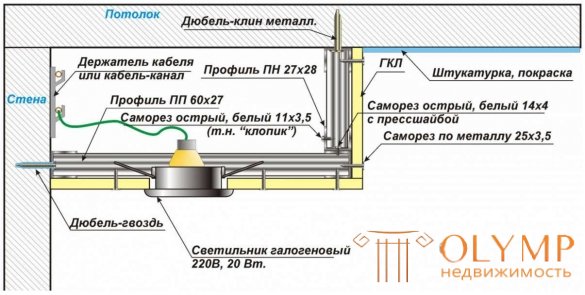
On the walls for profiles denote a flat line. On the ceiling for direct suspension put the point. The extra markup is useless, it will only confuse. For these purposes it is convenient to use a laser level or water level.
 Council The water level of the desired length can be made independently using a nylon hose (for example, from a medical dropper) with diameters of 10-15 mm. and filling it with water.
It may happen that in your room not only the angles are different, but also the length of the opposite sides. In this case, try first to level horizontally. And then draw a clear picture on the ceiling and smooth the design around the edges. So you can visually center the ceiling.
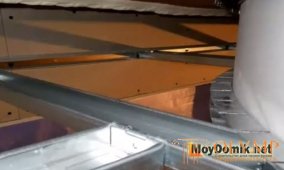
They are guides and are mounted on the wall, along the perimeter of the whole structure. Mounting step - 600 mm. And also on the ceiling.
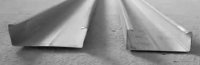
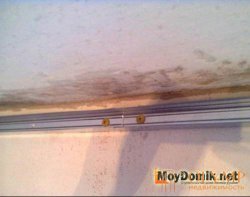 The way of connecting the profile on the wall and in the corner is presented in the photo (on the right and on the left, respectively).
 If it is intended to form rounded elements, you need to draw a picture on the wall, and attach the UD-profile along it. But first, you need to make notches on the profile.
 And attach along the line drawn on the ceiling.
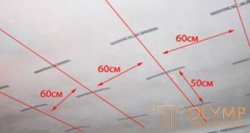 At the same time, we observe the fastening pitch - 600 mm.
Recommendation.
If your ceiling surface is perfect, you can skip this step. And start immediately with the installation of the second level.
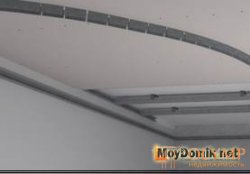
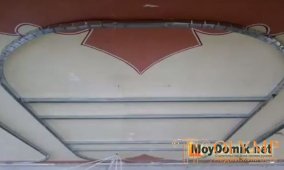
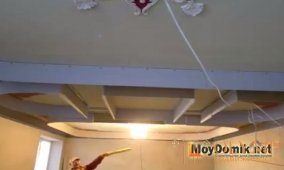
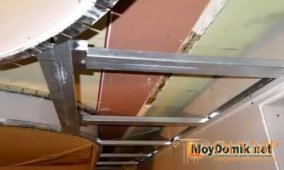
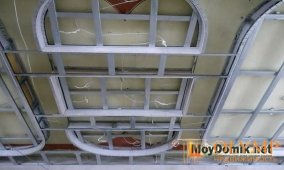
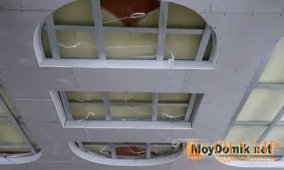
The resulting frame will have the form shown in the diagram and photo.
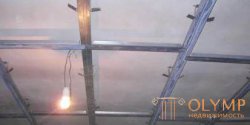
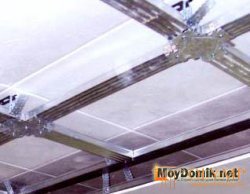 The rigidity of the frame will give the use of crabs.
 Council
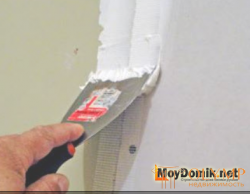
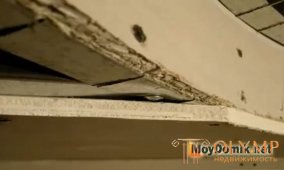
Where the sheet was cut, it is necessary to provide a chamfer. To do this, cut a piece of material from a sheet of drywall with a knife.
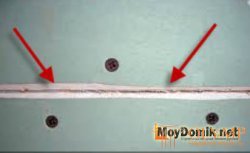 This is necessary in order to better lay putty on the seam. And the seam is not sold with time.
Next, proceed to the consideration of the phased installation of the second level of the ceiling.
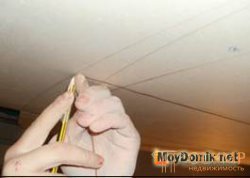 To do this, draw lines under the UD-profile on the wall, and draw a future drawing on the ceiling.
The presence of the scheme on the ceiling will not only simplify the installation process, but also help you understand how your structure will look like after the completion of the work. And, therefore, you will have the opportunity to make the necessary adjustments.
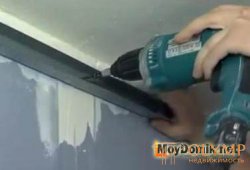
We mount the ceiling frame of a metal profile (UD-profile), fixing it on the wall and on the ceiling.
We already know how to make the frame of the desired shape (round out the profile).
Material prepared for the site www.moydomik.net
For this you need:
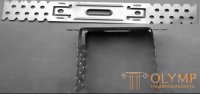
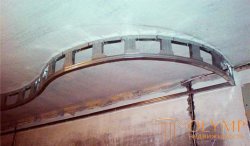 As a result, you should have a side frame, like this.
Then follows:
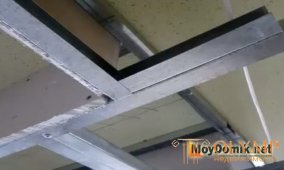
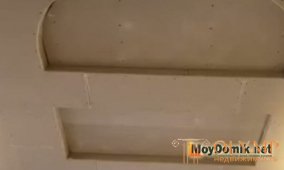
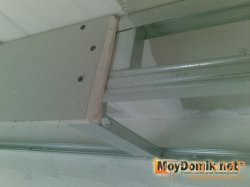 You got a finished metal frame. After that, it should be sheathed with drywall and proceed to the finishing work.
Council Collecting frame look in the drawings. Otherwise it may happen that the jumper will be in place of the future lamp.
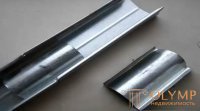
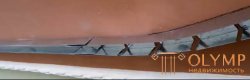
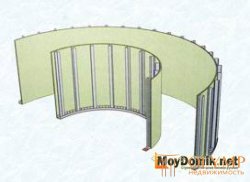 The photo and the picture show how to bend the drywall for the arch and how the CD-profile and the drywall sheet should be prepared.
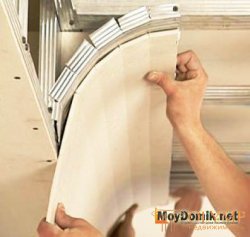 Their device is very simple, it is important to correctly make notches on the sheet, without cutting the front layer of cardboard.
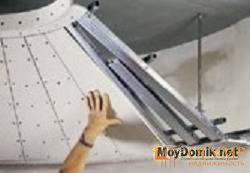 If it is possible to cut the desired size from the whole sheet, the question is easily solved. If not, cut out the segments and assemble them in pieces.
It should be noted that in this case the frame must be stiffer. Because, each screw is screwed into the profile.
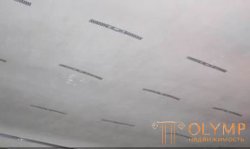
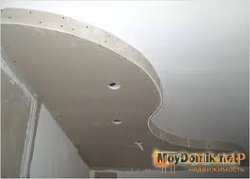 The result of your efforts should look something like the photo.
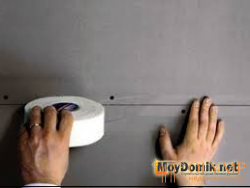 Stitches seams ribbon serpyanka.
 Put a little putty on the tape with a small spatula.
 Also put putty on the screws.
This is necessary so that rust will not manifest itself over time through paint or wallpaper.
 Good to know.
If you plan to paint a two-level ceiling of drywall, it is better to zashpatlevat the entire surface. Otherwise, under the paint will appear ugly seams.
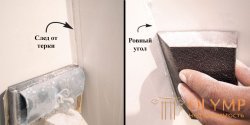
 The place of the seam (or the entire surface) is rubbed with a grid-grater or grinder.
 Council
Particularly carefully rub the surface in the corners. To prevent the occurrence of lateral grooves from the grater.
Plasterboard ceiling decoration.
Optimal and very popular painting the ceiling. Staining the ceiling of plasterboard should be accompanied by a preliminary surface treatment with a primer.
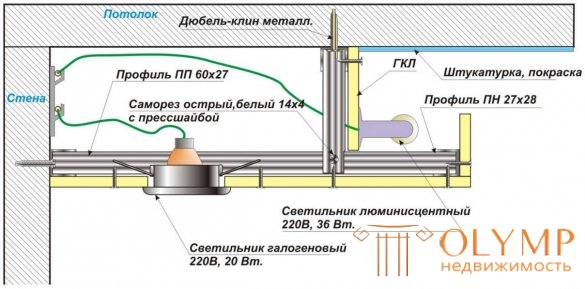
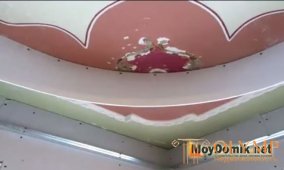
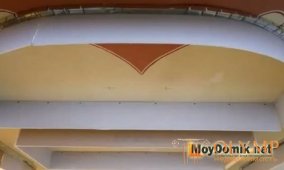
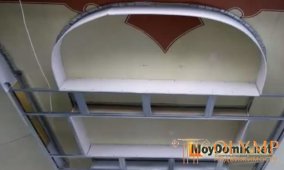
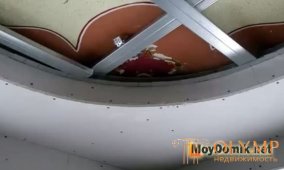
In conclusion, as promised, we give a photo instruction on the second version of the ceiling mounting, when the skeleton of the second tier is assembled first, and already between its elements mount the skeleton of the first.
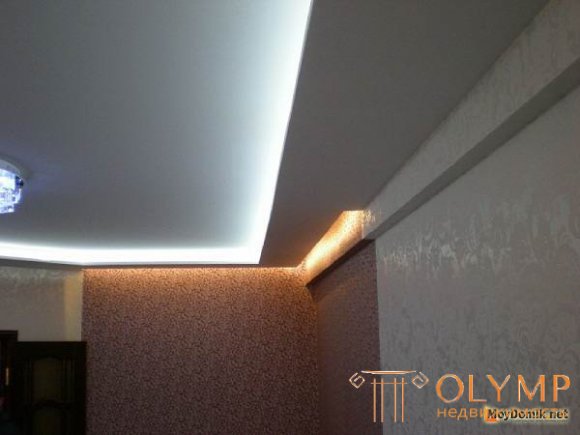
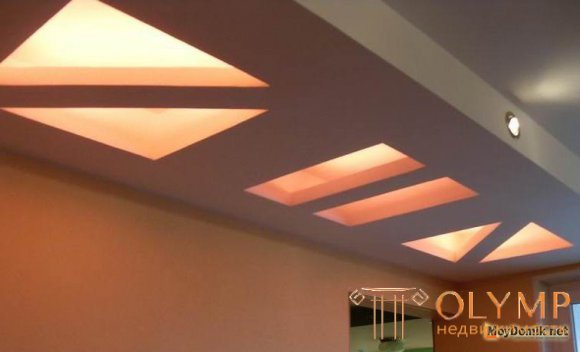
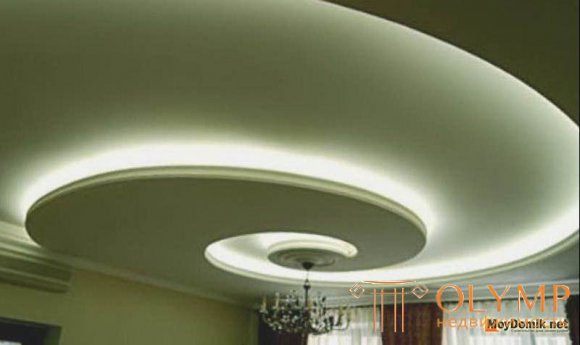
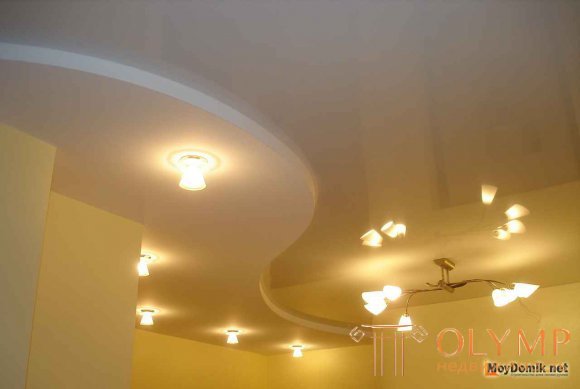
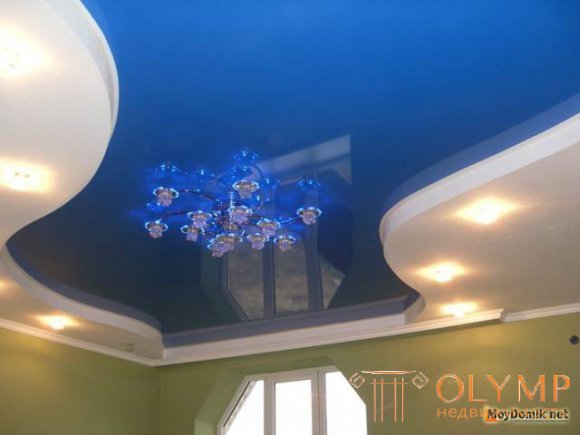
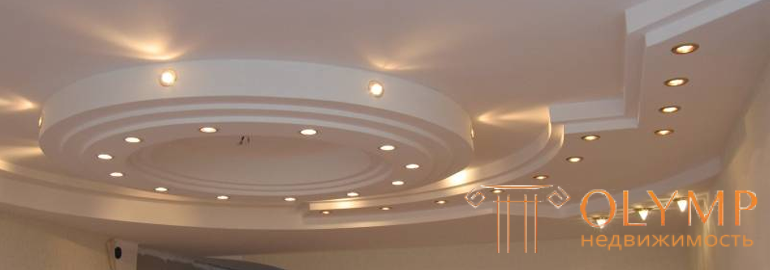
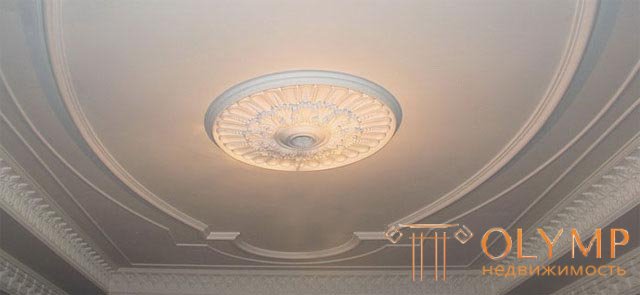
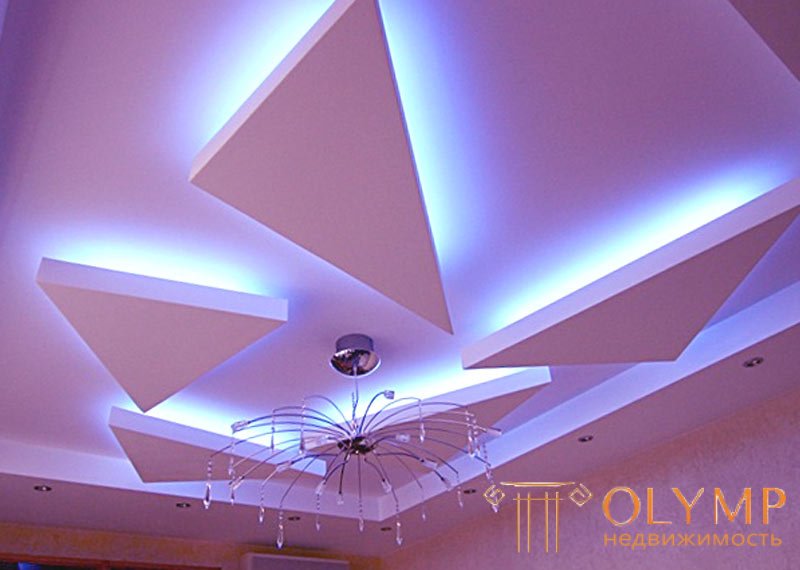
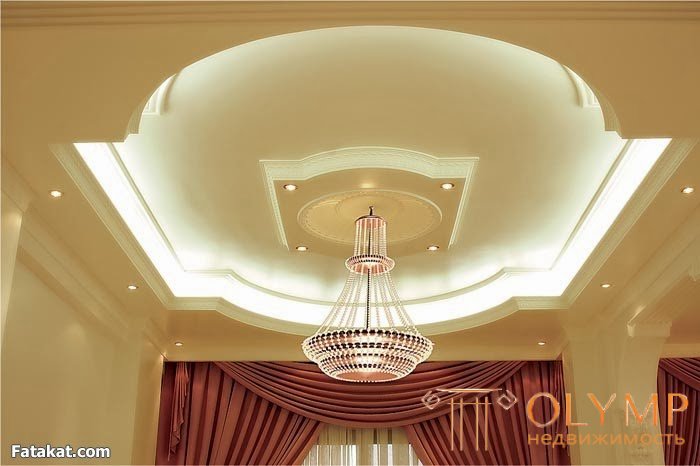
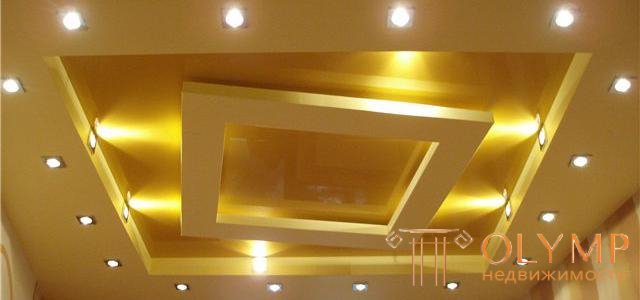
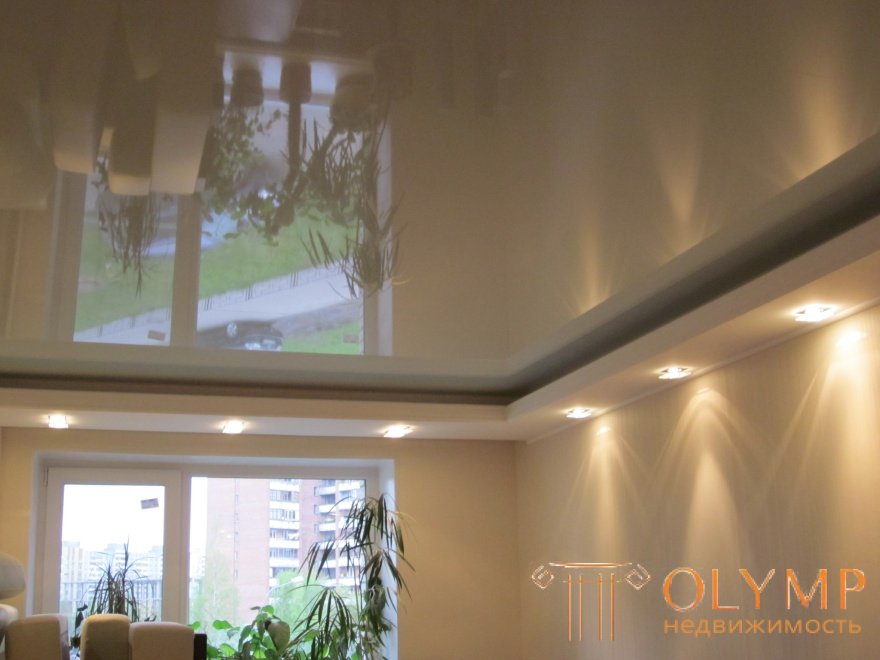
Ideas and inspirations for any color and taste.

Conclusion
In this article we looked at how to make a two-tier ceiling from drywall with your own hands. We hope that the information given here, as well as the pictures accompanying it, will allow you not only to carry out the installation process correctly and efficiently, but also to enjoy this truly creative work.
Что бы оставить комментарий войдите
Комментарии (0)