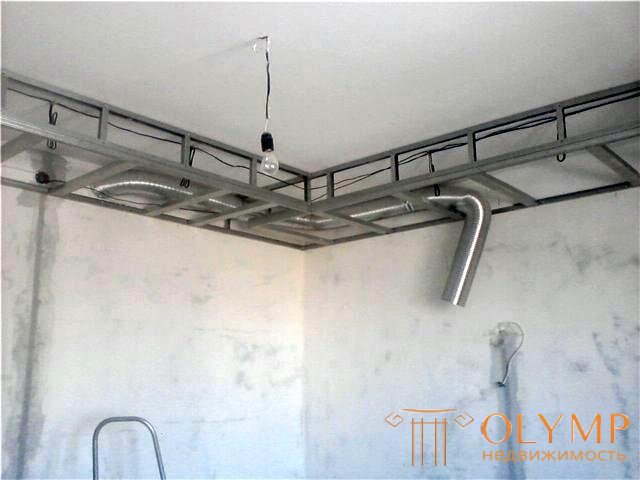
During the repair of the kitchen, special attention is paid to various communications and their concealment. Everyone wants to have a beautiful and functional room. However, there are problems with the hood and the vent in the wall. Usually, the stove above which the hood is installed and the vent window are not near. Therefore, it is necessary to make a box of drywall in the kitchen to hide this trouble.
For a long time, a flexible duct (rectangular or circular section) was considered the best solution for connecting the exhaust hood with a ventilation window. However, he also needed to be hidden behind (above) wall kitchen cabinets. The box from gypsum cardboard can be used at any planning and with any quantity of kitchen furniture. With it, a flexible air duct can be hidden anywhere, without spoiling the appearance of the room .
Content: [hide]
You can use a drywall hood in the kitchen, making sure that this design is functional, and its advantages outweigh all the disadvantages. Consider the advantages of such a solution.
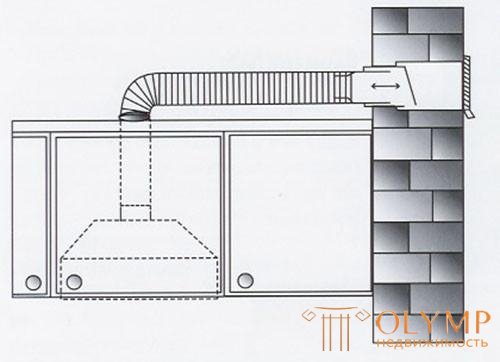
Standard kitchen hood layout
It would be necessary to talk about the shortcomings, but they are difficult to find. Some may not like the fact that you need a lot of tools to work. Someone will say that it is much easier and cheaper to make ventilation with ordinary corrugations, and the appearance is not so important. To some, the process will seem time consuming, because you need to drill the walls, fasten the profile to the wall and between each other, install drywall and carry out a finishing finish. For some, installing a drywall box may seem so complicated and time consuming that it will spit on it. It is better for such people to search for a simpler, less beautiful or more expensive solution to the problem.
I would like to dwell a bit on what form a kitchen box under the hood could be. This will help everyone to decide what suits him best. After all, there is no universal recipe, since the layout of kitchens is different, and everyone has their own concept of beauty.
Someone vertical square box will be the perfect solution. For others, it would be absurd, because there is nothing more beautiful than a compact rectangular box under the ceiling. Before you assemble a drywall box, you need to understand what it should be.
Everyone decides for himself which option to choose.
The work will require the following set of tools:
This is a minimal set of tools that can be greatly expanded for greater convenience. But if you do everything with your own hands, then getting the "cool" devices (laser level, tape screwdriver, grinder, etc.) will be expensive.
To assemble a drywall box in the kitchen, you need the following materials:
All these tools and materials are needed to collect the intended design. For its finishing under the finish coating will also need a spatula, brush, primer, putty and reinforcing tape.
As if the box is not called, wall or ceiling, in the kitchen it will always go in the corner between the wall and the ceiling, as this is the most optimal installation option. The device of the duct from drywall on the ceiling or wall suggests the presence of a frame under which the marking is carried out.
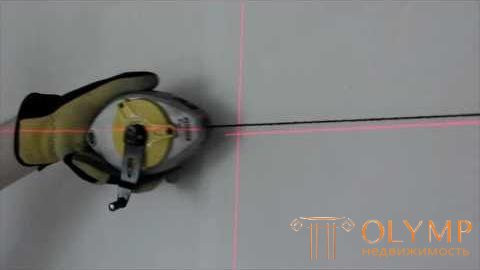
Lanyard cord and laser level greatly accelerate the marking process
First you need to decide where exactly the pipe will go from the exhaust hood to the ventilation window. Traditionally, it rises first up the wall, and then goes under the ceiling parallel to the floor. The box under the hood in the kitchen should be 5-10 cm larger than the diameter of the pipe. Therefore, from the bottom of the ceiling you need to measure the corresponding distance down the wall and make a mark. On this mark with the help of a level a horizontal line is drawn along the entire wall. It will mark the lower boundary of the kitchen hood box.
You can do the box is not the entire length of the kitchen, but only to the hood, but in this case it will not look very nice.
The same distance recedes from the most protruding upper part of the wall. A corresponding mark is also made on the ceiling and with the help of a level another line is drawn across the ceiling. From the two extreme points of the lines on the wall and ceiling, you need to draw two more lines at right angles to each other. This will require a plumb line and level. Similarly, do with another edge of the marked area. This is how the outlines for the box from the profile for drywall in the kitchen are created.
There are three horizontal lines on the walls, one long and two short. On them to the wall is mounted guide profile 28x27 mm. The most convenient way is to make a V-shaped notch on the rail in order to bend it at a right angle and position the profile in the corner between the walls. From the second angle you can do the same. Or you can attach a short profile simply by cutting them to the desired length, here it is already more convenient for someone.
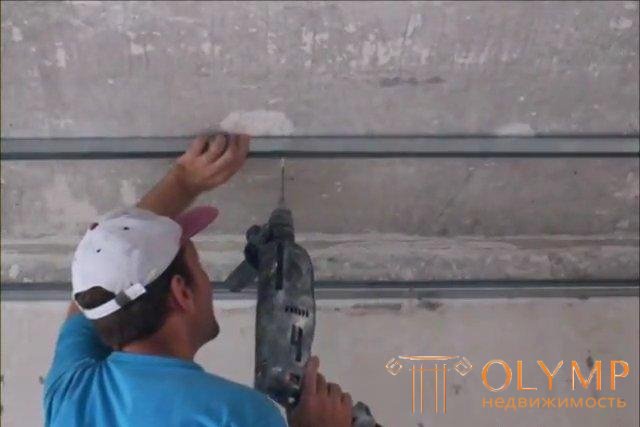
In the profile and the wall holes are drilled in increments of 60 cm
Since the supporting wall often turns out to be in the kitchen, a punch is required for work. Profiles are fastened to the wall with the help of driven dowels (at least two for one profile).
A sealing tape can be placed between the profile and the wall. It will reduce vibration and will be a good additional sound insulation.
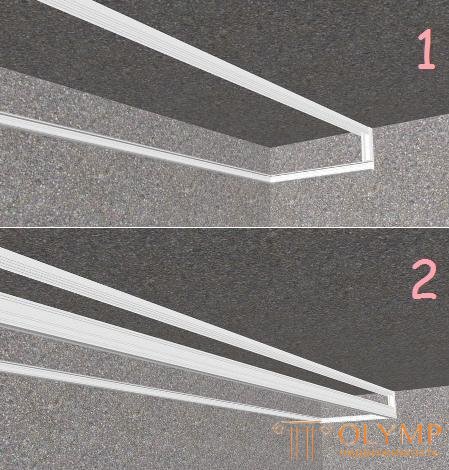
On the ceiling we repeat all the actions that were done with the wall and also mount the guides. When collecting a drywall box in the kitchen, we get a frame made of profiles, parts of which abut each other at a right angle. Next, you need to fix the profile, which will be a protruding corner of the frame. This can be done in two ways.
If you can do with one profile (the length of the rail exceeds the length of the kitchen), then it is better to insert it, fixing it in the corners. This profile will enter the horizontal guides on the opposite walls. After that, the inserted profile will need to be fixed with small metal screws (2 pieces on each side).
Jumpers go down from the top of the 27x60 mm profile, which are attached with small self-tapping screws. In order to complete the design of the plasterboard hood box in the kitchen, all that remains is to install horizontal lintels.
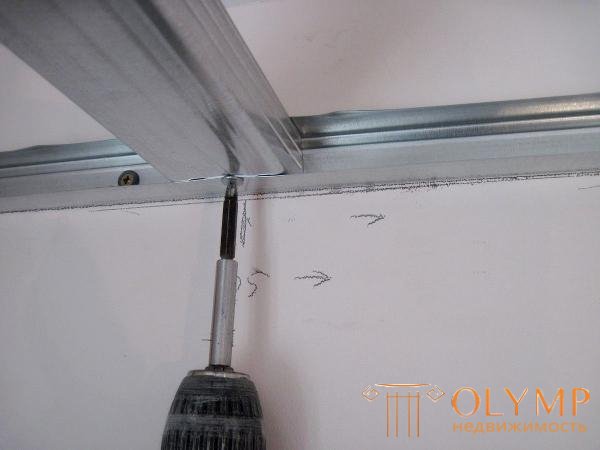
Jumpers are fixed with self-tapping screws for greater reliability of fastening.
However, these jumpers will go into the groove of the profile at the wall, but abut the edge of the angular profile. Therefore, go for one of two possible options:
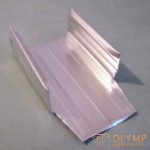 The jumper is trimmed so that the back goes under the profile, and the ribs are arched at a right angle. In this case, you can attach the jumper to the profile, both through the back and through the ribs;
 Jumpers can be installed in 60 cm increments, because large loads on the structure are not foreseen.

Together with the corrugation, you can conduct communications wiring.
You need to know the place where the corrugation will go down to the hood in order not to accidentally install a jumper there. Corrugation is used as an air duct, connecting the ventilation window and the hood. Before plasterboard plating, the corrugation should be attached to the ventilation window and run inside the box frame to the exit point (above the hood). Basically, a plasterboard box is installed above the kitchen unit, so if you wish, you can lay another corrugated pipe for future illumination.
In fact, all the hard work is already left behind. Now you just need to cut the plasterboard into strips of the desired size and fasten it. In fact, the kitchen under the hood is almost ready, because you need to sheathe it in front and bottom. First we sheathe the front.
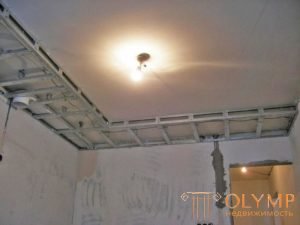
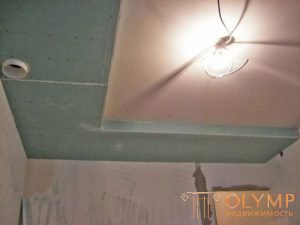
Sheets are pressed to the profile and screwed with screws with a step of 20 cm. In places of jumpers also need to be screwed screws. So the box is completely sheathed from the front. After that, the sheets are screwed from the bottom, from the wall to the newly screwed GCR. The mounting scheme is similar. A long leaf will be difficult to lift and hold over your head yourself, so you can cut it into several pieces.
In the specified location, you will need to drill a hole in the gypsum caroule for the ventilation pipe. It can be done in advance on the floor, if there is no special nozzle for the drill, and then attach the sheet with the finished hole.
When the plasterboard box for the hood in the kitchen is assembled, all that remains is to putty all the joints and caps of the self-tapping screws. So the design is prepared for finishing.
Что бы оставить комментарий войдите
Комментарии (0)