During the repair of the toilet is very acute problem of pipes that their appearance spoil everything. In the bathroom there are vertical pipes (one or two of them depends on the layout). Also directly to the toilet fits a sewer pipe. It looks rather unsightly. You need to use a drywall box in the toilet to hide all the excess, including meters and valves.
Since we are talking about a small room, you can do this work yourself using the minimum number of gypsum boards and profiles.
Content:
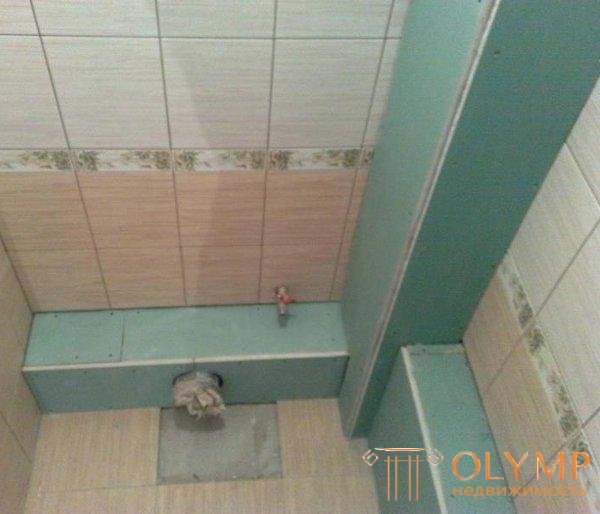
Hide also need a sewer pipe for toilet
Since the amount of work is small, we will consider the minimum set of tools so that any person can do everything himself.
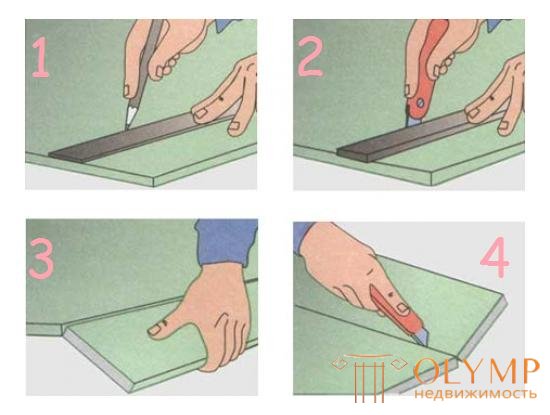
The order of cutting drywall wallpaper knife
Together with the tools you need to buy supplies:
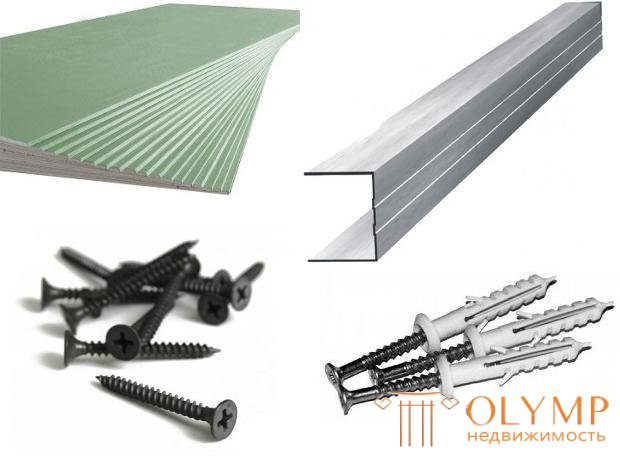
Those materials are chosen that are not afraid of high humidity.
The cheapest self-tapping screws in building supermarkets. And you need to buy them by weight. In this case, we will be the smallest price for a single screw. Packaged packs will always be more expensive, even if you take large volumes (1000 pieces).
The square will help to connect guides at right angles.
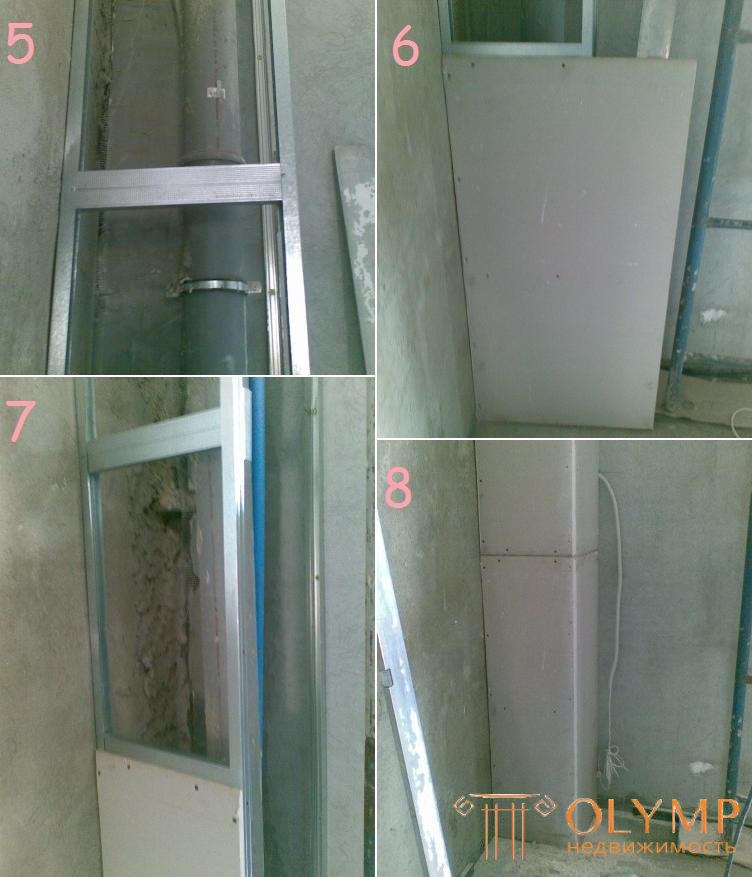
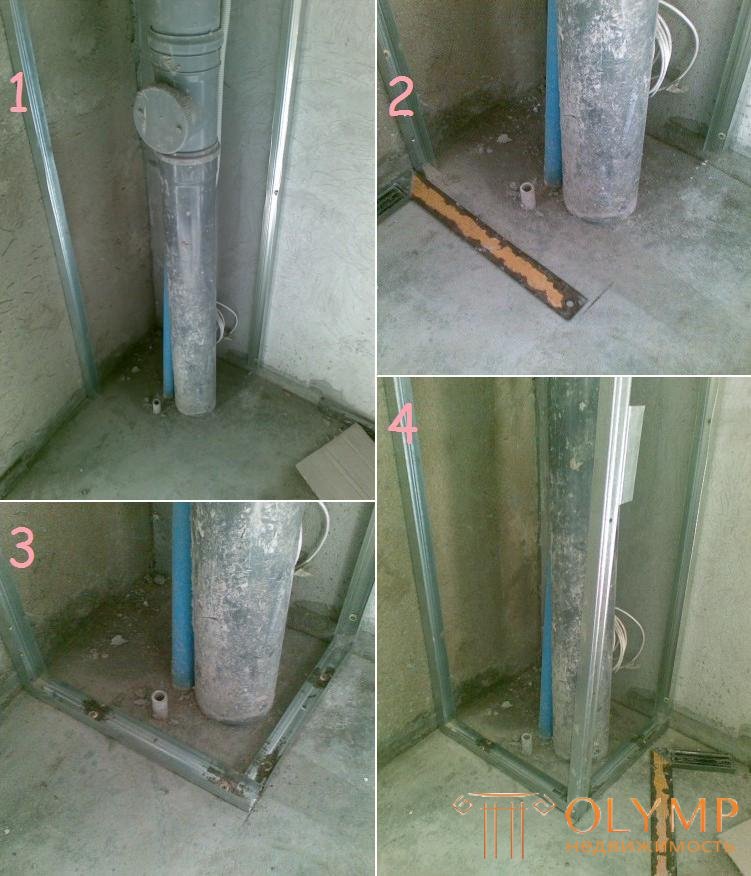
Let us consider in detail how to make a box in a toilet made of plasterboard. For this there is a simple step by step instructions. In it, work is carried out with a vertical pipe that runs in the corner of the toilet.
 The toilet is marking. On the ceiling, 5-10 cm recedes from the pipe along both walls and a mark is made. With the help of a plumb both marks are transferred to the floor. Through both points on the ceiling is carried out in a line so that they form a right angle between themselves and are perpendicular to the plane of the walls. Similarly done on the floor. We connect the ends of the lines on the walls with each other, forming two more lines, but already vertical. So we designated places for fastening profiles.
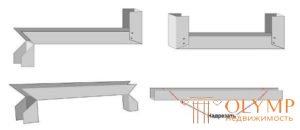
The most popular jumper options
The guide profile is cut to make several jumpers that will be installed between the center post and the vertical guides along the wall. Jumpers can be set in 60 cm increments.

Screws are screwed in also in places where jumpers are installed
It looks like a simplified instruction to create a box of drywall in the toilet. However, there are a number of nuances that would be worth paying additional attention.
It is necessary to ensure the quality of the pipes, because they will no longer be accessible. If possible, they need to be replaced. If the pipes are rusted, then soon they can start to leak. Especially sore point is the bottom of the pipe, where it goes to the floor. When cold water flows through the pipe, it has a lower temperature than in the toilet. This leads to condensation that flows down the pipe. It is at the very bottom of the pipe on the floor most of the condensate and the most vulnerable spot. Here, rust often appears and begins to flow.
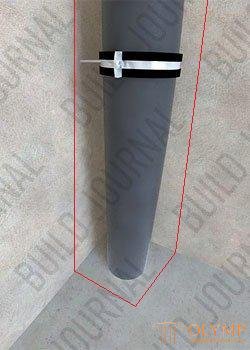
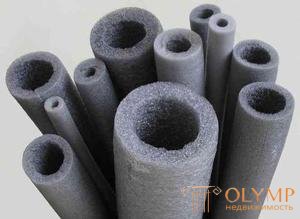 Before you make a box of drywall on the wall, you need to wrap the cold water pipe with a special insulating material. Pipe insulation to prevent the formation of condensate, which is extremely important due to the closure of pipes and the lack of access to them in the future.
In advance, you need to consider such an important detail as a viewing hatch.
If there is a water meter, then without a special hatch it will not be possible to take readings. But even if there is no counter, then such a hatch is needed so that there is access to the valve that blocks the water. In the box you just need to cut a rectangle under the hatch. In this case, the hatch itself can be made of plastic. It is very convenient, costs little and fits well.
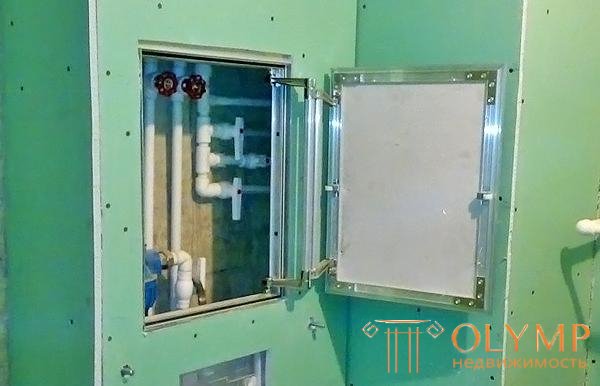
Making a plasterboard hatch is quite troublesome. Easier to buy a finished sample of plastic
If the bathroom is small and the distance between the two pipes is small, then you can simply sew up the entire back wall. If the distance is large or the pipe is one, then a kind of niche will turn out, which can be filled with something. The best solution would be a box in a toilet made of plasterboard with shelves. The shelves themselves will be installed between the two newly formed walls.
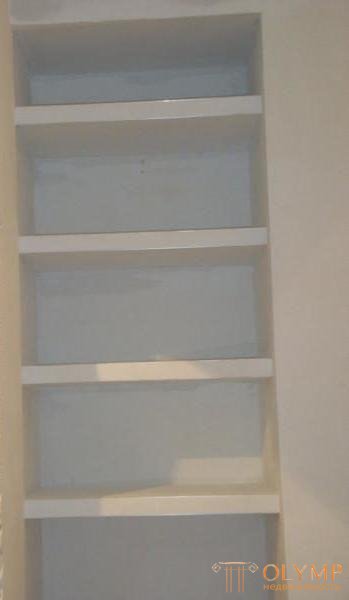
After finishing the shelves will look like an integral part of the design.
It is necessary to make the shelves after two boxes are ready and a niche is created between them. On the left and right boxes inside the niche you will need to mark up to fix the shelves. Then the lines are extended, and markup is made on the back wall.
The guide is trimmed so that it can be bent into a rectangle of a given size. All clipped places are then fastened with self-tapping screws when the profile is bent into a geometric shape. Then this quadrilateral is inserted into the niche and screwed to the boxes. This is very convenient, because the toilet has a small area for work. In fact, this rectangle is a shelf, so you need to carefully calculate all sizes . If it is very difficult, then you can simply cut the profile and fix it one by one, and not all at once.
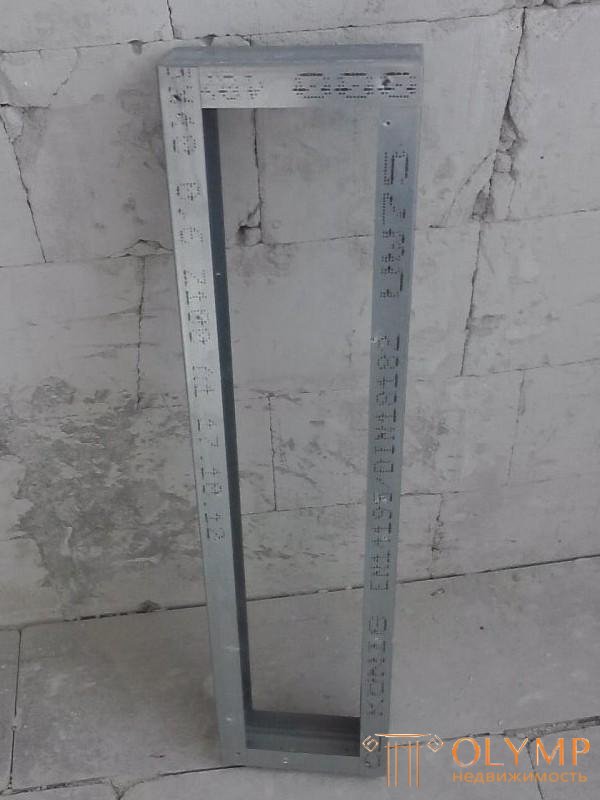
Pre-assembled shelf is not very convenient to attach to the back of the toilet
The rear profile is attached to the wall of the toilet, but the front rail remains loose. The mini-frame is sheathed with drywall at the bottom, top and front. The result is a solid shelf that can support the weight of various toiletries. Similarly, all the shelves are made.
If there are still questions (how to make a horizontal box, is it possible to lay tiles, etc.), then the answers to them can be found in this video.
Что бы оставить комментарий войдите
Комментарии (0)