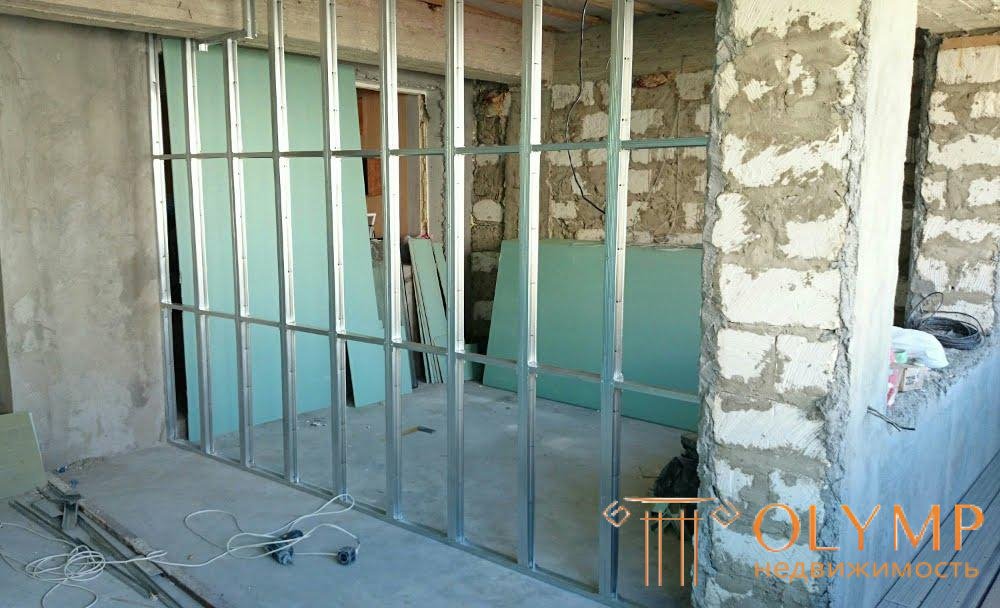
In new apartments of a large area and in old apartments with an outdated layout, there is a desire to remake the premises for themselves. From one large room you can always make two smaller in size. For these purposes, using interior walls of drywall. They are an effective solution in this situation due to its ease and ease of installation. Also, their construction is not necessary to coordinate with anyone.
Such partitions can be used to divide the nursery where children of different sexes live. Or the living room can be turned into two bedrooms. Regardless of the situation, the process of building drywall partitions in the room will be the same.
Content: [hide]
Any design must have a number of positive qualities so that it can be used in practice. Consider the advantages that drywall partitions can give, which are used in the apartment room.
 Installing interior drywall partitions takes little time and requires little effort compared to other redevelopment options.
 Having decided on the need to use partitions to divide the space in the room, you should understand the tools and materials that will be required for the work.
Of course drywall is number one. A typical wall plasterboard with a thickness of 12.5 mm is used. Sheets have a standard width of 1.2 meters and a length of 2.5 and 3 meters. There are other parameters, but these are standard . It is better to take those sheets that are shorter, since they are easier to bring into the house. You can take fire-resistant sheets (they have a pink cardboard). In this situation, they will be appropriate if the division of the children's room is carried out, and in the partition itself the power cables will be laid.
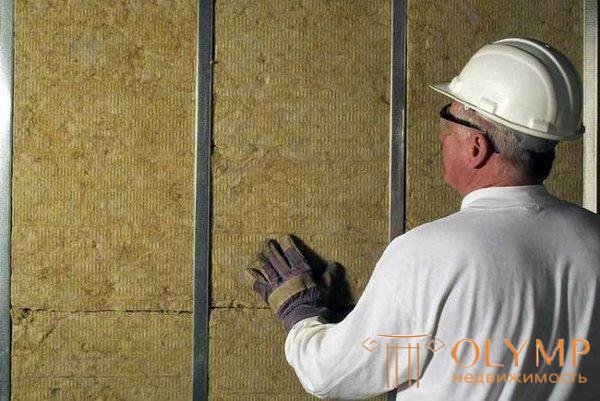
Sound insulation material is fixed due to metal profiles.
The interior partition made of plasterboard with sound insulation will allow the neighbors in the apartment to comfortably listen to music, watch a movie or talk quietly. Since the room is divided into two parts, the use of sound-proof materials is necessary. They are installed in a metal frame.

Various profiles that can be used to assemble the frame
To assemble the frame will require metal profiles. The standard length of such profiles varies within 3-4 meters (short ones are more convenient, since they are more realistic to bring into the apartment without cutting or bending). What profiles may be needed?
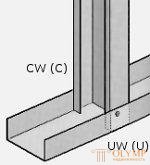 The device of interroom partitions from gypsum cardboard assumes creation of a framework from profiles. But what profiles to take, because they all have a different size? It is necessary to choose the size so that the rack profile fits tightly into the guide. You need to look first at this. And then if you take the guides 28x27 mm and 50x50 mm racks, then nothing will come together. If the guide profile 50x40 is used, then the 50x50 mm stands will be just right.
To mount all the elements of the interior partition of the plasterboard you will need:
In addition to fasteners, you need special tools to work. Without them, the installation of a drywall partition will not succeed. Such tools include a screwdriver, drill, level, plumb line, metal shears, a construction knife, a hammer and a tape measure. However, this list is not complete or mandatory. Some tools will not be needed, but others may be useful instead (hole saw, cutter, cutter cord, perforator, edge edger, etc.).
When the partition for the separation of the room will be assembled, it will need to be prepared for finishing. For these purposes you will need:
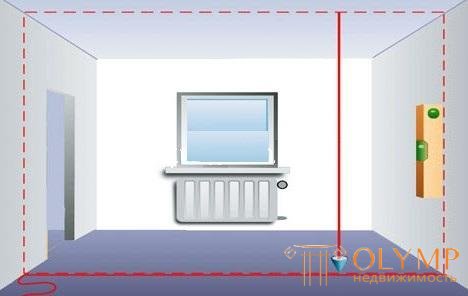
From the correct layout of the room depends on the quality of the partition
It is necessary to determine the place where the partition will be held. Using a laser level, lines are drawn on the ceiling, walls and floor. If not, then you will need to hold the first line on the ceiling. This will require a water level and a long ruler (guide profile).
With the help of a plumb line, the extreme points of the line on the ceiling are transferred to the floor. Now there are two points on the floor, between which another line is drawn. You can use upholstery cord. Then it’s a small matter to draw lines on the walls in a similar way, focusing on the label that already exists on the floor and ceiling.
When do-it-yourself interior drywall partitions are assembled, they usually have a doorway, though not always. The space under the doorway also needs to be marked out in order to know to what place the profile should be allowed on the floor and where to insert additional racks with mortgages.
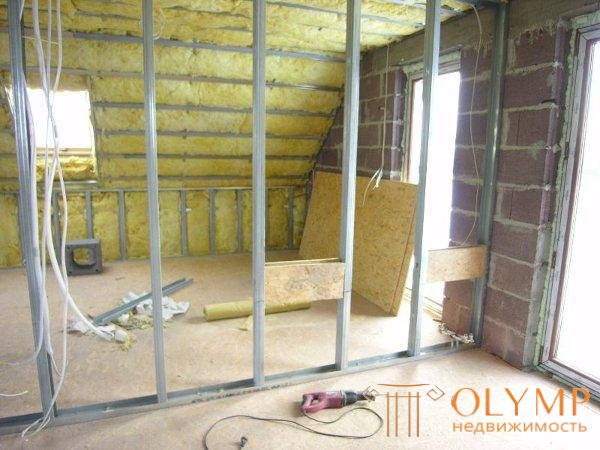
Interroom partition should not rest against the window
The base of the frame is assembled from guide profiles that are mounted along the perimeter of the future partition. The most convenient way to start from the ceiling. The guide is pressed against the ceiling and a hole is drilled using a drill. Then the dowel is hammered, which presses the guide to the surface. The mounting pitch is 0.5-1 meters, depending on the upcoming operational loads. It is possible that only a couple of hangers will be hung on the partition, or maybe it will be tiled and several massive bookshelves will be attached to it.
Do not forget to use sealing tape wherever the profiles come into contact with any surface. This improves the sound insulation characteristics of the partition.
Similar to the guide on the ceiling, other profiles are attached. Docking them together in the corners is not necessary. Anyway, the drywall screws in the corners are not attached. Now the perimeter of the future partition of the metal profile and drywall is ready.
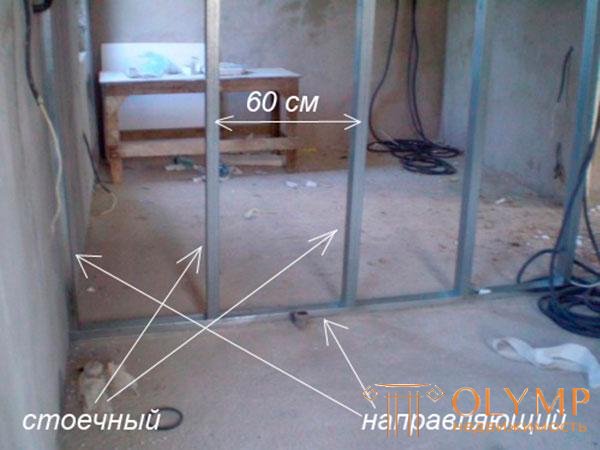
The location of the profiles in the frame
Racks need to be inserted to strengthen the structure. They are inserted in increments of 40 to 60, depending on how the plasterboard sheets are then attached. The fact is, the joints of the sheets should fall on the profile. Racks are usually installed in increments of 60 cm with the expectation that the entire structure will be additionally reinforced with bridges.
Racks must be installed sideways so that they can be mounted on both sides of the drywall. In other words, the ribs of the profile should go parallel to the plane of the frame.
When assembling an interior partition made of plasterboard with your own hands, it is important that the gypsum board lies flat on the frame. Therefore, the racks are attached to the rails with the help of a special sifting tool. If not, then use the small screws on the metal. Two bugs are screwed in each place where the rack profile enters the guide (a total of 8 screws will come out for each rack). However, the caps stick out a bit, which is why drywall also does not fit perfectly evenly.

Jumpers make the whole frame more durable
If vertical racks were installed in 40 cm steps, then you can do without jumpers. If the pitch is 60 cm, then you need to install several horizontal jumpers for greater structural stability. Just cut the profile of the guides, which are mounted horizontally between the vertical uprights. The step of fastening is 50-60 cm. The lintels are also fixed by “bugs” or by means of a prosekatel.
Jumpers can be specially installed in the places of fastening of future shelves to make their installation even more reliable. In such a jumper you can insert a wooden bar, if you plan to hang something massive on the wall.
Depending on what the thickness of the interior partition from drywall, you can choose what to fill the void. Thickness is the sum of the width of the guide and two thicknesses of gypsum board. The width of the guide is the same as the height of the rack profile (not to be confused with the length) and is chosen individually for each. This width gives a certain void inside the partition.
You can collect two frames for partitions at a distance of 10-20 cm from each other. They are then sheathed with plasterboard, and a thick partition is obtained. They go to this step when they are going to place a lot of things inside such a structure.
There is enough space inside the structure to stretch the power cable to connect an outlet or wall lamp. Such cables must necessarily go in the corrugation in order to fire safety.
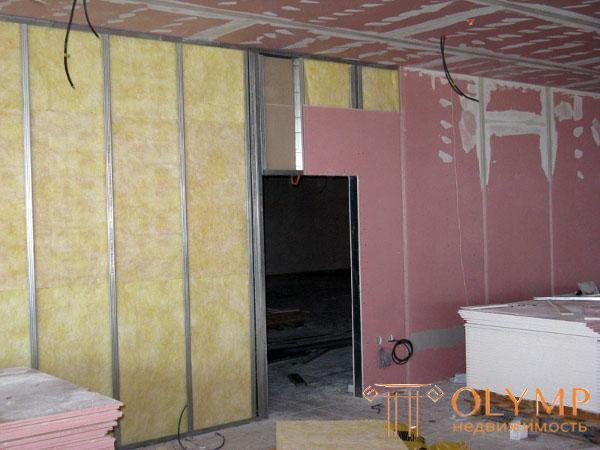
Sound insulation material should not be subject to burning
In most cases, the cavity is filled with soundproof material. Therefore, vertical racks are often installed in increments equal to the width of the soundproof material. Then it fits without the need for additional trimming and does not lean to the side. Sound insulation of interior drywall partitions should be carried out after one side of the structure will be sheathed gypsum board.
Soundproof material conveniently included in the hollows of the upper and lower profile. It will rest on the back of one rack profile, but it will go well into the intercostal space of the second rack. For this reason, the racks are set so that they all look the same way. Some prefer to install two racks back to back, so that sound insulation would enter into them and not rest on anything.
Horizontal jumpers also serve as additional fixation for sound insulation. Although this is not so critical, because everything will eventually be pressed by sheets of drywall.
We should also dwell on those cases when it is required to install a door in the interior partitions. We will not consider the process of installing the door itself, but we will focus on how to properly make the opening under this very door.
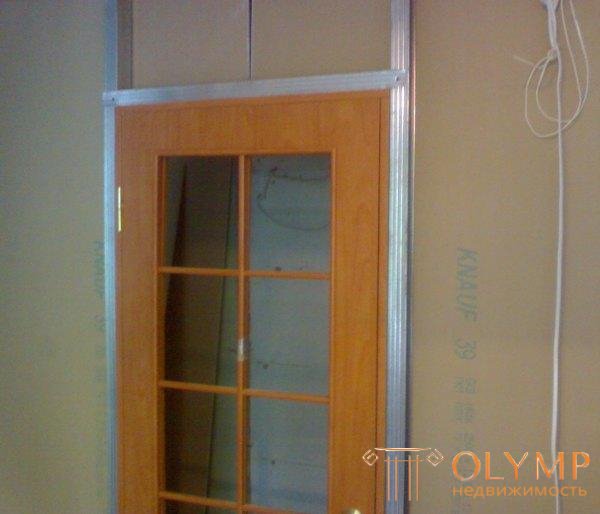
The interior door is not heavy enough to damage the partition structure.
Before you make the interior partition of drywall, you need to decide where the door will be. After calculations with the doorway on the floor are marked the point where it will be. It is necessary to take into account not only the width of the door leaf, but also the door frame itself, so the calculations are carried out carefully .
Profile on the floor is laid on both sides to the doorway. A rack profile is inserted into each end of the rail that goes all the way to the ceiling. Between these two profiles will be a doorway. To indicate the height of the opening between the two profiles, a horizontal web is installed. All actions are carried out using the level, because here the errors are especially dangerous.
You must use wooden blocks that are inserted into the rack and jumper. They should fit tightly into the profile, after which they are fixed with screws. The upper lintel is additionally fixed with nails, that two pieces are driven into it at the end. The resulting doorway, though out of the metal profile, but it is reinforced with wood bars.
When the frame of the interior partition is ready, then it is only for the small one, because there is nothing complicated in the plasterboard plasterboard.
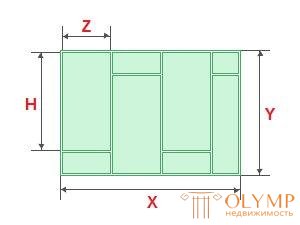 Install sheets need to staggered. If the first sheet in the drywall partition is installed from the floor, then the second sheet must be installed from the ceiling. In other words, there should be as few cruciform joints as possible. They have a bad effect on the strength of the structure.
 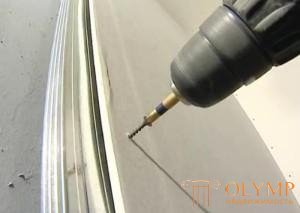 Screws are screwed in increments of 20-30 cm. If two rows are made, then in the second layer the step is 50-60 cm. Sheets are mounted in places where they come into contact with guides, rack profile and jumpers.
 The resulting interior partition can not remain in this form. It should be prepared for finishing.
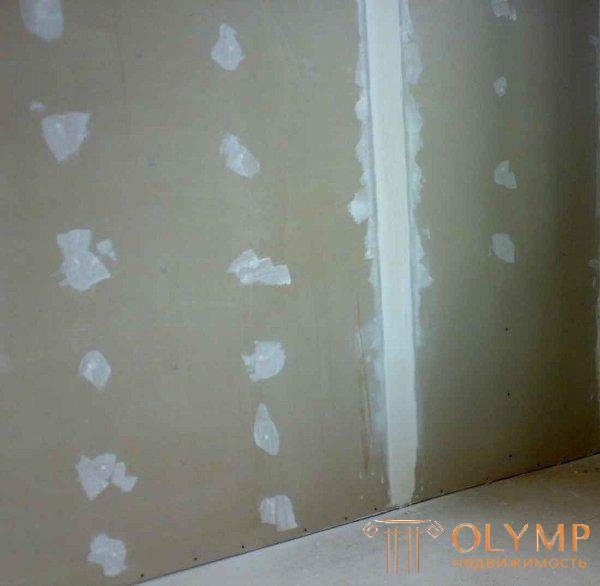
Self-tapping caps do not need to be primed.
All caps screws are necessarily puttied. Joints between sheets of drywall are first primed, and then puttied. In this case, the primer only makes sense if the chamfer was removed from the edges of the sheets. The use of a primer will make the adhesion of the starting putty to the gypsum plaster surface more qualitative. After applying the putty at the joints, you need to apply serpyanka, which will prevent cracking of the putty in these places in the future. Corner parts of the interior partition should be puttied and reinforced with a special reinforcing corner.
When the putty dries, you will need to process it with emery paper to remove the bumps and swellings that could have formed in the process. After that, the interior partition of plasterboard all primed and puttied. If necessary, the second layer of finishing putty can also be treated with sandpaper.
Now the interior partition can be painted or wallpaper on your choice
Что бы оставить комментарий войдите
Комментарии (0)