Content:
one . Metal mesh reinforcing: when the need arises in its use
2. Metal mesh for reinforcement: the types and characteristics of each type
3. Appointment of reinforcing fiberglass
4. Types and features of paint nets
5. Use grids for putty
Not every process associated with the application of various solutions can be carried out without reinforcement. And all because the reinforcement or the mesh that is pushed inside the mortar increases the strength of the coating and makes it a single monolithic structure, which would be hard enough to damage with all intentions. What is a reinforcing mesh necessary for? In what situations is it used? What is it and what technology is used? We will try to answer these questions in this article.
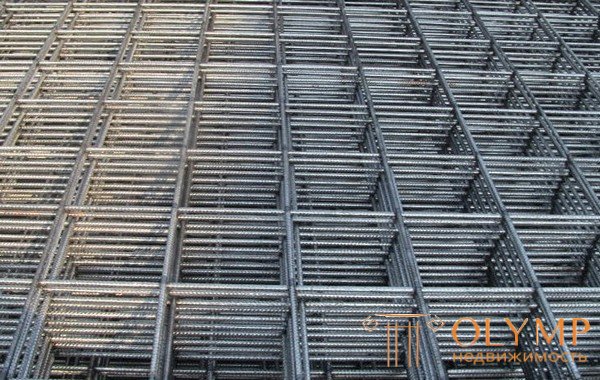
Mesh for photo reinforcement
Reinforcement of various solutions is used exclusively in two cases - when its high mechanical strength is needed and when it becomes necessary to connect the unconnectable (for example, lay the plaster on a metal surface). It sounds crazy, but sometimes the need for such operations arises.
If we examine in detail with all the cases in which the mesh is used for reinforcement, we can distinguish the following main technological processes.

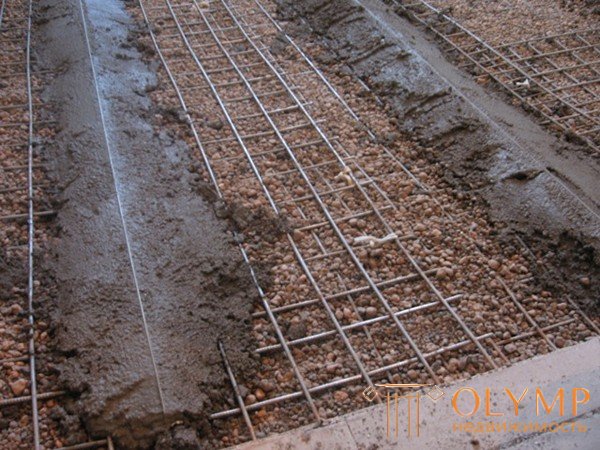
Reinforcing mesh for floor screed photo
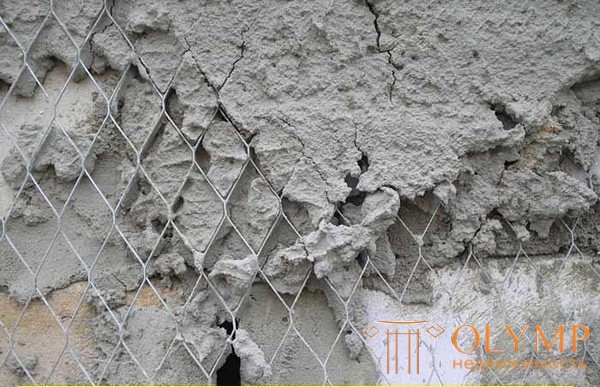
Grid reinforcing facade photo
4. Plaster of polyfoam . This is a special case in which it is simply impossible to do without a plaster reinforcing mesh. The result of the absence of reinforcement are cracks. Ensure this is easy enough - cracks appear immediately after the glue dries.
Game: Perform tasks and rest cool.11 people play!
Play game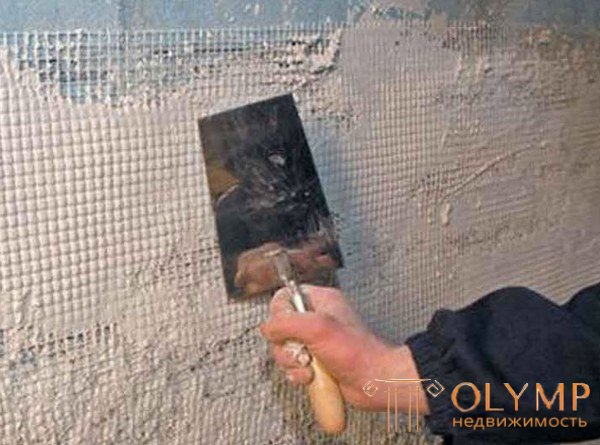
Reinforcing mesh for plaster photo
plastering (spatula) dissimilar surfaces
In plaster applied to dissimilar surfaces, cracks are always formed. They are formed because on some surfaces the plaster dries faster, and on others - more slowly. To prevent this, the joints and seams of dissimilar surfaces are always tightened with a mesh before plastering.
The mesh is used with cell sizes from 10 X 10 to 30 X 30 mm and cut into 10–20 cm wide strips. The mesh is cut with roofing scissors.
Game: Perform tasks and rest cool.11 people play!
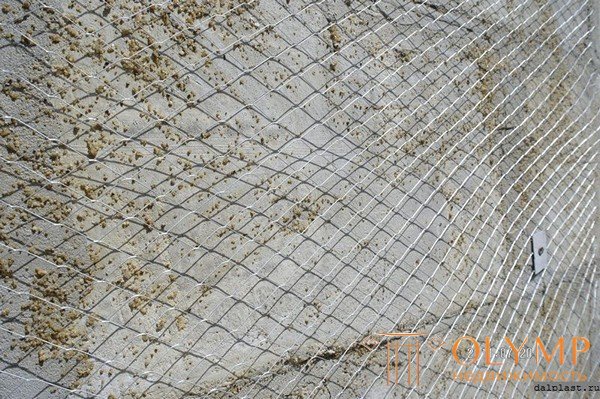
Play game Sometimes, instead of splitting on plastered wooden surfaces, they fill a metal grid with cells of different cross-sections, but not larger than 40X40 mm. Netting also protruding parts of architectural parts (cornices, belts, platbands) on concrete, reinforced concrete, brick and wooden surfaces, but on condition that the plaster applied on them will have a thickness of over 25 mm. The tensioned and fixed mesh should not sag.
For these purposes can be used as woven and woven mesh. It is better to use a woven mesh, as it forms voids on the surface to be plastered, which do not require additional surface preparation. The woven mesh is placed close to the surface and does not form the desired roughness. Therefore, under such a grid, you should first fill a thick (not thinner than 3 mm) prostyle cutter and already nail it over it. Then the necessary voids are formed between the woven mesh and the surface.
It is much better when, instead of drani, they fill in carved slats of a thickness of 5-6 mm or willow rods, which form large voids, than stuffed dran.
The grid intended for stuffing is cut into pieces of the necessary sizes; one end of the net is nailed and tight. The tensioned net is nailed, placing the nails in square or staggered order at a distance of 10 cm from each other.
Nails take a length of 50-70 mm, but they do not hammer on the entire length, but only half or two-thirds. Not hammered parts of the nails bend, so that the mesh tightly pressed to the drains or to the slats.
If plastering is done with lime or lime-gypsum mortar, the mesh should be painted with oil paint, cement milk (which will make it much cheaper) or Kuzbass lacquer. After that, the grid is well dried.
You can tension and nail the net in any direction.
If we deal with the types of reinforcing nets, then for starters, we can distinguish two of their main types - a fiberglass and metal reinforcing mesh. Now more about each of them.
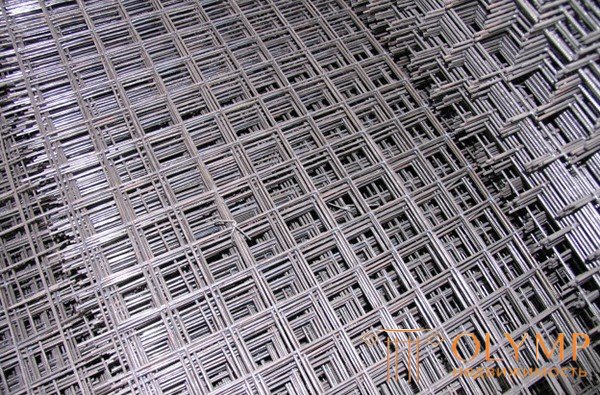
Grid reinforcing photo
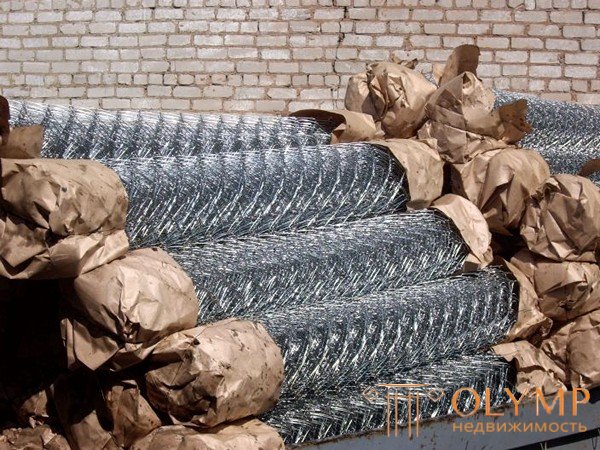
Grid reinforcement photo
In addition, all metal reinforcing mesh can be divided into roll and section. By the way, on this basis it is possible to distinguish a grid for plaster from a similar product for a screed - as a rule, all plaster meshes are made in rolls, and plaster meshes as separate elements. It is connected with convenience in work - you will agree that it is easier to lay separate nets under a tie than roll out roll material.
Game: Perform tasks and rest cool.11 people play!
Play game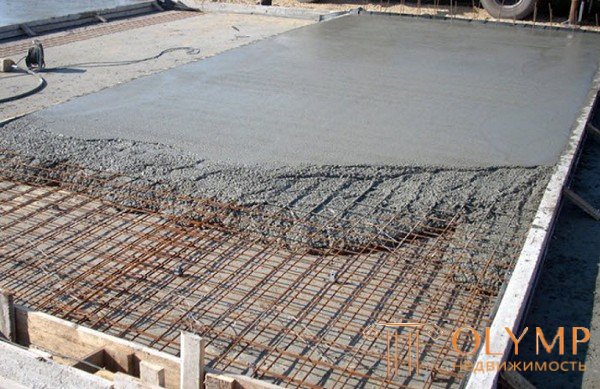
Metal mesh reinforcing photo
Now a few words about the fastening of the metal reinforcing mesh - depending on the surface, the technology of its installation may differ. Take, for example, metal - the grid is simply welded to such a surface using a welding machine. It is more convenient to fasten a thin reinforcing net to wooden surfaces with a stapler loaded with large staples. A thicker mesh can be screwed with screws or nailed. To the concrete and brick surfaces of the grid are attached with dowels with washers. As for the grid for the screed, it does not fasten at all, the only condition for its installation is the distance from the floor. The grid is simply obliged to be inside the screed, and in order to achieve the required location, either pebbles or bars are placed under it.
Game: Perform tasks and rest cool.11 people play!
Play gameAlso, all metal plaster meshes are divided by cell size. Here the principle is simple - a stronger surface requires more careful reinforcement. As for the screed, for high-strength products of this type will need a grid with a cell 50 to 50 mm. If we are talking about a slight strengthening or preventing cracking of the screed, then you can use a large cell.
Well, in conclusion, I would like to talk about the alternative, which in some cases can provide more substantial and, most importantly, simple help in deciding how to improve surface adhesion. This method is not a panacea and is used exclusively for plaster walls and ceilings. This is a well-known primer "Betonokontakt." In fact, it is a strong adhesive, which included quartz sand. It is thanks to him that the surface roughness increases. With this primer, it is possible to glue tiles on ordinary glue for tiles, even to such smooth surfaces as glass.
That's all you need to know about how and where the reinforcing mesh is used. You should not forget that in many respects the quality and characteristics of the surface trimmed with it depend on the thoroughness of the mesh fastening.
SNiP 3.04.01-87 "Insulating and finishing coatings" states that upon completion of plastering, the depth of irregularities of the plastered surface when checking the two-meter rule should not exceed: 5 mm for simple, 3 mm for improved and 2 mm for high-quality plaster.
All irregularities of the plaster surface are finally smoothed with a putty. Gypsum plaster in contrast to the automotive is not very strong and can crack with time. Cracks can also appear on polymer putty, if the bases are movable: a new brick house that shrinks; joints and corners of sheets GCR, GVL and DSP; joints of reinforced concrete slabs of prefabricated houses; hardwood floors, etc.
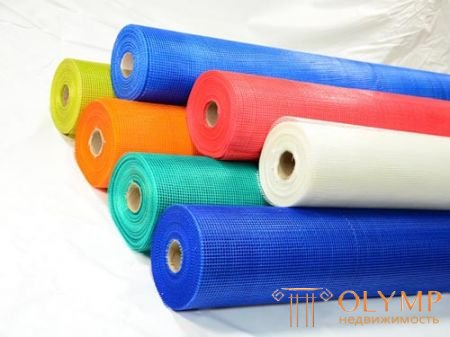
In order to avoid the appearance and propagation of cracks, a reinforcing mesh for putty (paint mesh) is used. It is made of fiberglass impregnated with a polyacrylic dispersion. The grid is placed inside the leveling layer, but more on that later. Reinforcement putty reduces vibration and reduces the deformation of the finishing layers by mechanical action.
If, due to improper preparation of the putty from a dry mixture or if the finishing work technology is not followed, the putty will peel off, the reinforcing mesh will keep it in place.
For spackling work, glass cloth mesh with a 2 mm by 2 mm cell is most often used. Fiberglass mesh resistant to alkalis, does not rust, durable, has low weight and significantly improves the mechanical strength of the layer of putty. The grid assumes the load caused by sudden and repeated changes in temperature and humidity in the room.
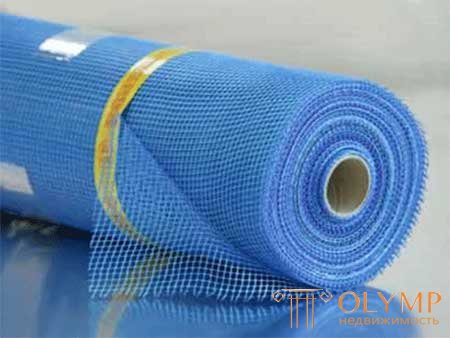
Paint mesh in wide rolls (usually 1 m) is most often used for:
Game: Perform tasks and rest cool.11 people play!
Play game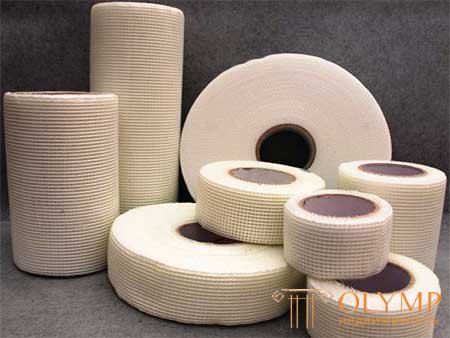
Serpyanka is the same fiberglass masking machine with a square cell putty, only in the form of a narrow strip and often with an applied adhesive. It is produced in small rolls with a width of 45 mm to 250 mm and a length of up to 200 m. Serpyanka is most often used for:
Game: Perform tasks and rest cool.11 people play!
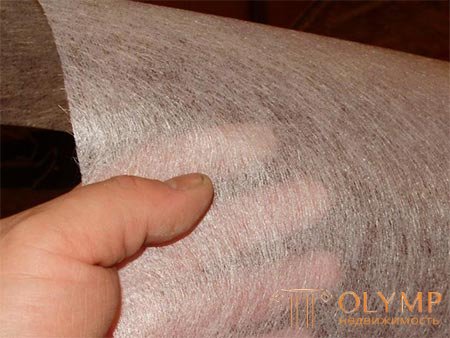
Play gameFor example, when leveling ceilings with a vapor-permeable gypsum putty, the adhesion of which to reinforced concrete slabs is rather weak. Fiberglass is glued to the surface of the plates and increases the adhesion of gypsum plaster due to its uneven surface. In addition, it is convenient for finishing large volumes, as it comes in rolls of large width.
The reinforcing properties of the mesh for the putty are best manifested when placed inside the leveling layer. Moreover, the closer to the outer surface it is located, the less likely the occurrence of cracks. The technology of reinforcement putty following:
After complete drying of the reinforced layer, it is ground with sandpaper or a sanding net. For a perfect leveling of the surface of the walls or ceilings, a final, very thin layer of finishing putty is applied, which, after complete drying, is sanded with fine-grained sandpaper or netting. After applying and complete drying of the final primer you can start painting work.
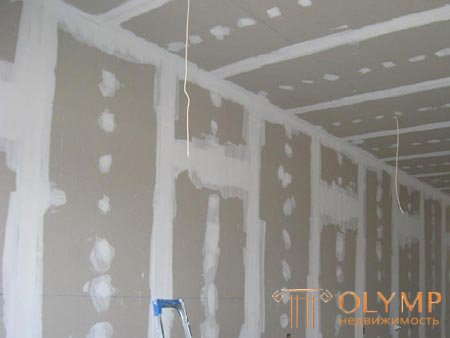
The grid with an adhesive layer at the joints of sheets and panels is used a little differently:
After grinding and complete drying of the primer, proceed to painting or wallpapering.
Fiberglass is also first glued to the primed surfaces: a layer of glue is applied with a roller, the webs are stretched and pressed by the same roller with glue, each subsequent strip overlapping the previous one by at least 5 cm. - polishing and priming.
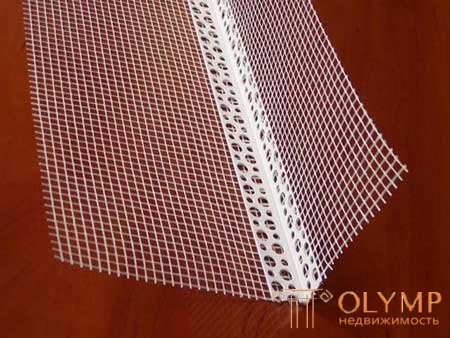
For the reinforcement of putty on the outer corners of the openings, you can use a special corner with a welded serpyanka. It will additionally protect the putty from chipping while careless movement of drunken elephants. Internal corners, as a rule, are reinforced with a regular grid or cobweb.
Что бы оставить комментарий войдите
Комментарии (0)