The idea of creating shelves of drywall arises approximately simultaneously with the thought of using this building material for wall cladding. Indeed, why not create a few shelves where you could store books, keys, paintings, statues and other "small things". Although with the right approach such shelves may well be used for more cumbersome things, such as a monitor, microwave or television. In any case, a wall of drywall with shelves will help solve the problem of storing many things, or simply decorate the apartment.
Content: [hide]
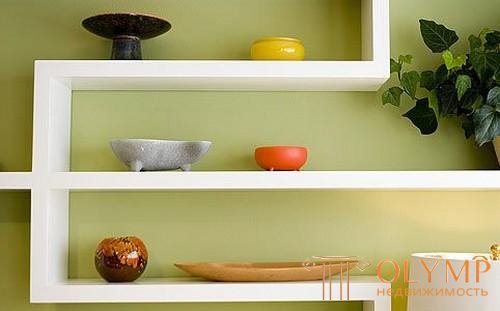
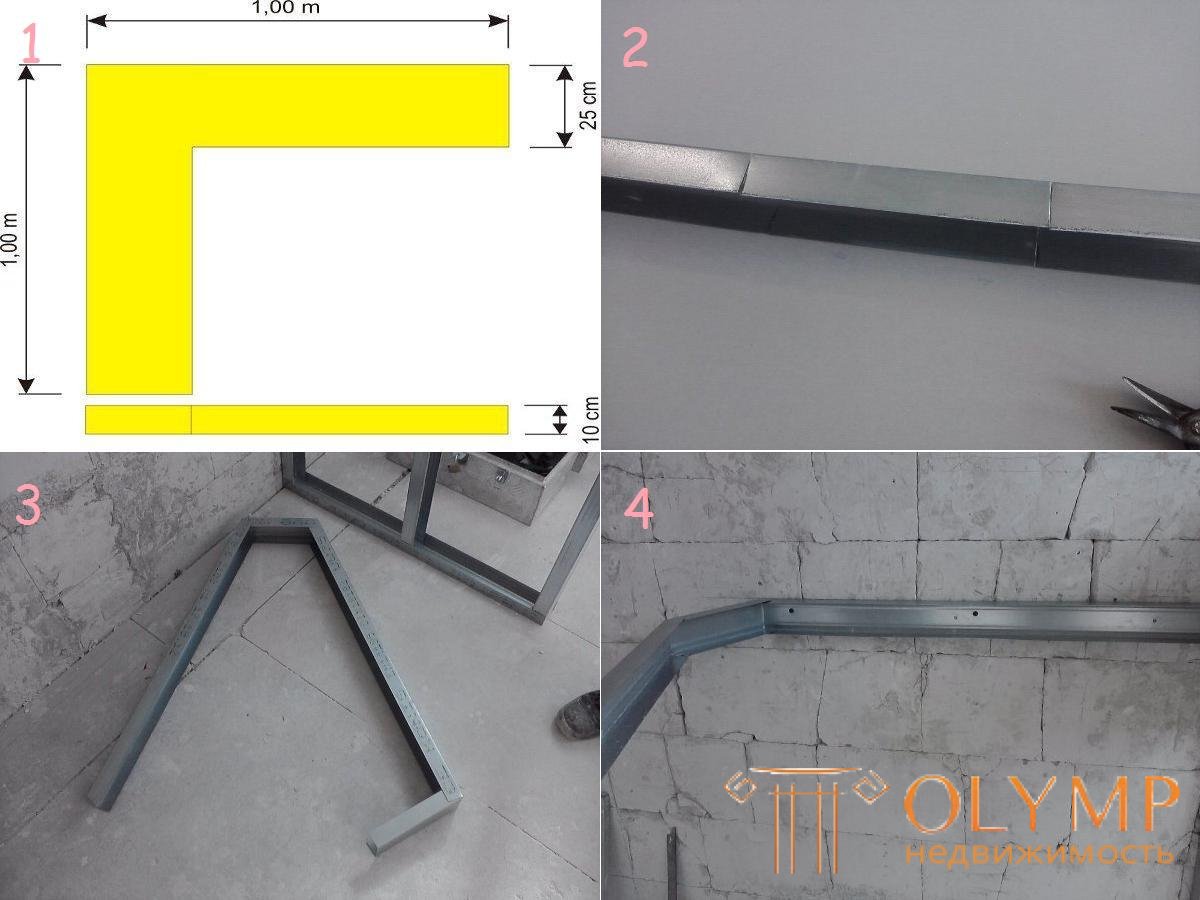
Shelves can be made of drywall of any length, size and shape.
At first glance, a drywall sheet is not very suitable for creating shelves, because its strength causes reasonable doubts. However, with the right approach, it will become clear that the reliability of such a shelf does not depend on only one drywall. Take a look at the advantages of this material, which can push to create a shelf of plasterboard.
If the shelves are created simultaneously with the plasterboard wall cladding, then no need to think about any additional tools or fasteners. Shelves will require the following materials:
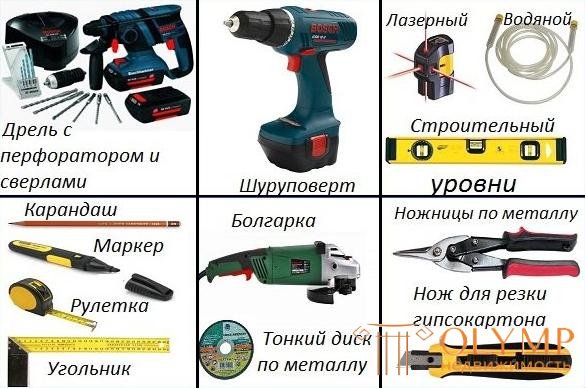
Special tools speed up and simplify work.
You also need to stock up on the following tools:
Not all of the above may be needed. For example, if shelves of plasterboard on the wall are used for heavy objects, then metal profiles will be required, which will help to increase the stability of the frame. If the shelf has a decorative purpose, then it will be enough to use a rack profile with ordinary guides.
For finishing, you may need a primer, putty, serpyanka, as well as a brush and spatula, but this is another story.
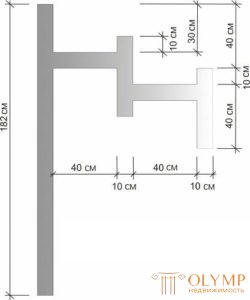
Front view of future shelves
Before you make a shelf of drywall with your own hands you need to decide what it will be. There is a mass of options of shelves, and everyone has to decide on the choice independently. You can make long shelves or short. You can make them a couple of pieces, and you can cover them with the whole wall. They can be angular as well as radial. The final version depends on individual preferences.
Also, before starting the design, you need to find out what loads the shelves from GCR will withstand. This affects not only the choice of profile, but also the required thickness of the gypsum board. The thinner it is, the more loads it can carry. The standard wall thickness of plasterboard is 12.5 mm. If the shelves are of a purely decorative nature, then they will be suitable for ceiling or arched drywall, the thickness of which is 9.5 mm and 6.5 mm, respectively. These indicators are averaged, as they depend on the manufacturer.
Even the thickest gypsum can not withstand all possible loads. Therefore, pay attention to the profile, due to which the frame is formed. It is on the frame should go all the load. There are, of course, a gypsum plasterboard whose thickness exceeds 12.5 mm, but they are rarely found and weigh a lot, so it is better to pay attention to the strength of the frame. For example, consider how to set the transverse stiffeners. Or think about the props.
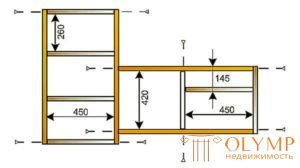
Calculating the size of the shelves do not forget about the thickness of the profile
When it is exactly clear what needs to be created, it's time to make a sketch. The sketch is a type of shelf after installation. Such a drawing of shelves made of plasterboard will help determine the amount of material and fasteners needed. Remember that the standard plasterboard width is 1.2 meters, but the length usually ranges from 2 to 3.5 meters.
After drawing a sketch, a person usually sees which shoals were in his plan. Often the planning of the shelves is changing, because what was seen in the head, in the picture it turned out not very beautiful. On the wall it can be even more unsightly.
As a result, the project should be selected in which the number of joints and connections is minimal. This will simplify the already difficult job for a beginner as much as possible.
When you say the word shelf, it means a rectangular design. But the corner shelves of drywall do have a more beautiful look. In addition to their aesthetic purpose, they are used to fill the space in empty corners. By the way, the corner shelves due to their design are stronger than rectangular counterparts. So they can be used for their intended purpose, without fear that they will bend too much.
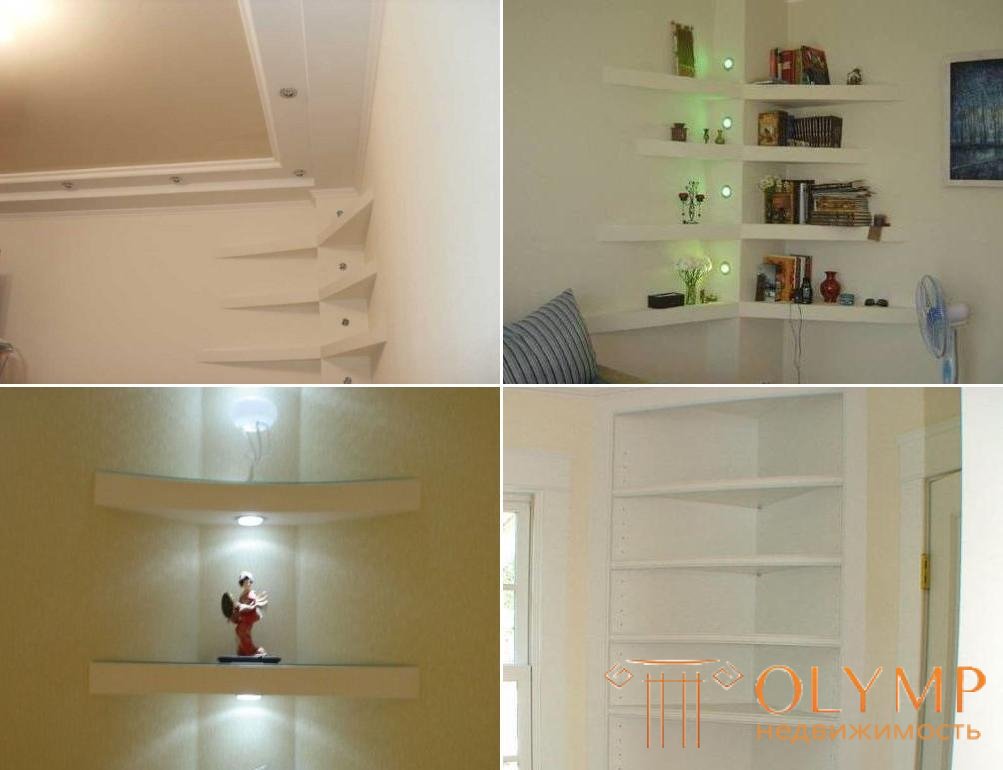
Corner shelves are mounted on two rack profiles and can withstand heavy loads
You can create corner structures without sides, which means that the material consumption will be less. For covering the front part of the corner shelf, it is best to use arched drywall (you need to use the remnants of this material, because to buy a whole sheet for such purposes is irrational).
Arched drywall sheet is very flexible, which means it will be possible to make the shelves concave. In this case, they will look much more beautiful than if they had been given a triangular shape.
For the strength of the shelf, in addition to the frame, the thickness of the drywall plays an important role, but it is the one that sheathes the top of the shelf. Therefore, thinner and cheaper sheets can be used to trim the bottom or sides.
The use of the profile and guides when creating the frame is the main step in the process of creating shelves. Everything literally depends on this process. First, the shelves are created from the drywall profile, and then they are sheathed by the sheets themselves. But let's discuss in more detail.
There are two main ways to create a frame under the shelves.
It would not be superfluous to know what strength characteristics plasterboard structures may have. This information can be found in the table below. The data in it is more suitable for those who are going to install shelves of drywall after the entire wall has been sheathed and not thought through them initially.
| Strength characteristics of drywall constructions | ||
| Indicator | HL 12.5 mm | GKL 15 mm |
| Necessary effort to pull out a plastic butterfly anchor 8 mm | 50kg | 65kg |
| Maximum load per 1 anchor | 25 kg | 35 kg |
| The maximum weight of the shelf that rests on two anchors | 50 kg | 70 kg |
Creating a frame from profiles you need to mark the wall. Having scored the places where the profile will be laid and fastened, it is possible to ensure that the gypsum cardboard shelves come out perfectly even. Fastening the profile to the wall in marked places is done with the help of dowels. They can be both metal and nylon (can be used if the shelf is made as a decorative element).
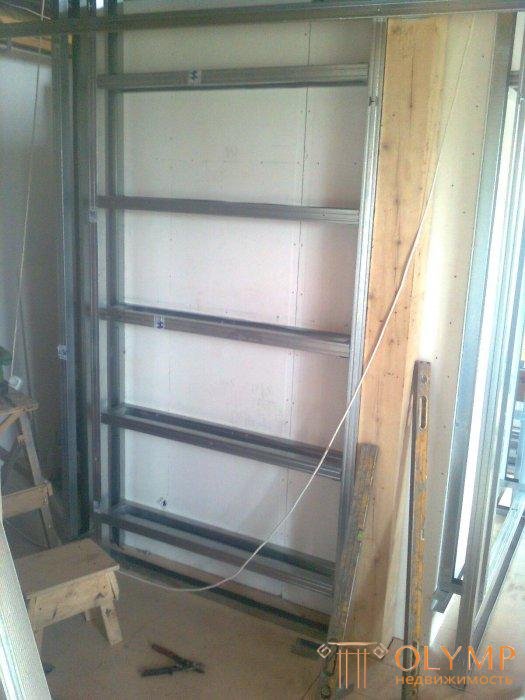
With electronic level, the design will surely come out flat
The greatest load will go to the profile that is attached to the wall along the entire length (so do not feel sorry for the dowels). A rack profile is used for this. However, if the shelf is not made narrow and not for decoration, then we should use jumpers to increase the strength of the frame. A guide profile is used to create jumpers and other parts of the frame.
To know how to make the shelves of drywall with your own hands, you need to be able to attach the guides to the rack profile. The rectangular frame is made of one profile and three guides. They need to be properly connected to each other. This is done in one of two ways:

Profiles can be attached to each other in a variety of ways.
To increase the strength of the structure can be used vertical racks. In this case, the guides will be attached to these racks and have a support, and not “sag” in the air. At this stage, the level and plumb line is used so that the stand is clearly vertical. It can be attached to the floor, ceiling, or both at the same time (depending on the selected layout).

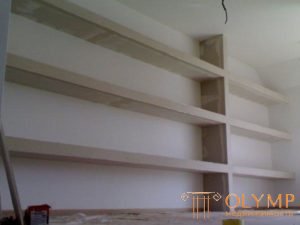
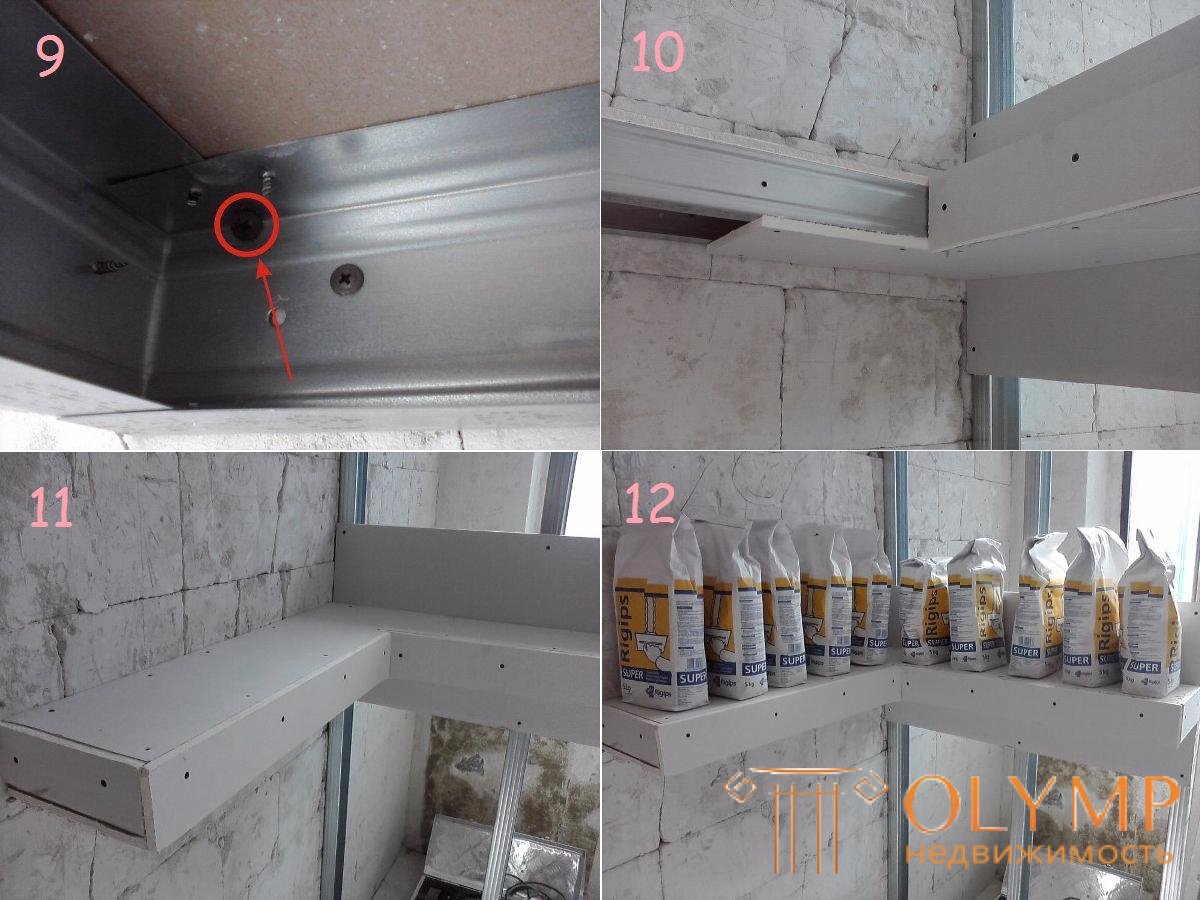
When the frame is ready and securely attached to the wall, you can proceed to its trim. This is done very simply and does not cause such difficulties as in the case of the creation of the frame. To start a sheet of drywall need to cut to the available sizes. It is necessary to calculate everything in advance so that the minimum number of sheets for plating is gone. Shelves made of plasterboard will be perfectly even if the layout is done carefully so that the edges do not crumble.
In order to prevent the self-tapping screws from falling into plaster during fastening due to the large force on the screwdriver, a special bat can be used. We are talking about a bit with a limiter, which rests on a sheet of drywall just so that the cap of the screw goes to the desired depth, flush.
For the drooping of the gypsum board to the profile, 3.5 mm self-tapping screws are used. In this case, the mounting step can be standard 15-20 cm. The moment is ambiguous about the length of the fastener. Standardly it is considered that the length of the screw in this case should not exceed 25 mm. However, for those who work with GCR for the first time it is better to take screws of greater length (35 mm), although they are more expensive. The fact is that the screws can bend the profile and move the sheet of gypsocraton away from it. This often happens to inexperienced workers who have not yet got the hand to work with drywall. Because of this, the minimum length of fasteners may not be enough.

By cutting a profile correctly, you can create a frame from it under one shelf.

Sheathe frame at the top, bottom, and then from the sides
The finished shelf can easily withstand heavy weight.
By the way, for the same beginners it is better to screw in the screws one after the other, and not in different places, in order to attach a sheet faster. If they are drilled consistently, there is less chance that the profile will be pressed through, because in the neighborhood there is already a mount that holds it.
How to finish the shelf of drywall? For this can go a variety of materials, but most often use paint and wallpaper. Working with wallpaper is very hard and long. It will leave a lot of nerves, but the result can not be achieved. Although if you cut everything right and hide, it will be very beautiful. And the wallpaper also hide the cracks of drywall, if they arise. Usually wallpaper used for painting.
 If you paint the shelves immediately, you will need water-based paint. If you take a thick paint, you can create on the top of the shelf stains with a brush, creating a kind of patterns. In any case, before painting the shelves of drywall they need to prepare. To do this, putty all joints and caps screws. In places joints GKL need to create a right angle, because there are often problems with the alignment of the surface. That putty will help make the shelves completely smooth, and not just the top and bottom.
To make the edges more durable use paint corners, which are attached with putty. You can smear the edges with a putty, and then press in a corner. He will stick. If the shelves are arcuate, then the painting corner will not be so easy to hold, it will have to be fixed with a stapler, and then puttyed. This technique will allow you to get a completely smooth shelves, ready for further finishing layer. Their edges will become strong, and will not crumble in the event of an accidental impact. After the putty has dried, it will need to be sanded using emery paper. The surface will come out completely smooth.
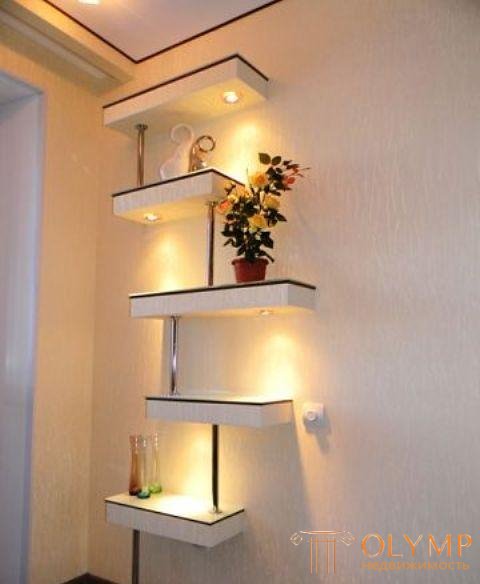
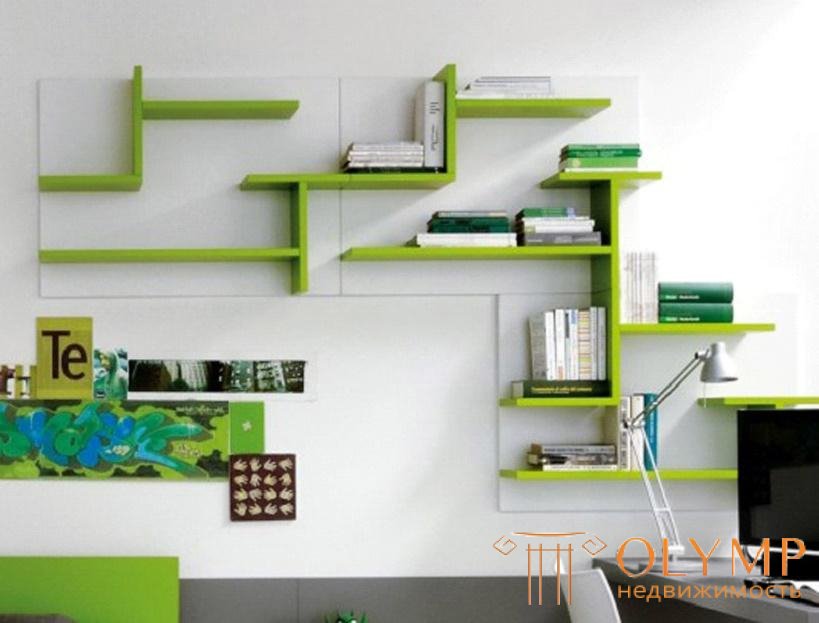
See examples of drywall shelves that you can do yourself.





Что бы оставить комментарий войдите
Комментарии (0)