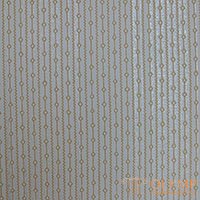
Good day, dear readers. Today, you and I will learn everything about wallpapering with your own hands ... Only bare facts, without embellishment, without censorship! Well, jokes, jokes, but it is desirable to be able to glue them. And do not forget that we live in the XXI century, which means that we will not disassemble the glueing of dull paper wallpaper on newspapers using PVA, but will learn how to glue modern, on normal glue. In this lesson we will analyze what types of wallpaper now exist, what adhesives are, what is the difference between them, well, let's talk about the technology itself.
In general, wallpaper made of fabric existed in Europe in the Middle Ages, and were, of course, a luxury item. The walls and ceilings were then upholstered with this fabric, hence the word “wallpaper”. They ceased to be a luxury-style only in the mid-nineteenth century, when a steam-mechanical printing press was used to manufacture them in the UK. Now, if you wish, you can count about a dozen different types of this finishing material. We list the most basic.
Content

Paper. The most affordable at the price of their appearance, in addition, they are simply glued, and therefore very popular. Paper is an environmentally friendly material, well breathable, but such wallpapers can only be used in rooms with low humidity, they can not be washed, and the strength is quite low. There are smooth paper and structural wallpaper. Smooth - entirely made of paper with printed pattern; structural ones are made by applying a thickened ink on paper using screen printing, they can be single-layer and multi-layered. Multilayer - stronger and better hide minor surface defects.
Structural wallpapers often have a variety of embossing, which is formed by squeezing the pattern with a relief roller. Despite the fact that, in general, they are not water resistant, there are also “for painting” with a water-repellent applied to the surface. They can even be cleaned with a damp cloth if the paint applied to them allows it.
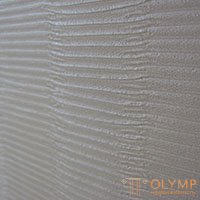 Vinyl. Are made by drawing on a paper or fabric basis of PVC with the subsequent drawing a drawing or a stamping. This type of wallpaper is relatively new. Its main advantage over paper is moisture resistance, the possibility of wet cleaning. In addition, vinyl wallpapers are stronger and last longer, do not fade in the light and do not change color under the influence of the external environment. And now about the sad. These wallpapers do not let the air through. What it matters in real life is hard to say. But there is such a thing, popularly called a “window,” which can be opened, and it will let through a million times more air than the walls of a room. And it is unlikely that concrete walls and ceilings let it pass ...
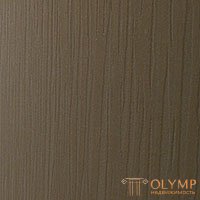 There are still foamed vinyl wallpaper. They have a very pronounced texture, mainly imitating decorative coatings (for example, “bark beetle”), due to this they allow you to completely hide minor surface defects.
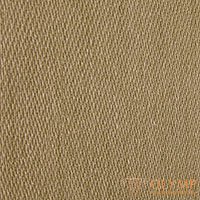
Vinyl wallpapers on non-woven base are even more durable. Another plus of this type - as a rule, the wall is smeared with glue, and not the canvases, which is much more convenient.
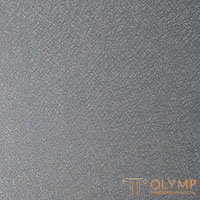 Non-woven wallpaper made of textile or cellulose fibers based on polymeric binder. Breathable, hypoallergenic, not afraid of water. Not bad reinforce the surface, which, incidentally, applies to the previous form. Glue is also applied only to the wall.
 Silk screen printing In principle, it is paper + vinyl, but silk is interspersed into this vinyl by a special technology, which enhances durability and their ability to withstand the effects of aggressive media (this is the most long-lasting wallpaper), and also gives a very solid appearance.
 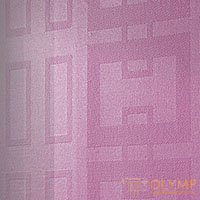 Glass fiber A special type made of glass fiber of various density and thickness. These wallpapers have unique properties. First, they do not burn. Never at all. And that means they do not emit harmful combustion products. Secondly, they are made from natural components: quartz sand, limestone, clay ... 100% environmental friendliness. Thirdly, they are very durable, it is not for nothing that the main purpose of the painting glass fiber is surface reinforcement. In the fourth - they are over-durable; This is glass fiber, they do not care for a while. Fifth, glass wallpaper "breathe." In the sixth, they can be repainted up to 20 times without losing the relief of the pattern on them. Tired of color - picked up and repainted.
There are also textile, natural, liquid wallpaper ... We will not consider them because of their rarity. Consider better varieties of glue.
Modern wallpaper adhesives, as a rule, consist of modified starch and / or methylcellulose, antifungal additives and, sometimes, PVA and an indicator - a substance that is dyed in any color when interacting with water. Accordingly, when the glue dries, it becomes colorless again.
Cheap glue for paper wallpaper and so on. Universal most often contains only starch, an indicator and antifungal components are already added to its more expensive varieties. Do not use it for gluing heavy types of wallpaper, such as vinyl. It is applied on the wallpaper, which after application is kept for several minutes for impregnation.
"Vinyl" glue is most often made on the basis of methylcellulose. It has a much greater adhesive ability than starch. It is applied only to the canvas, after which you need to wait some time until it is saturated, usually 10 minutes. There are wallpapers that require glue to be applied to the canvas and to the wall. Usually it is very dense vinyl on non-woven base.
The composition of the "non-woven" glue is identical to the composition for vinyl. The difference lies in the fact that here it is applied not to the canvas, but only on the wall, although there are rare exceptions.
The same glue is suitable for glass fiber, it is usually written “for heavy wallpaper”, but there is also a separate class for glass walling, although, of course, the composition is the same there, just the concentration of MTS in such glue is higher, the mass is thicker.
For wallpaper borders (for glueing both on the wall and on top of the wallpaper), special ready-to-use glue is used, which is indicated in its name. There are also special ready-made adhesives for joints and other problem areas like external corners. But they are needed infrequently.
I used many brands of wallpaper glue: Quelyd, Kleo, Metylan, Krass, Decoro, Pufas ... I don’t see any particular difference between them, I take what I have. The only thing is that I do not like Methylan for glass-fiber coatings, he stars like stinks, be alert and do not inhale it. He sticks with it is quite normal.
In general, this is the case - it is always written on the packs, for which types of wallpaper it is intended, so you will hardly make a mistake in choosing.
Before you start sticking, we need to have this:
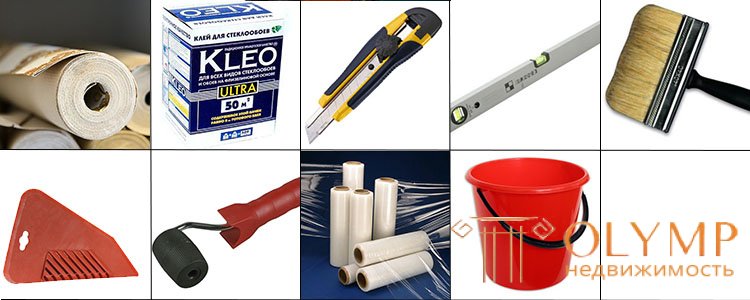
I think everyone understands that before sticking the surface should be smooth, durable and clean. Ideally, this is the original oiled surface, ground and primed surface. But what if, where we are going to work, old wallpaper is already hanging or, worse, paint? Let's figure it out.
After the junk is removed, it is necessary to refine the surface of the wall: to repair the pits, cracks; if the wall is uneven, fill it all up with sand.
Another thing, if the wall was covered with paint. The water emulsion is quite easily washed off with the same boiling water with soap, but the oil paint will have to be sanded with coarse abrasive mesh or sandpaper, although sometimes it will be easier to use an ax.
So, the walls are prepared, it is time to calculate the amount of material. To do this, measure the perimeter of the room and its height. In a roll - 10 running meters; if the ceiling height in a particular room is less than 2.5 meters, we get 4 pieces from one roll, if more than 2.5 meters, only three + fairly large wastes. We divide the perimeter of the room by the width of the canvases; standard widths: 53, 70, 106 cm.
We get the number of lanes, round up, and now we need to divide it by the number of lanes on one roll: 3 or 4, and round up again. We get the number of rolls. If we have only 3 lanes coming out of one, the width and the door can be left out of the perimeter - trimming will go there. But if we have a wallpaper with a picture, it is better to take into account the entire perimeter. All these calculations would be nice to do, simultaneously marking the walls into stripes.
The sticking starts from the window (so there will be potentially less waste, and the shadow will not interfere), it is advisable to walk with a tape measure and number each future canvas on the walls.
When the walls are prepared, the materials are purchased, you can cut them. Wallpapers without picking up a pattern can be cut into the whole room at once, but with picking up, it is better to cut strips along the way. Do it on the floor, pre-spreading plastic wrap. 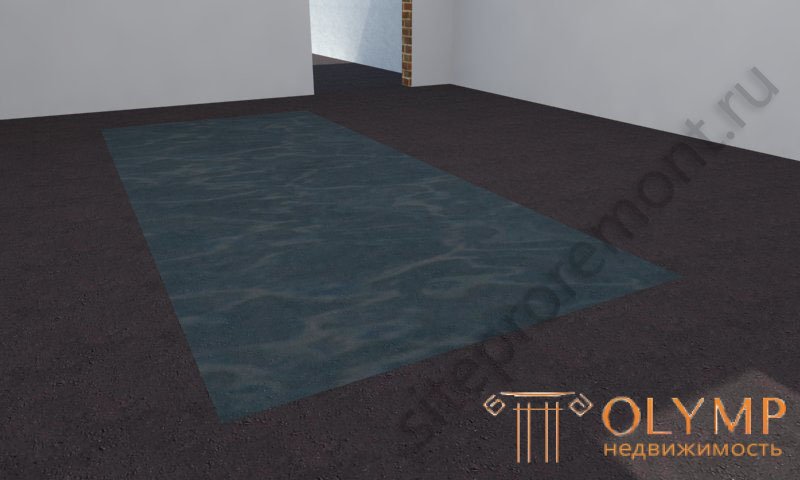
We arrange the sheets with a pattern downwards, measure the ceiling height of + 5 cm with a tape measure on them for stock, fold it, fold it and cut it with a sharp clerical knife. On each piece, mark the top of it with a pencil so that you do not get confused and stick it upside down. Cut, now you need to cook glue.
We are looking for on the package the necessary amount of water for a particular type of wallpaper, and pour it into the bucket as much. Next, we begin to slowly pour the glue into the water, you need to pour in a thin stream, stirring everything vigorously. You can mix anything, wand or hand, do not buy the same for this drill.
But if you have a drill (and a mixer, naturally), use it only at low revs. Be prepared for the fact that it will take some time, but there will be no lumps. Usually, after mixing, the glue should be allowed to infuse and swell on average 5-10 minutes. After this time, he is ready to work.
We will study the gluing process in the virtual room, the same as in the lesson about laying laminate, etc. Before you begin to glue, carefully read the enclosed instructions, and also make sure that all rolls are from the same batch. And most importantly - do not allow drafts, do not open the windows until the wallpaper is completely dry. 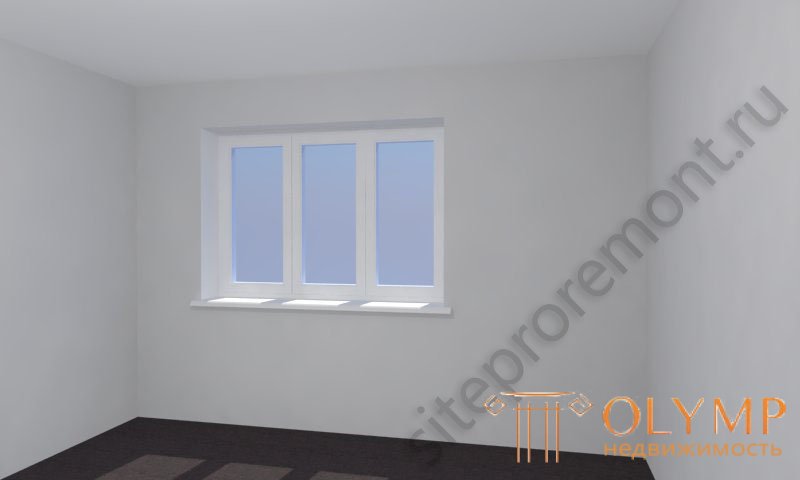
So, the cut strips are stacked on the floor, the glue is ready, we can start work. For the application of glue using a wide brush or roller with a long pile. Remember that for paper and vinyl wallpaper glue should be applied to the strips themselves, and for non-woven base wallpapers - directly on the wall.
We assume that we have vinyl wallpaper, smear the strip with glue, without leaving a gap, paying special attention to the edges. After the entire canvas is covered with glue, it should be gently folded edge to the middle, as in the figure, so that it is properly soaked. 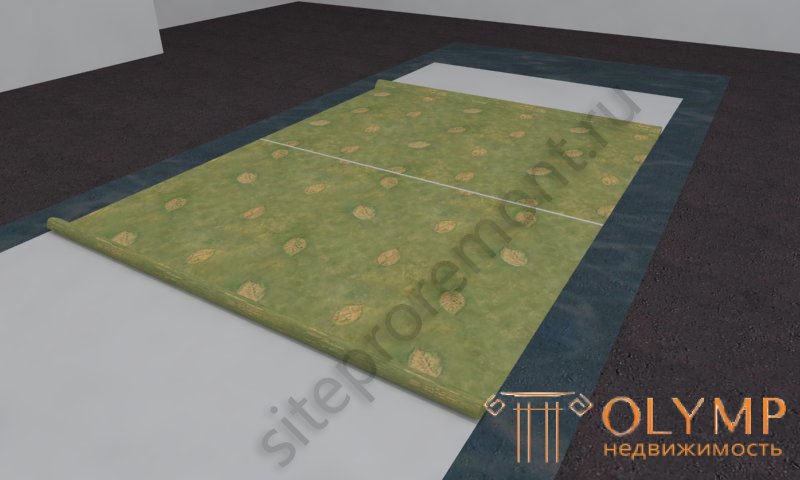
If we previously studied the lesson about plaster of slopes, then these very window slopes are even and clear, in this case we begin to glue the strip directly over them. If the quality of the slopes leaves much to be desired, then we should draw a vertical line with a plumb line or level at a distance from the window opening equal to the width of the canvas minus 3-5 cm. That is, we will get a small overlap on the slope. We use this variant in our example. 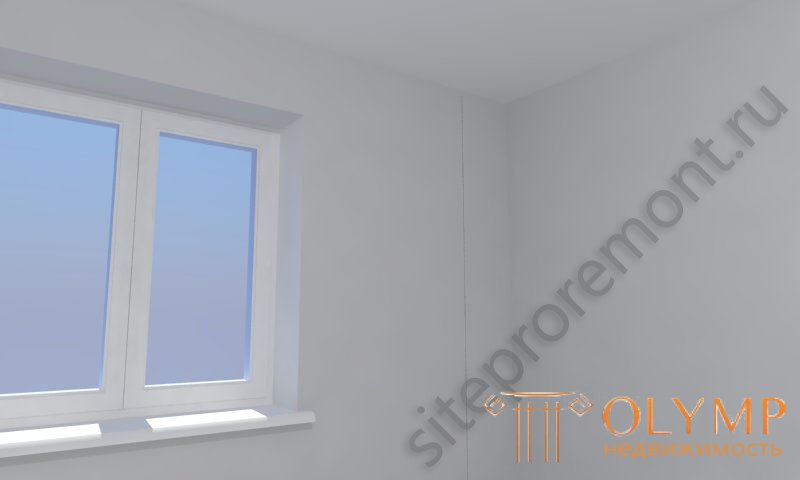
We take the soaked canvas, stand on a chair, table or something else like that. Carefully, without haste, we remove the top edge and unpack. 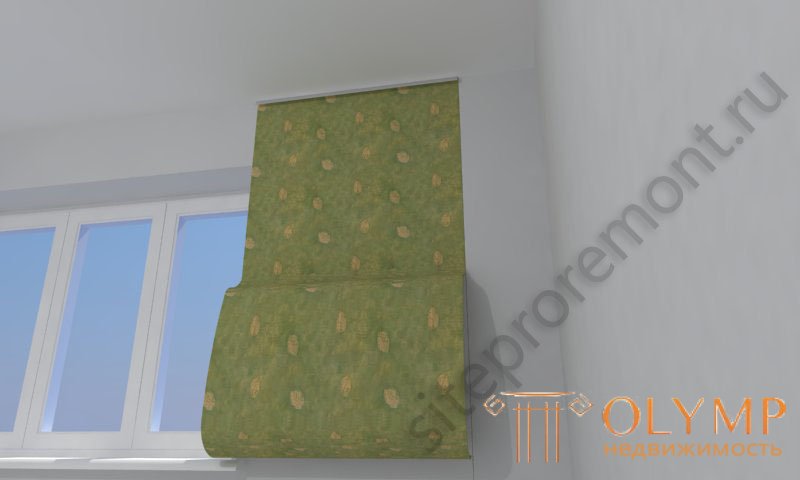
We attach the top to the line and glue the edge along it, after which we palm the rest of the canvas against the wall, just to hold. Then we take a wallpaper spatula or roller (the spatula is more convenient, but it can spoil some types of wallpaper, read the instructions) and start expelling extra glue from the canvas and from top to bottom, from the middle to the edges.
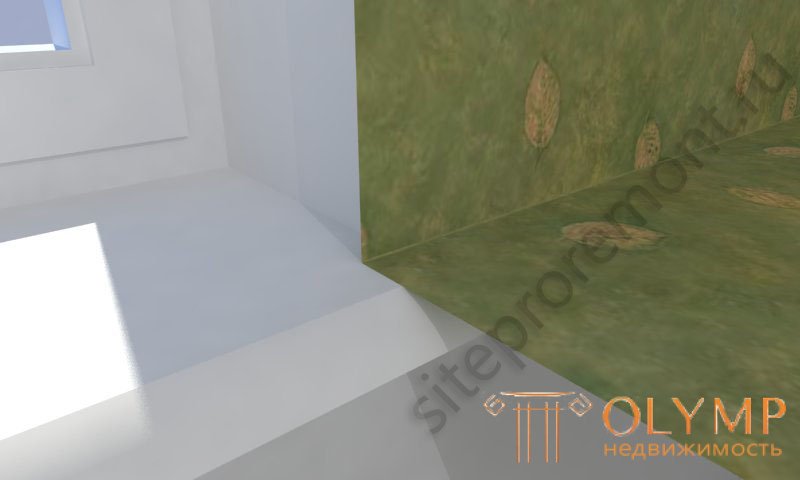
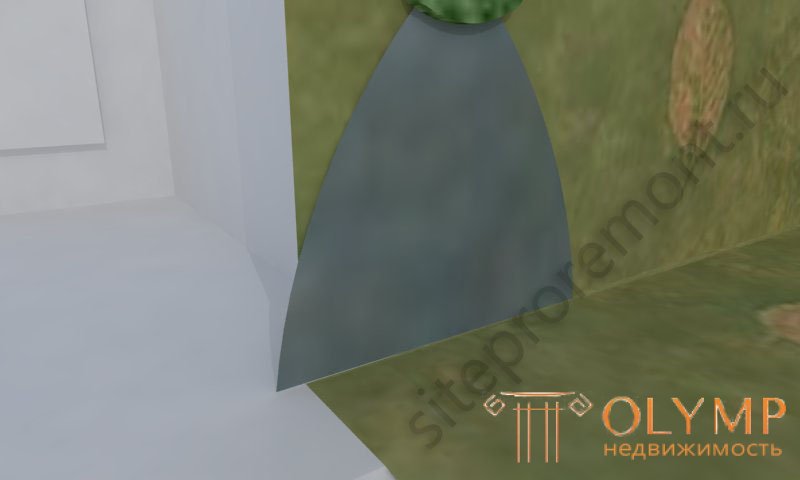
Then lower the bottom of the canvas to the floor. Now you need to cut a small vertical. Do the same, expel the glue to this level, firmly press the corner with a metal spatula and dissect: 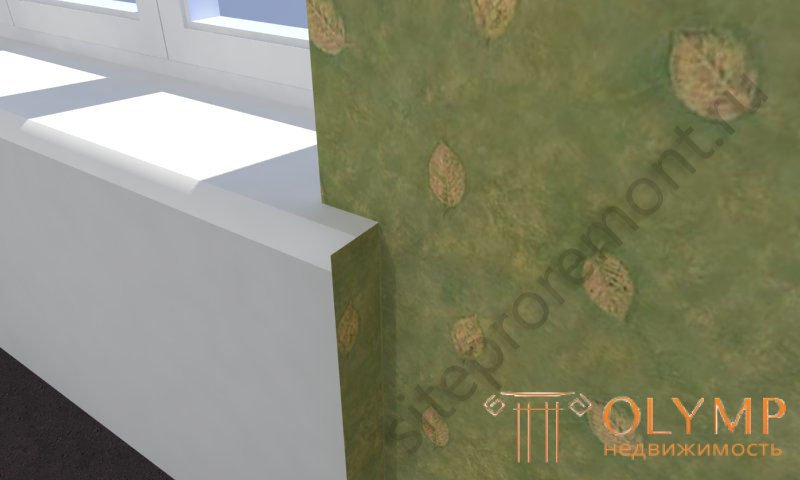
And, having expelled all glue and air from under the wallpaper, we do the same thing under the window sill: 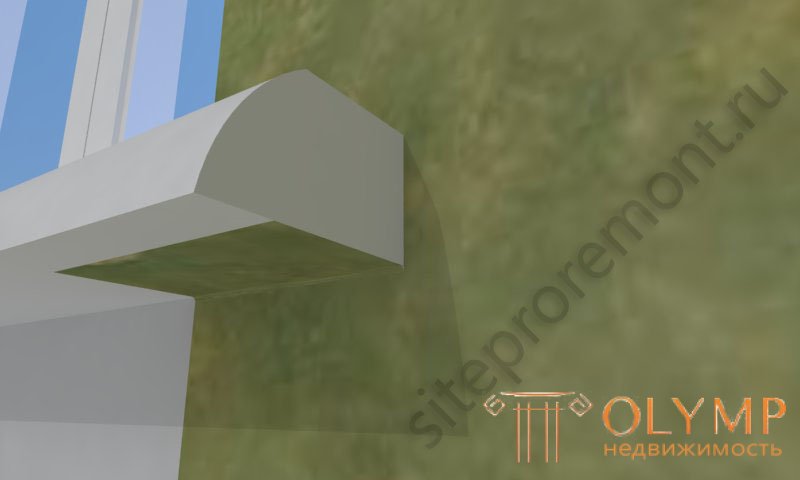
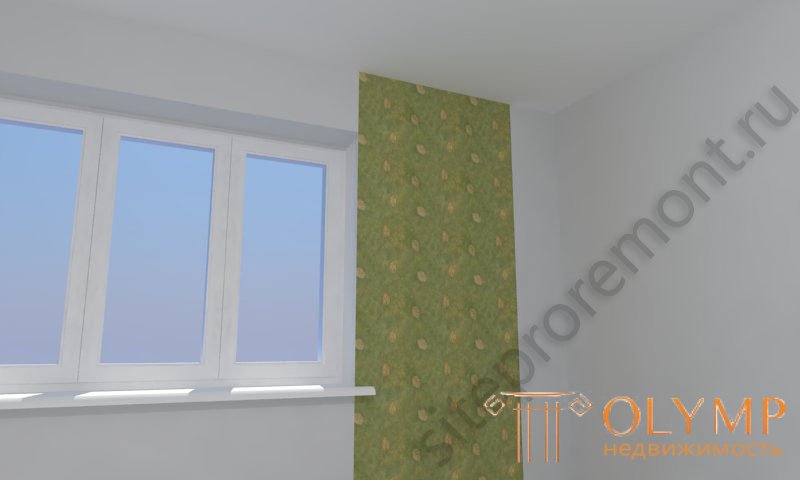
Excess wallpaper in the window opening should be cut only after the canvas is completely dry, otherwise it is possible to make not only them, but also the corner, by accidentally cutting off the paint from it.
The next canvas we have falls on the inner corner. I usually glue the whole sheet there, but for a beginner this task can be very difficult. Therefore, it is possible to recommend here to pre-cut the sheet along into two parts so that the left side would go on the next wall by about 5-7 cm. To paste this sheet is not a problem. 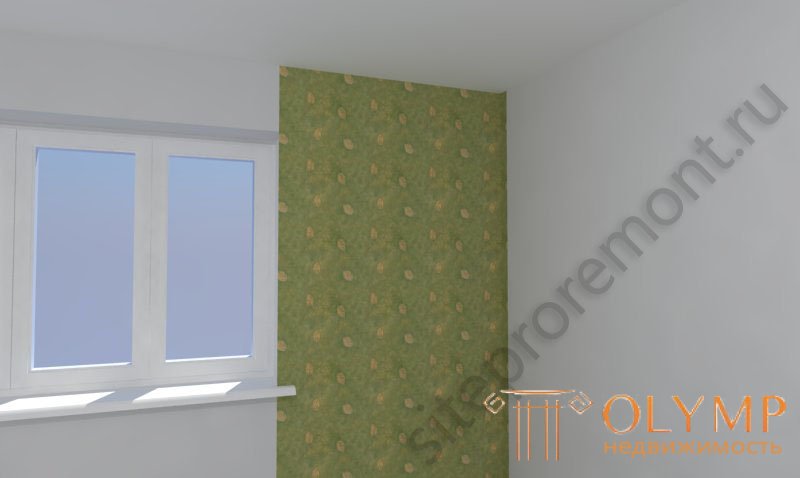
Now about wallpaper seams. Basically, they are rolled with a special narrow plastic roller. Sometimes manufacturers caution against its use, in this case it is necessary to gently smooth the seam with a wallpaper spatula or even more simply with a fingernail, but this is rare.
So, the second strip was stuck, the glue was kicked out, rubbed with a rag, now we combine the joint at a distance (vertically) of 30-40 cm, forming a tiny overlap - they rolled it with a roller, the seam in this area becomes almost invisible, the wallpaper and roller are ragged again - glue should not remain. Roll again, and so on until the roller stops smearing in the glue. Combined the following 30-40 cm - rolled, and so on to the bottom.
You should not press on the roller strongly - you can push not only the canvas, but also putty under them.
At the end, wipe the wallpaper again near the joint with a wet rag.
The right side of the canvas can be sorted out in two ways. You can glue it on the left side. If before that we cut a sheet along a sharp blade (not on weight, of course, but on a hard surface), then, as a rule, this joint will be completely invisible. Another option is to glue the right side over the corner to the corner, and then cut through both layers at a distance of 3-4 cm from the corner. This method guarantees an inconspicuous joint, since the path of the knife blade on both layers is completely identical. But it is suitable only for wallpaper without a picture. 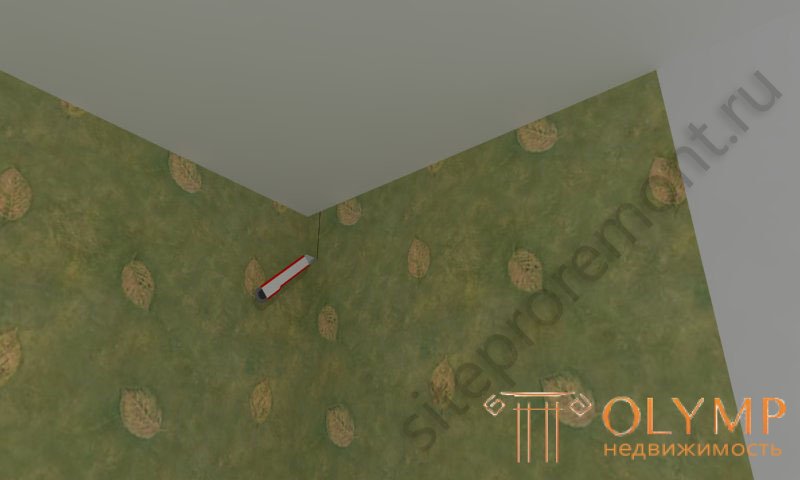
We try to control the verticality of the edges of each subsequent canvas by the level (using a laser level this is done easily and pleasantly). At the outer corners they do the same - they make an inlet of 5-7 cm on the adjacent wall and add the following canvas butt or overlap with the cut. 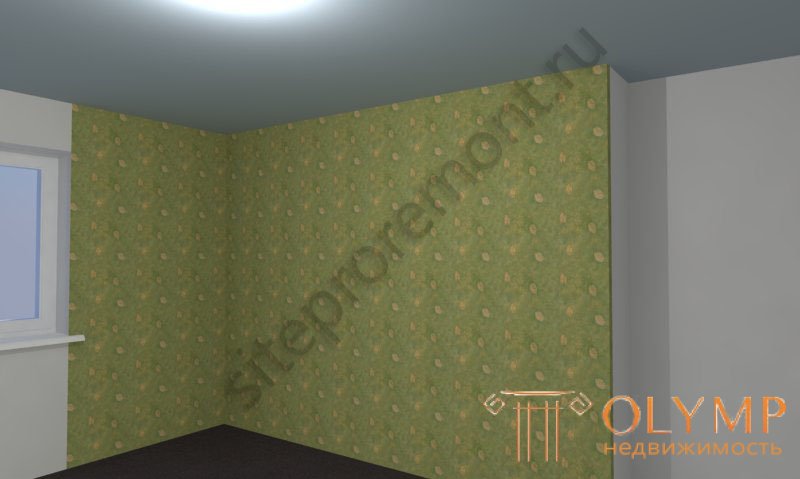
We reach, thus, to the door and stop. 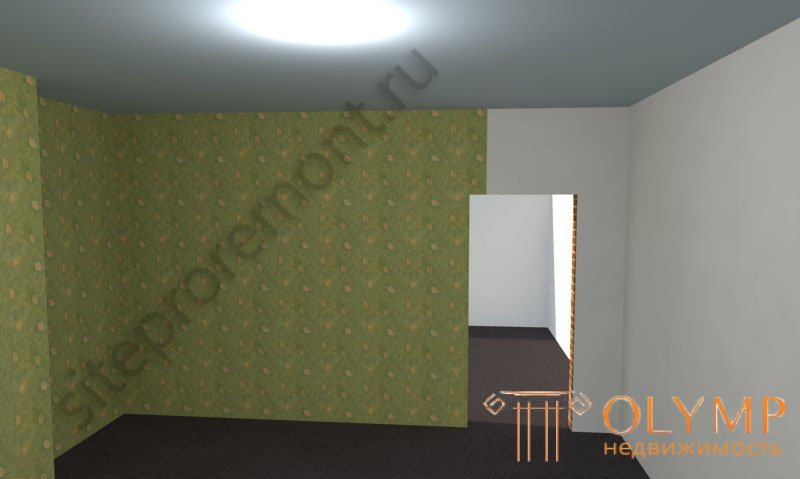
Glue the next sheet again start from the window. How this is done - we already know: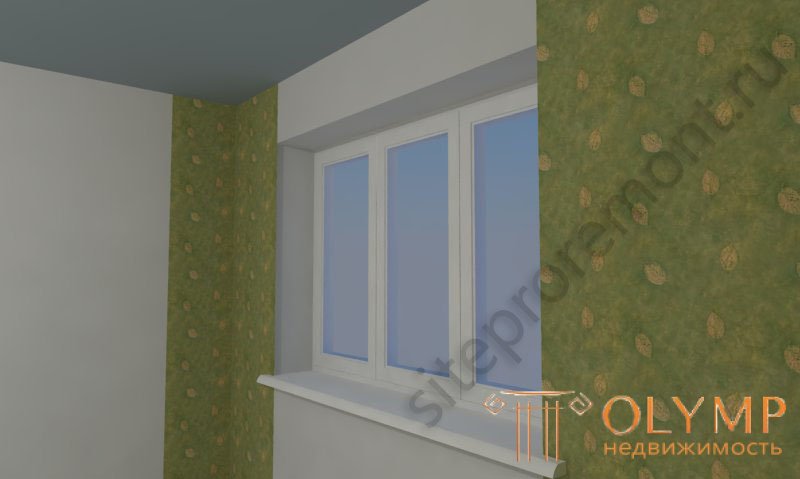
Reached the door again: 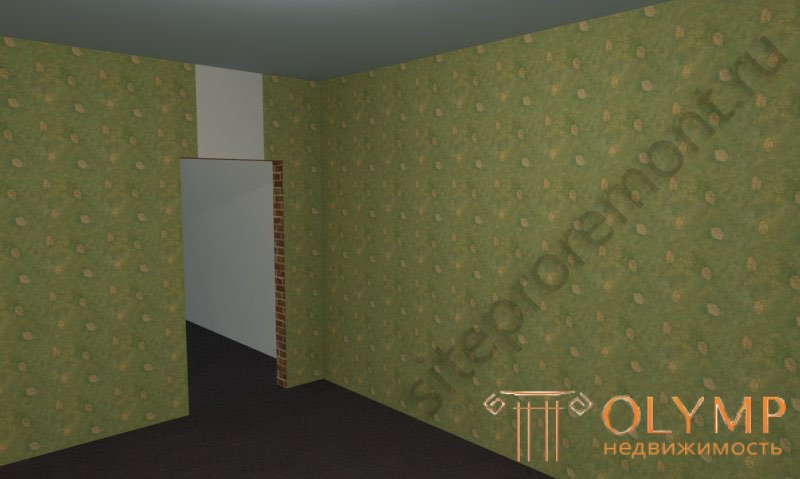
Now you need to cut wallpaper wallpaper, 10 centimeters wider than unglued distance, and glue it over the doorway with overlap with two side blades, and then cut through 2 layers (in the dotted line in the figure): 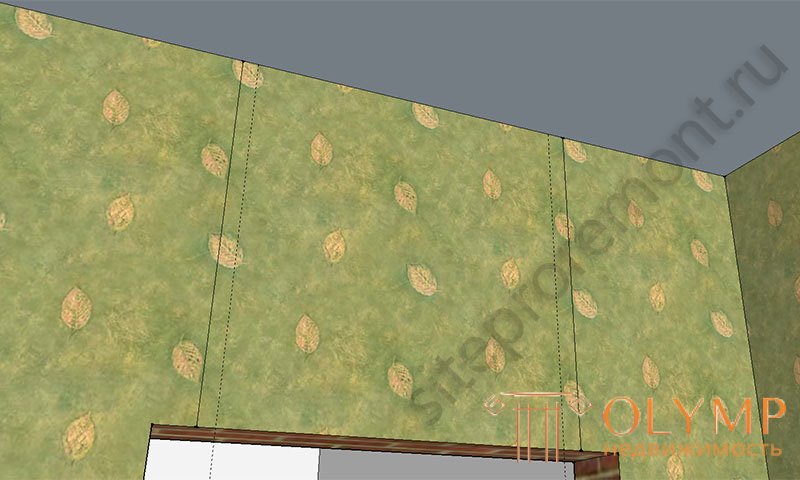
Remove excess and admire the perfect seams. We can only do the same above and below the window. First, we glue the web full width butt: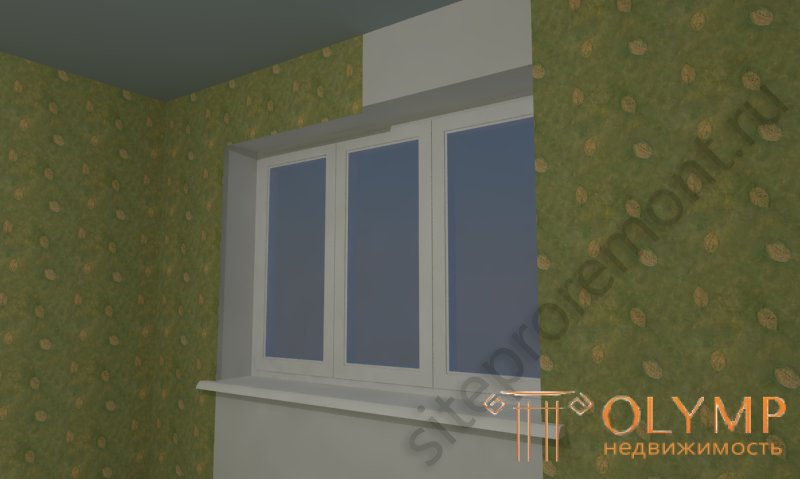
And then the remnants, as well as above the door, with cutting through both layers. 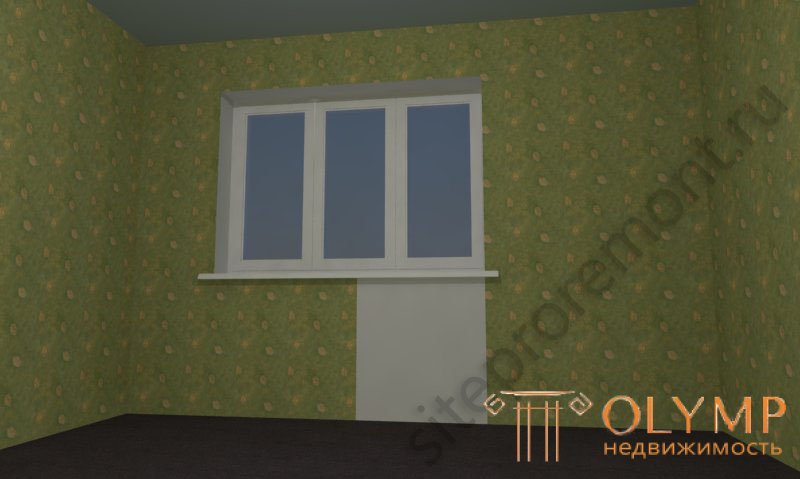
Next morning, gently blade from the knife (namely the blade, without a knife) cut off the excess on the slopes. I advise you not to do this in a zigzag, but simply by leading the blade along the plane of the slope, tilting the blade at an acute angle to the wallpaper.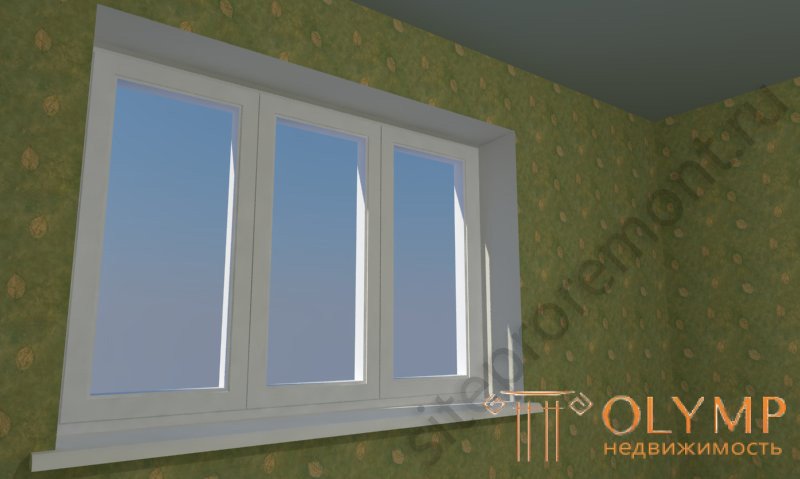
Everything, we are pleased with the result: 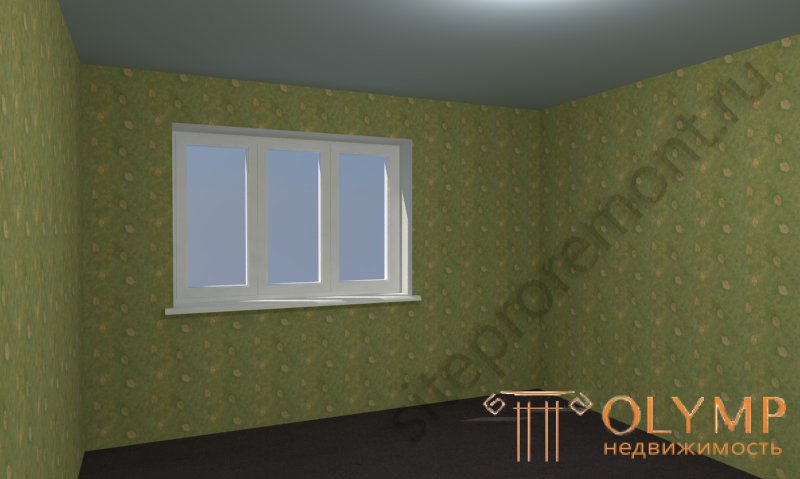
In the example, vinyl wallpapers were considered, but other types are glued in the same way, with a difference only in the method of applying glue.
Let me remind you that the tool we used a minimum.
Well, that's the whole story. I tried to answer the question “how to glue the wallpaper” in as much detail as possible, although here, of course, the simplest situation was chosen - without fitting the picture, without a border, etc. Just a basic knowledge, having that, it is easy to understand and fit, and with curbs. Subscribe to the latest articles, and good luck with your own hands!
Что бы оставить комментарий войдите
Комментарии (0)