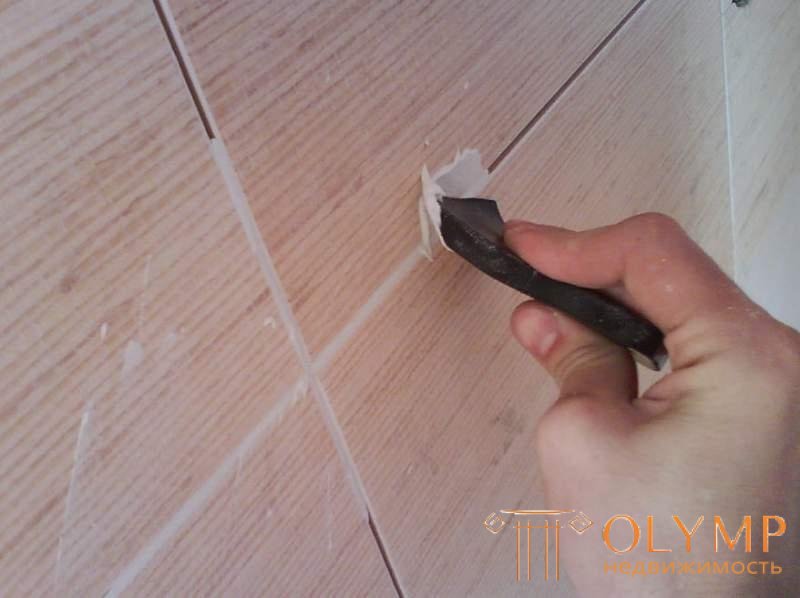
When there is a desire to put tiles in the bathroom, you have to face the problem of uneven walls. Alignment of the walls in the bathroom with drywall under the tile is the best solution. Thanks to moisture resistant plasterboard and lathing, ideally smooth surfaces are created. As a result, the process of laying tiles is greatly simplified. And it is not only about the walls, because with drywall you can sheathe anything before laying tile.
Content: [hide]
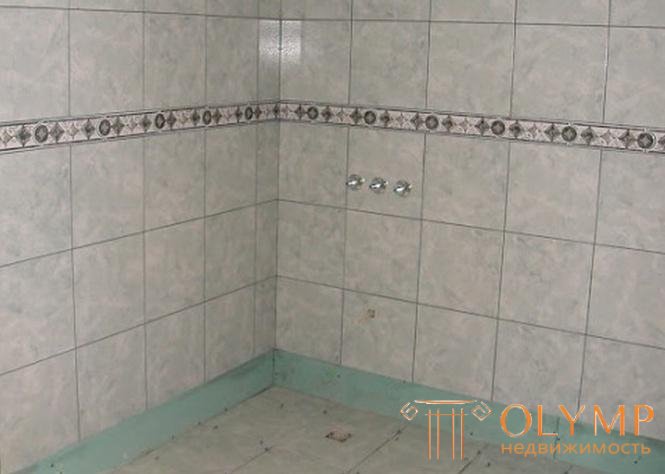
Work requires waterproof plasterboard, no options
Used drywall for the bathroom under the tile for quite some time. So enough time has passed so that you can understand what are the advantages and disadvantages of this method of finishing. It is clear that tile is the most desirable finishing material for the bath. However, it needs to be laid on something. Consider the reasons why it is GCR should be selected as the basis for finishing.
Not so much a disadvantage as a factor complicating the work is the need for additional protection from fungus and mold. But the disadvantage is the fact that drywall for the bathroom under the tile hides the place. To be more precise, this is due to the design of the frame. Therefore, in miniature baths, you can lose too much usable space.
Do not forget that the tiles are put not only on the walls, they can overlay the bath itself or the wash basin. For this, a metal frame is also constructed, which is then sheathed with gypsocratone.
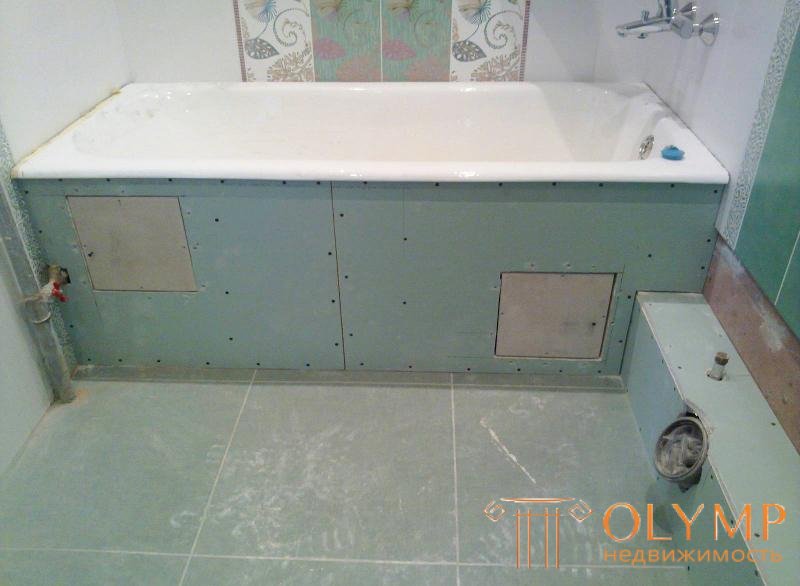
Gypsocratone under the tile can finish the bath, sink and pipes
First you need to decide on the question of what drywall to use in the bathroom under the tile? The answer is unequivocal - moisture resistant. And the point here is not in the finishing material, but in the high humidity of the room. All concerns about the fact that the gypsum wrapped in paper is not suitable for wet rooms are valid, but only for ordinary gypsum plasterboard. Moisture-resistant drywall (usually green, less often blue) was specially created for use in rooms with high humidity.
No materials will not save from damp if ventilation does not work well. Therefore, the vent hole should never be sewn up with drywall. For him, a place should be thought out in the frame structure.
Decorating a bathroom with plasterboard for tiles is not a special process that requires separate consideration. You just need to sew the sheets vertically in a staggered manner so as not to create long straight lines of the joints. Otherwise, such work is no different from wall cladding in other rooms.
We will not go into the subtleties of plasterboard plating, because the topic is different. But I must say that the drywall under the tile in the bathroom is attached to the frame of the metal profile. The pitch of the guide profile must be 40 cm so that the design can withstand the weight of the tile normally. So you should not skimp on fasteners for mounting the batten. Wooden crate is out of place for obvious reasons.
After the drywall in its place will need to conduct additional insulation joints and edges. They are covered with waterproof mastic or a special membrane. All this is done to ensure that the material does not collapse under the influence of moisture.
Serpyanka reinforcing mesh is usually attached with putty
When the gypsum board is being prepared for laying tiles in the bathroom, it is necessarily puttied. First of all, the caps of the self-tapping screws and the joints are putted, not only between the sheets, but also between the sheets and the wall. All joints should be covered with a protective grid, which is mounted on the PVA or putty.
Finishing the bathroom plasterboard tiles means full preparation of the coating to work with tiles. Therefore, it will be necessary to prime the finished structure twice intermittently to dry. It will be necessary to select a special soil of deep penetration under the tile in the bathroom so that it contains anti-fungal additives.
That tile will be visible all the time, not GCR, so its choice should be approached thoroughly. The point here is not only in the decorative qualities of the material, but also in its properties. What you need to pay attention to when choosing a ceramic tile?
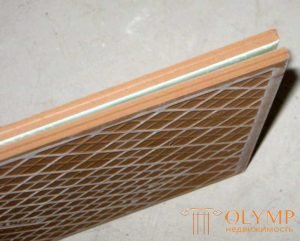 The hardness of the tile indicates its strength. Determine this parameter by eye will not work. If the tile is hard enough, then it will make a dull sound if you knock on it. A sonorous sound is not a sign of marriage. But if paired with this tile uneven color from the front side and a shiny wrong side, it is better not to buy it.
 Having picked up a tile, you need to think about a quality adhesive composition so that nothing from the walls falls away.
You can talk a lot about what should be the glue, but there are a number of qualities that he simply must possess. Glue for drywall tiles in the bathroom must be flexible. Over the years, drywall may begin to deform, and the glue must be sufficiently elastic so that this deformation does not lead to the tile falling off.
"Liquid nails" is a quality and expensive material that can be used to glue the tile to the drywall. This construction adhesive is able to withstand heavy loads, and this is exactly what you need.
Two-component adhesives are obtained by mixing the two components. They are usually made on the basis of epoxy or polyurethane. All of its properties such a mixture gets in the process of mixing the components. Therefore, you need to knead such glue immediately before you glue the tile to the drywall in the bathroom. The elasticity of this material depends on the brand and manufacturer, but its main advantage is the possibility of use in rooms with high humidity.
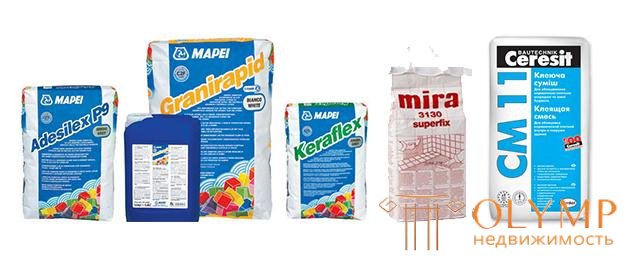
You need to calculate the required amount of glue before buying it.
Single component adhesive sold as ready-to-use mixture. Such materials are recommended for beginners. It is rather elastic and does not need to be prepared independently. Laying tiles on drywall in the bathroom with this glue will not be a problem.
| The average consumption of tile glue | ||
| Tile size in mm | Spatula tooth height in mm | Consumption in kg / sq. |
| 25x25 | four | 1.5 |
| 50x50 | four | 1.5 |
| 100x100 | four | 1.5 |
| 100x200 | 6 | 2.1 |
| 150x150 | 6 | 2.1 |
| 250x125 | eight | 2.7 |
| 250x200 | eight | 2.7 |
| 300x300 | ten | 3.4 |
The most common are cement-based adhesives. This is a dry mix that will need to be mixed in a container with water using a mixer. In this case, you should follow the recommendations on the package, which do not always help, and sometimes not very good adhesive mass is created. The mixture dries very quickly, and therefore will have to work without delay. Or it will be necessary to knead it in small portions. Also, cement glue is not recommended when working with large tiles.
Before you glue the tiles on the drywall in the bathroom, you need to count how many rows horizontally and vertically this tile will be laid. And it is necessary not only to calculate all this, but also to understand which of the possible schemes is the most optimal. There will almost never be a situation in which the tile will ideally fall horizontally and vertically, and it will not have to be trimmed. Therefore, you need to think in advance where it is best to place the cut tile.
The laying pattern vertically boils down to the fact that the bill starts from the ceiling. This will put the cut tile at the very bottom, where it will almost not be visible because of the bathtub, washing machine and washstand.
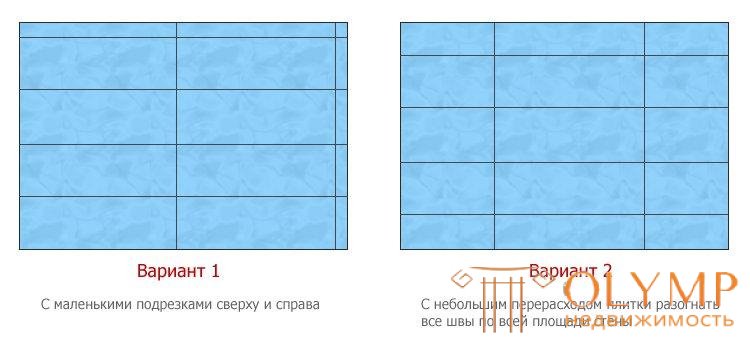
Two standard options for laying horizontal rows
With the calculation of horizontal rows things are more complicated. To know how to put tiles on drywall in the bathroom, you will need to calculate several possible schemes. There are several possible options.
Choosing one of these methods will lead to an understanding of how to lay tiles on drywall in the bathroom. We'll have to sit on the floor and lay the tile, thinking which option is the most optimal.
It is necessary to sit and lay out, and not to carry out calculations on a piece of paper. Many people forget that there are gaps between the tile when it is laid. You will also see where the tile can rest against the pipes.
Creating a mark for finishing tiles is not something mandatory, but it helps to simplify further work. With the help of a plumb line, a series of vertical lines are drawn along the wall, which will serve as a guideline for a smooth tile layout. Horizontal lines are marked with a level. Upholstery cord may also be useful.
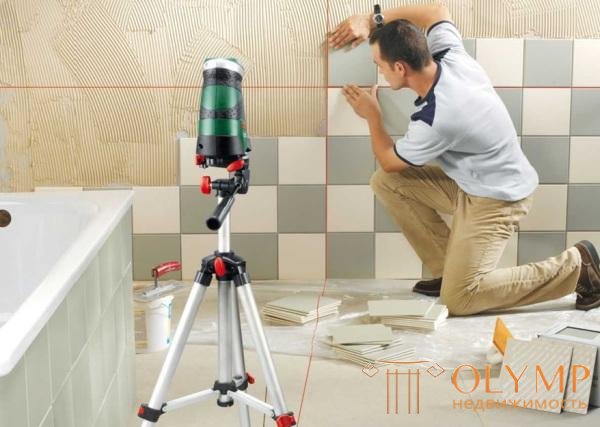
Laser level can be used instead of markup.
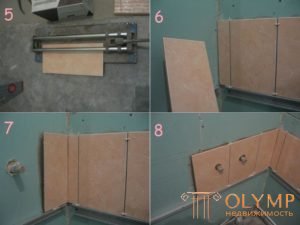
If the tile does not lay out on the floor, then you can fasten a profile or a wooden bar to the lower level. This will help to lay the first row. If the tile goes to the floor, then it should start from the second row, similarly using a profile. In general, for these works it is better to use the laser level, then there will be no questions about how to put tiles on the drywall in the bathroom so that there is no distortion.
On drywall in the bathroom, if it is puttied and primed, you can lay tile. This is done with glue. If it is kneaded in the course of work, then small portions of the mixture should be made in order not to be in a hurry (the mixture dries up quickly). Begin to work from the second bottom of the series, and then make the bottom row.
The first tile is the most important, because it will be equal to the rest. Therefore, when laying it requires maximum attention. Ceramic tile is put on the drywall in the bathroom only after the correct application of glue. There should not be much glue so that the tile does not stick out from the wall. Therefore, the glue is applied with a notched trowel. In general, you can put the mixture on the wall with a regular trowel, but then you will need to make vertical wiring with a notched trowel from bottom to top. The tool is held at an angle of 45 degrees and slightly pressed against the wall.
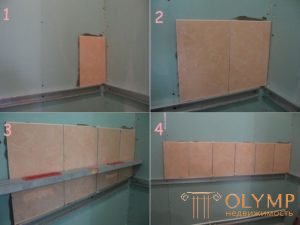
Some masters, before glueing tiles to drywall in the bathroom, prefer to apply the mixture to it, and not to the wall. The essence of the matter does not change. The main thing to carry out a notched trowel from the bottom up to remove excess glue. Then the wall will not bulge. But you still need to periodically check the level, whether everything is exactly fit.
How to put tiles on drywall in the bathroom can be found in this video.
Professionals put the first layer of glue on the peeler, and sweat is already applied the second layer, as described above. This technique is considered more reliable, but also more time consuming. Laying tile on drywall in the bathroom by this method is considered to be of better quality.
After gluing the tile, you need to lift it to insert a cross. Plastic crosses are used to leave a gap between the tiles. All clearances should be the same. To push the tile into the glue enough hand strength. No need to use any hammers, you only need to push the ceramic tile by hand.

If you do not wash the tile on time, then it will be extremely difficult to remove the grout on it
Crosses are removed after hardening of the glue (2-3 days). Formed joints between tiles need to be grouted. Do not leave them empty. To do this, use a special moisture-resistant grout. Otherwise, mold will appear on the seams. Overwritten the seams with a rubber trowel. After 1-3 hours after grouting, it will be necessary to remove its surplus, which has come out of the seams. Now you know how to put tile on drywall in the bathroom.
Что бы оставить комментарий войдите
Комментарии (0)