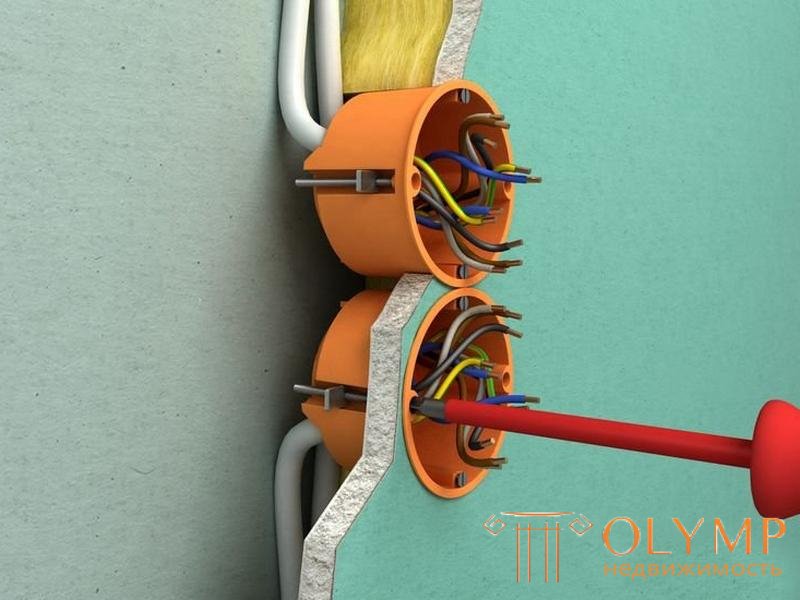
Often the walls during the repair are leveled with the help of drywall. Also from this material do interior partitions. However, not all prefer drywall, because they do not know many of the nuances of working with him. So for many it remains unclear how to fix the outlet in drywall. After all, the gypsum board can be installed on a frame made of profiles, or it can be attached using only mounting glue.
Despite all the fears, the installation of sockets in drywall is as easy and quick as in the case of a conventional brick wall. And the dust is much less. Let us consider in more detail all the nuances that will be encountered during the installation of outlets and socket outlets.
Content: [hide]
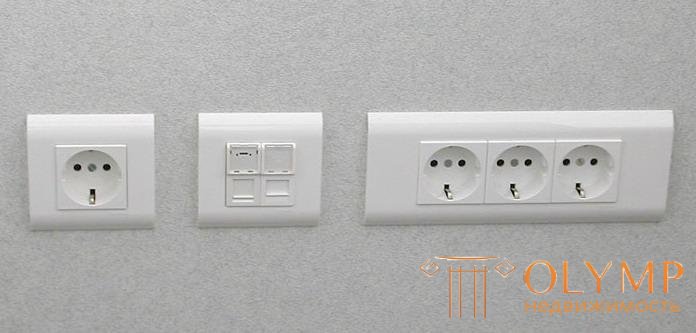
The shape, size and type of the outlet is not critical when it is installed in the wall of the plasterboard
Gone are the days when a hole in the wall was hollowed out, where they pushed the core of the socket in half with grief and tried to fasten it there. They scored pegs so that everything would hold, and quickly threw the solution in so that nothing would fall out. Now you don’t need to do this, because in the civilized world people use podrozetniki.
To install the sockets in the drywall with your own hands you need to carefully select all the necessary materials. The socket itself consists of the front part (decorative), which is always visible, and of the core, which is hidden in the wall. This core must be installed in a special plastic box, which is fixed in drywall.
A plasterboard for fixing in plasterboard differs from a similar product for a brick wall by the presence of adjustable presser feet. These legs are adjusted to create an emphasis at the desired level. Drywall does not take up all the space like a brick in the wall.
A hole is made in the wall where the plastic box is inserted. Therefore, the dimensions of the hole and the inserted box should be the same.
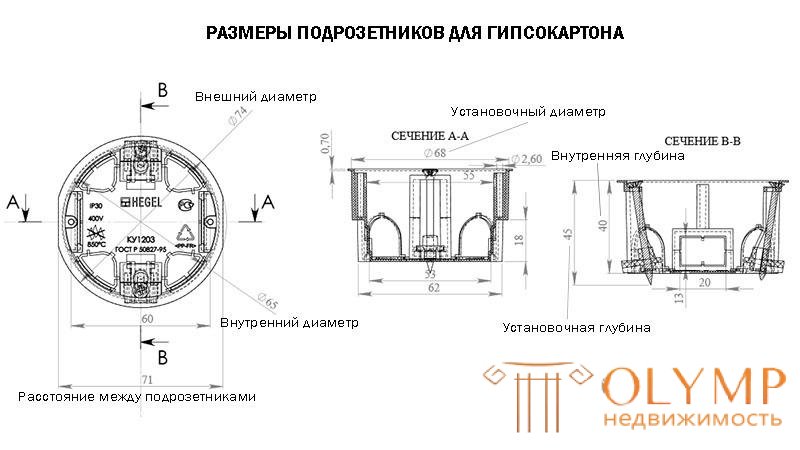
It is worth paying attention to the diameter of the under-hood for drywall and its other dimensions.
The sockets are specially standardized so that they can be conveniently inserted into the socket. However, it is always worth seeing how they fit together before being installed on site.
That work proceeded easily and quickly it is necessary to take care of auxiliary tools.
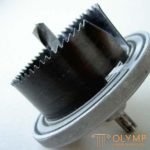 The most important is a drill with a special crown. Crown for mounting podrozetnikov in drywall not only accelerates, but also simplifies all the work. Its diameter is important - 68 mm (standard for such works).
 Often the choice of location depends on how the wiring is done. By the way, all power cables need to be diluted in the apartment before installing the drywall. Therefore, you first need to make the wiring to certain places, and then think about how to install the outlet in drywall .
There is a European standard for the installation of sockets:
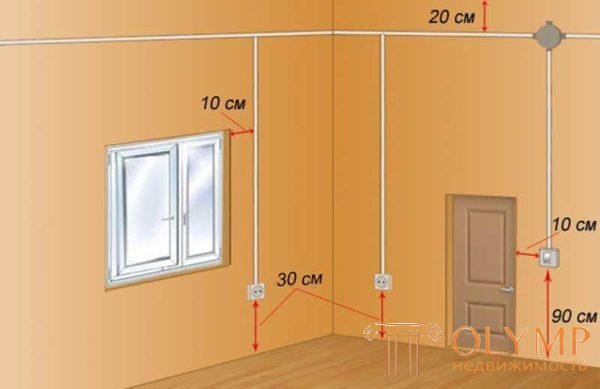
Typical recommendations for socket installation and wiring
This standard is advisory in nature and is not binding. Also it is necessary to take into account the existing profiles, so that they do not interfere with the installation work. If this is not foreseen, then you will have to cut a piece of the profile already during installation so that a glass can be installed in its place.
It is necessary to know in advance exactly where the power cables are connected. You can make notes on the sheet of plasterboard in advance so that you can know where to make the hole. It is best to put a cross, which will indicate the center of the future hole.
Before you install a socket block in drywall, you need to learn an important rule - a distance of 72 mm must be made between the centers of the holes for them. Sockets will be installed in a row so that they fit tightly against each other.
A drill with a special crown will quickly and carefully drill a necessary hole. You need to keep the tool straight and perpendicular to the wall of plasterboard. However, there are some nuances. This scheme is good if we are talking about interior partitions, because they have enough space due to the frame to fit the underside.
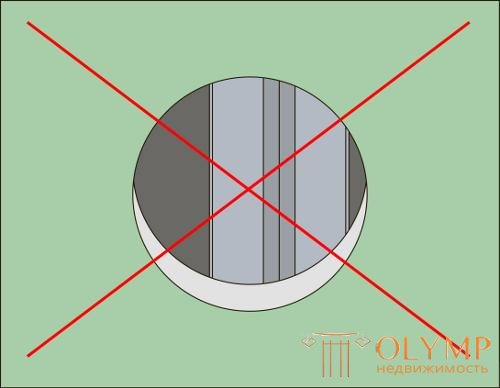
Profile at the outlet level should not be
Usually the installation depth for the underside is 45 mm. If the made drywall frame is very small, then the installation will be impossible without drilling the wall. I am glad that more often than not people already make the right frames from metal profiles, so that they don’t have to hammer a wall. If the profiles were not used (glue or foam was used for the installation of gypsum boards), then you will have to dry the gypsum board to hold the wires. In this case, the process will be no different from installing an outlet in a regular wall.
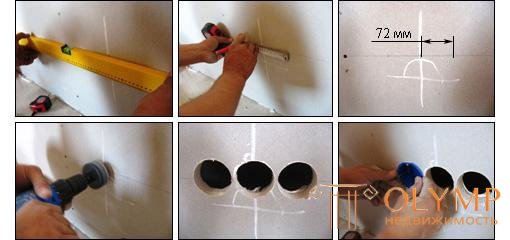
Here's how to make a hole in drywall under the socket
The hole can be made not only with the help of the crown. With the help of a compass on the sheet draws a circle, indicating the place for the hole. Then a drill with a conventional drill makes holes on the inner border of the circle. Next, the core is carefully cut with a knife, and the protrusions are trimmed with the same knife. The hole will come out a bit clumsy. However, you do not need to buy a crown, and all the irregularities will be hidden by a socket.
Installing podrozetnikov in drywall with such a simple hole will not cause additional problems. Fixation will be successful if the holes get the right diameter, despite the fact that the circle is not perfect.
Regardless of how the hole was made, it is necessary to cut the chamfer around the circumference with a knife. The glass should fit tightly into the hole, and not stick out of it.

It looks like the correct installation podozetnika
When the hole is drilled, it's time to figure out how to install the socket into the drywall. The glass should be placed in the hole and see how tightly it is clamped. Perhaps there is an error with the size and you will have to drill a wall further. The glass should be flush with the wall. If everything is fine, then let the wires.
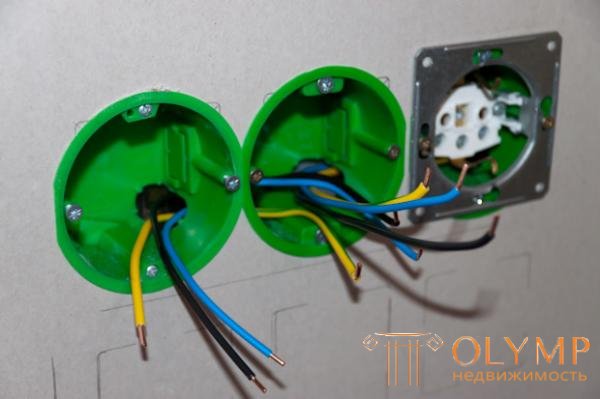
Everything is ready to connect and install the outlet itself
A special hole is broken out in the bottom plate through which cables are inserted. When the box is inserted into the drywall and adjusted, you need to fix it there. With the help of a screwdriver, special bolts are tightened, which bend the petals so that the glass is firmly fixed in one place.
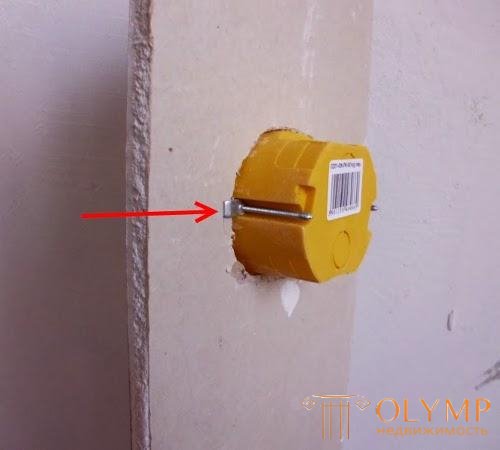
It looks like a fixed glass on the back
If the box is not loose and fixed tight enough, then you can proceed to the installation of the outlet itself.
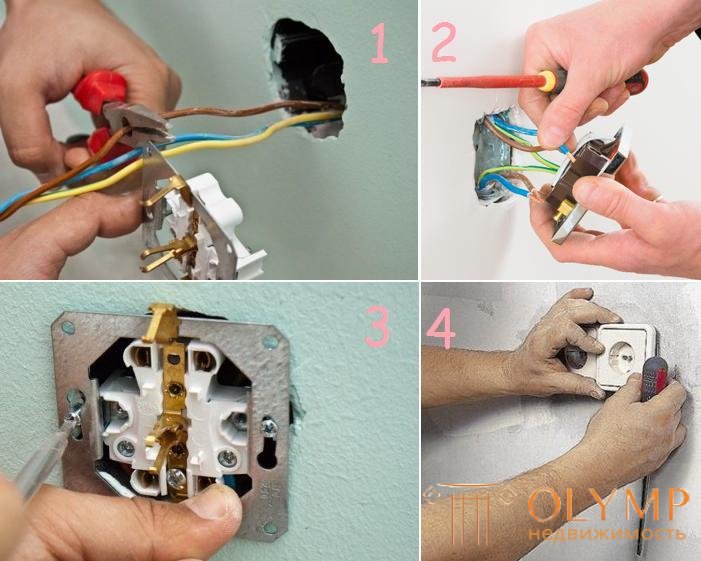
Phased power connection to the outlet
It's time to go directly to the outlet. There is already nothing complicated. Installation of sockets in drywall is easy to implement, if all previous steps have been performed correctly. First you need to remove the decorative trim from the outlet, which will be installed back to the very last.
First of all, wires are connected to the core in specially prepared places. Each wire is pushed into its hole, where it is clamped with the help of a fixing screw. If there is a ground wire, then it needs a special outlet for such a wire. If the core is normal, then the ground wire is simply insulated and not used.
Be sure to turn off the electricity before working on the wires to avoid electric shock.
Two screws are unscrewed from the bottom plate, with which the core inserted into it will be screwed. The core itself is placed exactly, and then the screws are screwed in, but not completely. It will be necessary to trim the socket a little more so that it becomes perfectly smooth, and only then tighten the screws. Mount the outlet in drywall should be reliable so that it is not loosened with each plugging and unplugging.
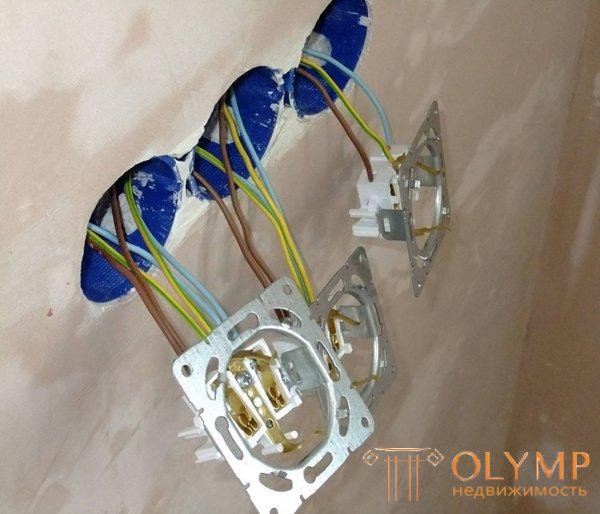
Trim plate snaps into place after finishing
It remains only to click the decorative cover and all the work will be completed. But this should be done after the wall is covered with wallpaper.
Что бы оставить комментарий войдите
Комментарии (0)