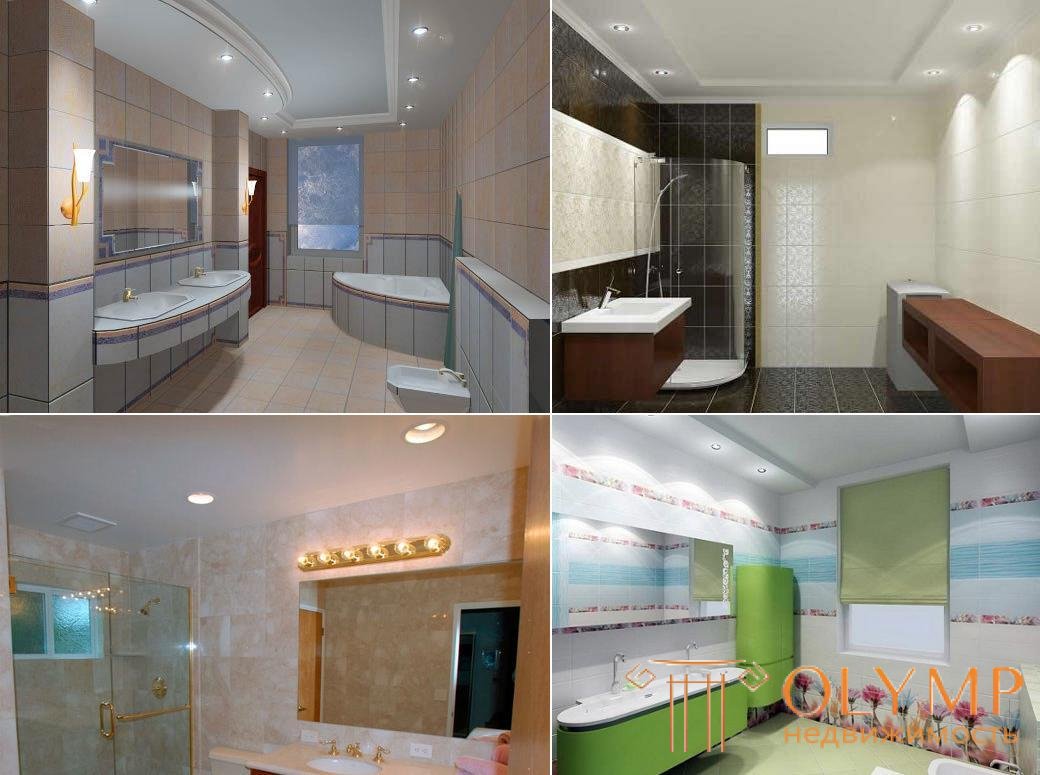
Renovation work in the bathroom is associated with a number of difficulties, especially if you are engaged in the ceiling. The small space and climate of the room with eternal temperature and humidity changes make you think about a suitable option for finishing. The solution may be moisture resistant plasterboard. The option is certainly not perfect, but still worthy of consideration.
Content: [hide]
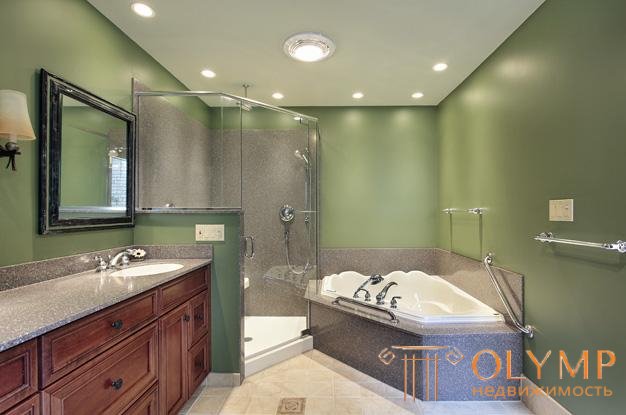
The ceiling can have built-in lights.
To make a drywall ceiling in the bathroom you need to know about the advantages and disadvantages of this method of finishing. Let's start with the merits.
Of the shortcomings worth noting the problem of repair if there is a flooding of the bathroom from the neighbors above. In this case, you will have to remove all the sheets and fix the new ones in their place. Although there are small tricks to reduce the effects of such flooding, but they are very difficult to implement. Even if moisture resistant plasterboard is used in the bathroom to the ceiling, this does not give a full guarantee that it will not limp. At times, the vapor release is so intense that the service life of an unprotected suspended ceiling is a couple of years. Therefore it is recommended to use various protective mixtures.
Like any suspended ceiling, this design in the bathroom hides space. Usually this is not critical and the finished design does not close the hood.
| Comparison of different types of ceilings | ||||
| Tensioner | Rack | PPS plates | From plasterboard | |
| Understretch | from 5 cm | from 5 cm | not | from 8 cm |
| Flood protection | Yes | not | not | not |
| Self-installation | not | not | Yes | Yes |
| Assembly speed | 2 hours | 1 day | 2 hours | 1 day |
| Life time | 10-15 years | 10-15 years | 5 years | 10-15 years |
| Environmental friendliness | Yes | Yes | not | Yes |

The design of the ceiling depends on the size of the bathroom.
Since drywall was chosen for the works, with which you can create different shapes, you can think about the design of the bathroom. Of course, if the bathroom is small, then no need to be wise. Simple flat ceilings will be enough. If the area of the room is large enough, then you can think about the built-in lamps.
All lamps in the bathroom must be moisture-proof. Also in all places where lamps and plasterboard come into contact, insulation work must be performed.
Embed lights in the ceiling of plasterboard in the bathroom can be everywhere, just not over the bathroom and shower. In these places, most of all a couple. If you make a few spotlights from the opposite end of the room, then this will be quite enough. Such lamps can be installed not only in two-level ceilings, but also in ordinary ones. As for the creation of several levels of GCR, then this solution is suitable only for very large rooms. In an ordinary apartment, you should not bother so much.
For work does not fit the standard ceiling GKL. It is necessary to buy moisture resistant plasterboard. It is usually green. It should be borne in mind that it is heavier than the wall counterpart, so it will be very difficult to lift it yourself. You should also stock up on the following tools and materials:
Also required materials for finishing.
Suspensions are the main supporting element of the suspended ceiling.
The preparatory work should also include the marking of the ceiling. Without this, make a flat ceiling in the bathroom from the drywall does not work. Since the ceiling area is small, and it has a rectangular shape, there should be no problems with the markup.
To begin with, lines are drawn along the walls that will mark the lower border of the metal frame. You need to know what space will be dull from the ceiling. The smaller the better (usually 10-20 cm). But in some cases, the void over the gypsum is filled with insulation or sound insulation materials. If there is a need to use such materials in the bathroom, then you need to take this into account in the design of the frame.
It is enough to make one mark on the wall, and then with the help of a laser level, similar marks are made on the other walls and lines are drawn. Along these lines, the profile will be mounted on the wall for the frame. If there is no laser level, you will have to work with the water level. It will be longer and more difficult, but quite real.
You can create marking lines with the help of a tail cord. You will need only two marks, between which you should beat off a flat line.
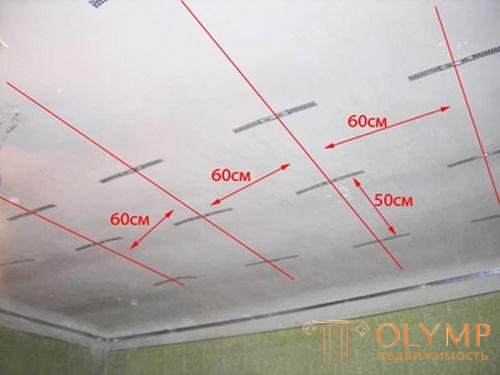
The next step is to mark the places where the profiles will be fastened along the length of the ceiling. The marking is done in the same way as with walls. However, the distance should be 40 or 60 cm from the edge of the ceiling and between the lines. The width of the drywall sheet is 1.2 meters. We need its edge to fall on the profile where it will be attached. A nearby sheet is also set. This is due to a step of 40 or 60 cm. Since this is a plasterboard ceiling in the bathroom, 60 cm will suffice.
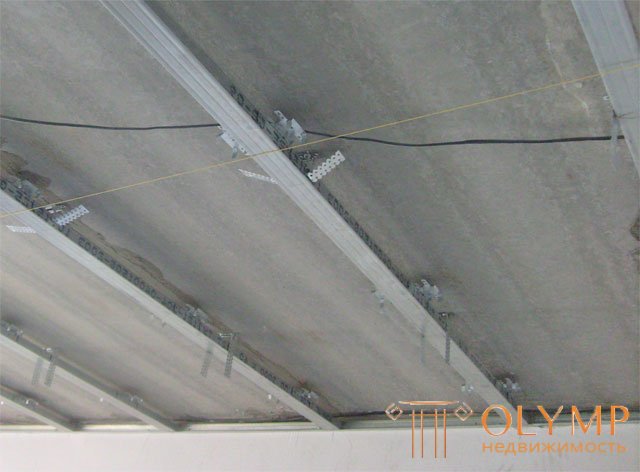
Type of finished frame for the ceiling in the bathroom
The creation of the frame starts from the wall. For this, UD 28x27 is used. The guide profile is fastened with dowels in increments of 50 cm. At the corners of the wall, it is cut and bent at a right angle. So at the corner is a solid profile. Suspensions are mounted along the lines marked on the ceiling with a step of 50-60 cm. They will support the frame so that it can withstand the weight of the suspended ceiling.
The CD 60x28 profile is inserted into the guide profile and aligned with the drawn lines, right under the suspensions. Self-tapping screws for metal, this profile is attached to the guides and suspensions. Transverse inserts are not needed due to the small ceiling area in the bathroom, even despite the fact that the GKLV is used, which is much heavier than the ceiling counterpart. If the bath is not miniature, as in most cases, then you should install the CD 60x28 profile in increments of 40 cm, not 60 cm.
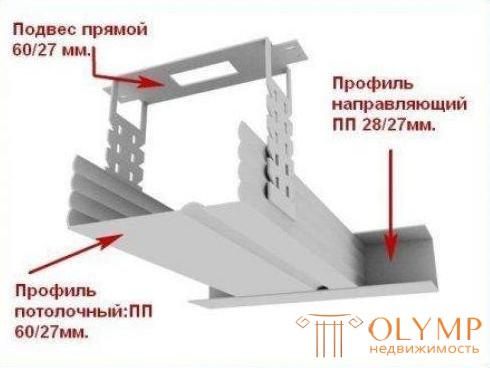
The width of the suspension should correspond to the width of the profile that is attached to it
Very often during fastening to hangers, the profile rises strongly, which is why the frame structure deteriorates. It is recommended to use the level or to stretch the thread along the length of the profile so that it remains level during attachment.
With a stationery knife, a gypsum crack is cut into pieces of the required size on the floor. It is advisable to make such pieces so that all 4 sides are attached to the profiles. First, the sheet is fastened with screws 20-25 mm around the perimeter, and then to the rest of the profiles. You do not need to make tight joints between the two sheets, so as not to create additional stress in the structure. Similarly, the space is left (0.2-1 cm), between the sheets and the wall. Self-tapping screws are fastened so that the cap is sunk into the drywall, but not too far.
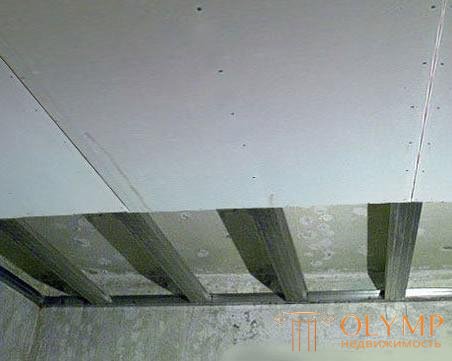
Screws are screwed in increments of 20-30 cm
Now you know how to make a ceiling in a bathroom of plasterboard. However, it is necessary to finish it with finishing material.
Heads of self-tapping screws need to be puttied to protect against corrosion. It is clear that black self-tapping screws already have a corrosion-resistant coating, but when they are used in a bathroom, it is better to putty them in addition. We do not want rust spots to appear on the ceiling a year later.
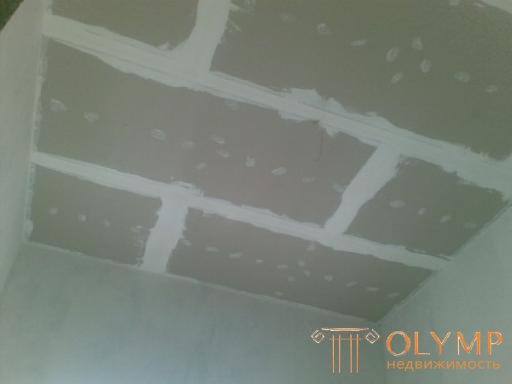
Screws are screwed flush for ease of further finishing the ceiling
Putty is applied to all the joints, after which the serpyanka tape is attached. As a result, the fastener caps, the joints between the sheets, as well as the joints between the sheets and the wall should be plastered. After complete drying of the putty on the ceiling, it is applied again with a thin layer. Now the surface is ready for the finishing layer.
As a finishing layer, you can use a white water-based paint. It will have to be updated every 5 years, because it will dry off in small pieces. Also, the ceiling of the drywall in the bathroom can be decorated with decorative plaster with additional protection from a layer of wax. Whichever option is chosen, it will protect the ceiling from excess moisture.
Что бы оставить комментарий войдите
Комментарии (0)