It is difficult to imagine a modern dwelling without light. Traditional large chandeliers in the middle of the room are slowly giving way to illuminated ceilings in several places. Such lighting is made, including on the ceilings of drywall, because their design feature is most suitable for such purposes. Usually, the backlight is divided into hidden and open. We are interested in exactly the second option. The fact is that in this article only simple suspended ceilings will be considered, where there can be no hidden lighting.
Unlike multi-level constructions, a simple ceiling with a backlit plasterboard can be made by anyone.
Content: [hide]
One-level ceiling can be made by hand, with a minimum of knowledge
It’s not so difficult to make a simple one-level plasterboard ceiling with backlighting. This design is relatively simple, because only one framework is made for it. Also, it is not customary to use LED strips and neon tubes, which are usually used for hidden lighting.
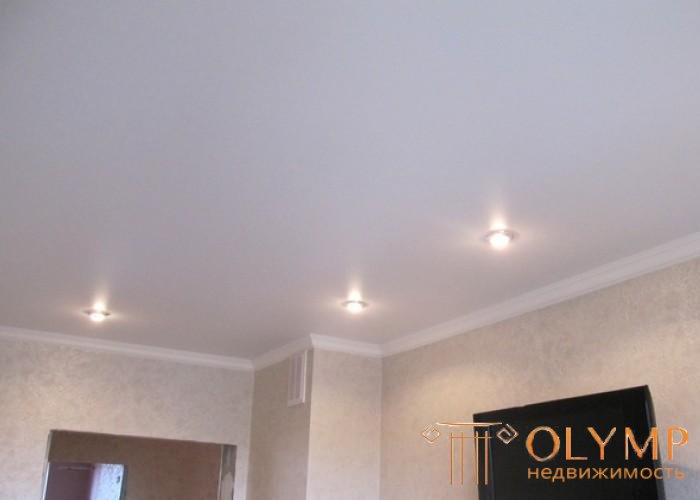
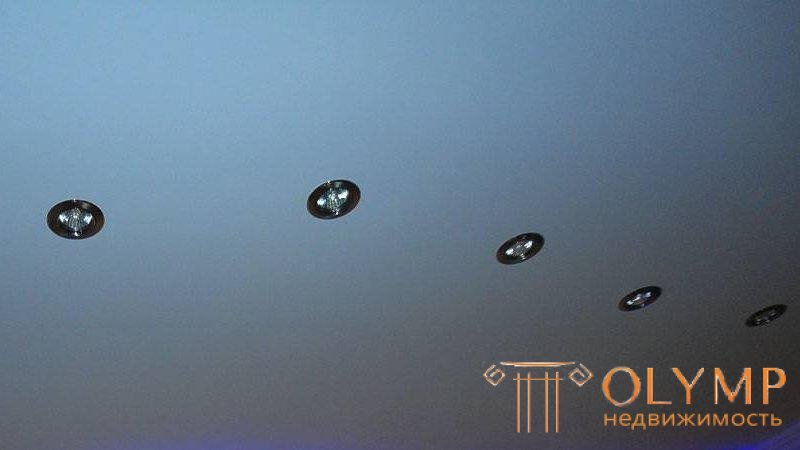
Illuminated plasterboard ceilings are usually made multi-level. In these cases, make a hidden highlight. If a single-level design is used, then care must be taken to ensure that the lamps are at an equidistant distance from the center of the room. At the same time, the light should not hurt your eyes, so there should be no lamps above the TV
From the living room, due to its large size, there are two options: with and without a chandelier in the center. If there is a chandelier in the center, then it is better to make the lamps at the edges not very bright and place them zoned so that the light from them is directed to certain parts of the room. If there are no chandeliers, the lamps need brighter ones to compensate for the absence of a central light source.
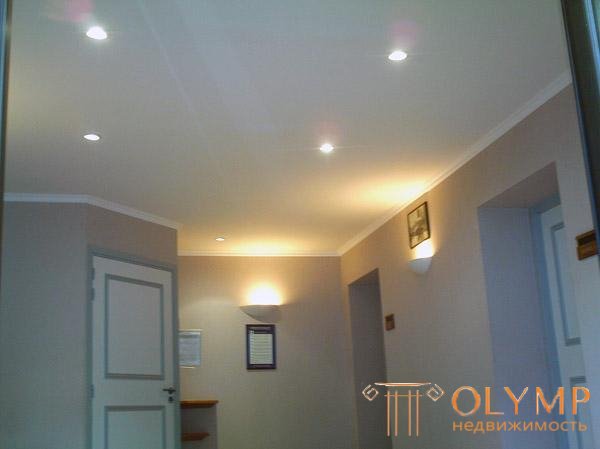
Planning a place for lamps on the ceiling, you need to consider the possibility of using sconces
The ceiling in the kitchen of plasterboard with lighting is needed to illuminate very specific places. The greatest emphasis should be placed on the dining table and work surfaces (stove, cutting table, sink). That is, the light should be directed to the places where the most time is spent.
The ceiling of the plasterboard with lighting in the bedroom is done in such a way as to create an atmosphere of comfort. In other words, the light should be dimmed, but it should be plenty. Looks beautiful set of spotlights located above the bed. You can also think about additional lighting above the desk, bookshelves and wardrobe.
Be sure to provide several switches for such a backlight. This will turn on the lighting for the currently required room zones.
Properly made suspended ceiling of gypsum with backlit hands can adjust the proportions of the room. If the light is directed along the walls, it will visually expand the room.
When the choice is made in favor of a single-level ceiling, there is an idea in which room and where light sources will be installed, you need to think about the lamps themselves. There are several factors that you need to pay attention to when thinking about how to make a plasterboard ceiling with lighting:
The selected luminaire should be mounted so that it can be easily removed for repair.
Which fixtures are better for plasterboard ceilings? Traditionally, fluorescent lamps, ordinary chandeliers, spotlights, LEDs, fiber-optic lamps, as well as pendant or overhead lamps are used for these purposes. The choice of option depends on the taste preferences of the landlord where the repair is carried out.
Fluorescent lamps are not expensive and have a long service life . They are very economical, but they are not combined with false plasterboard ceilings in the apartment. But to use them in the office just right
Conventional chandeliers are classics . They are quick and easy to install, and one chandelier gives a lot of light. But for such lighting, the ceiling of plasterboard is not needed.
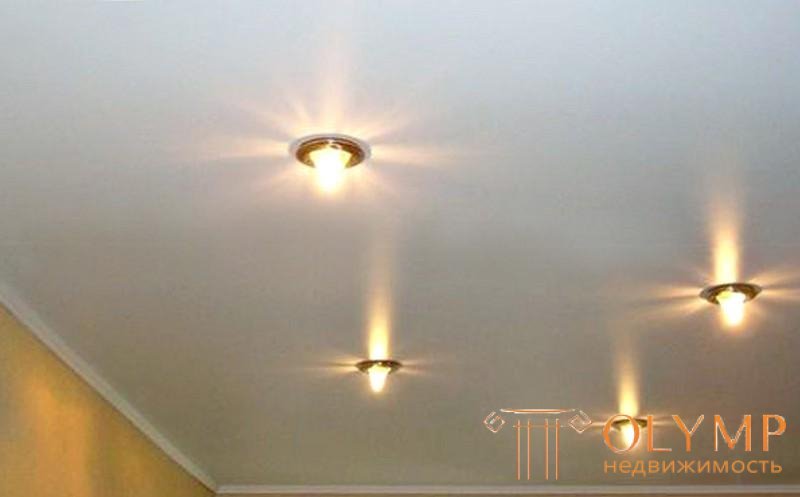
The most suitable option are spotlights . Built-in fixtures in the ceiling of plasterboard will cost not much. They are easy to install, and therefore, are a suitable option for self-installation in a single-level design. Often, such lighting is not used as the main one, although there are no obstacles to using spotlights and nothing else.
Highlighting is not necessary to have a straight line.
LED strip lighting is used mainly for decoration . The ceiling of plasterboard with LED lighting is done in order to create light accents on different zones of large rooms.
Fiber optic lights are a new and expensive product on the lighting market . Their cost and price for installation are above average. Often, on their own, a beginner cannot afford to install fiber-optic lamps.
The best way to use LED spotlights. They look good and consume little energy.
| Average thermal performance | |
| Incandescent lamp (W) | LED lamp (W) |
| 45 | four |
| 50 | 6 |
| 65 | eight |
| 80 | ten |
| 100 | 12 |
| 125 | 15 |
| 160 | 18 |
The work flow is very simple. It is necessary to mark the ceiling, create a metal frame, do the wiring, sheathe all the plasterboard and insert the lights.
First of all, it should be noted on the ceiling of the place where the lamps will be installed. It is advisable to sketch yourself a scheme, indicating all sizes. After this, a place on the wall is determined where the profiles along the perimeter will be fastened. You need to know how far the suspended structure will retreat from the ceiling. Its height depends on whether additional warming or sound insulation will be used. If not, you can retreat to the standard 8 cm. Otherwise, you need to calculate the thickness of the insulating layers.
After creating the frame, the wiring is done.
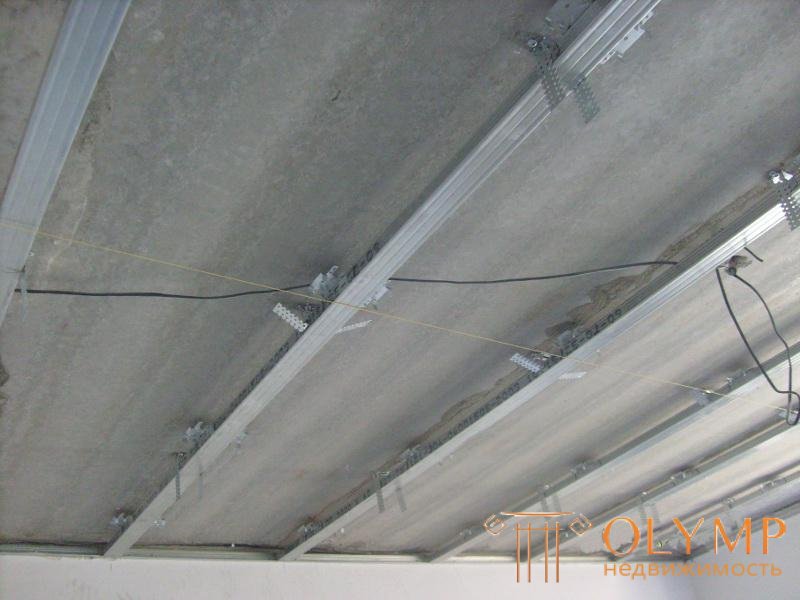
When the lower level is determined, which will be the ceiling of the drywall with lighting, you need to make notes on the walls. The UD profile will be fastened along these lines on all walls parallel to the floor plane. Installation is carried out using dowels. When the guides are attached to all four walls, a CD profile is inserted into them in increments of 40-50 cm. They run from one edge of the wall to the opposite, parallel to each other. So far they do not need to be fixed.
Suspensions are attached to the ceiling (they play the role of structural elements) in increments of about 50 cm. They should be above each CD profile. These profiles are fastened to them with metal screws. Suspensions themselves are attached with dowels.
The easiest way to do the wiring for the lamps, powering it from the chandelier. This is easily done using a conventional terminal block. Recessed fixtures for the ceiling of plasterboard can be powered from another node. For this wire is laid from the outlet. But in this case it is necessary to make a wall, and this is a completely different level of repair, affecting the whole room, and not just the ceiling.
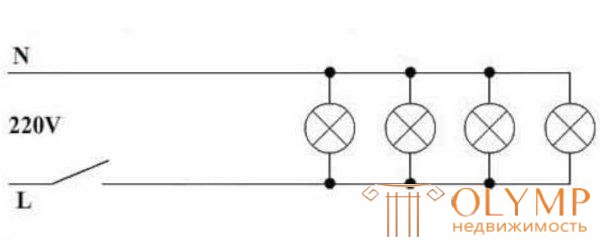
Lamps can be powered from 220V, which is very convenient
All wires must be hidden in the corrugation. It protects the wiring from mechanical damage, as well as an additional means of fire safety. This is an elementary protective measure, which for some reason is neglected by many.
If you use a wooden frame for drywall or there are other structures made of wood that will be near the wiring, then do not use a corrugated sleeve. In this case, you must take a more expensive metal pipe or metal pipe.
Wire cross section should be 0.75 mm. If you use a LED spotlights, then 4 watts for each will be enough. Wiring should not hang or lie on something. It must be attached to the ceiling. To do this, in the ceiling are mounted special clips, which are very easily clamped corrugated wire. The wire for the lamps is connected to the wire from the chandelier.

An example of how wires for luminaries should be drawn
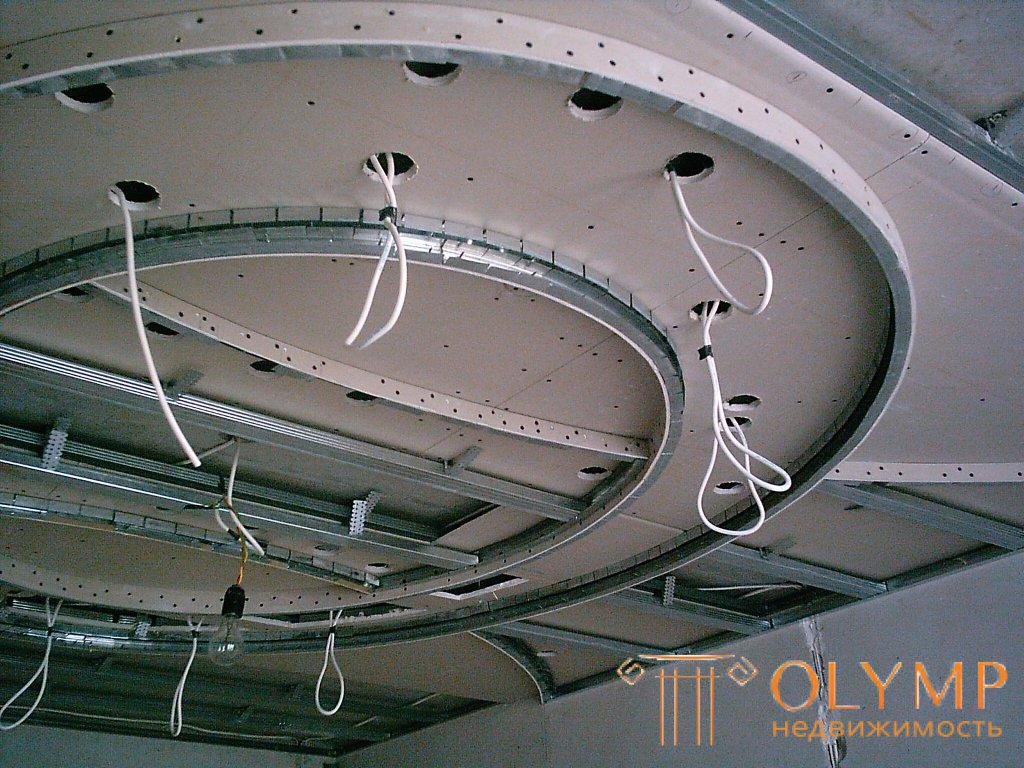
The ceiling of plasterboard with light will have special holes where the fixtures will be mounted. In the designated places for fixtures mounted on two clips, and they are mounted along the entire path of movement of the wire. After that, the wire is fixed under the ceiling, and where the lighting will be, tongues (a loop of wire) go down below the level of the suspended ceiling. After that, the wire is led to the place of the next lamp, where a loop is made again, and so on, until all points end. At the end, the wire is cut so that it also hangs below the frame level.
Sheet drywall sheets are attached to the frame. They are fastened with self-tapping screws with a pitch of 15-20 cm. Here it is important not to forget where the wiring for lighting is connected. This will help previously created scheme with all sizes. If it is available, it will be easy to make holes in the right places so that the prepared lamps in the ceiling of plasterboard will be in place.
The hole itself is made with a drill with a special nozzle. There are crowns that allow you to cut a circle of a given diameter in drywall (to fit the purchased spotlights).
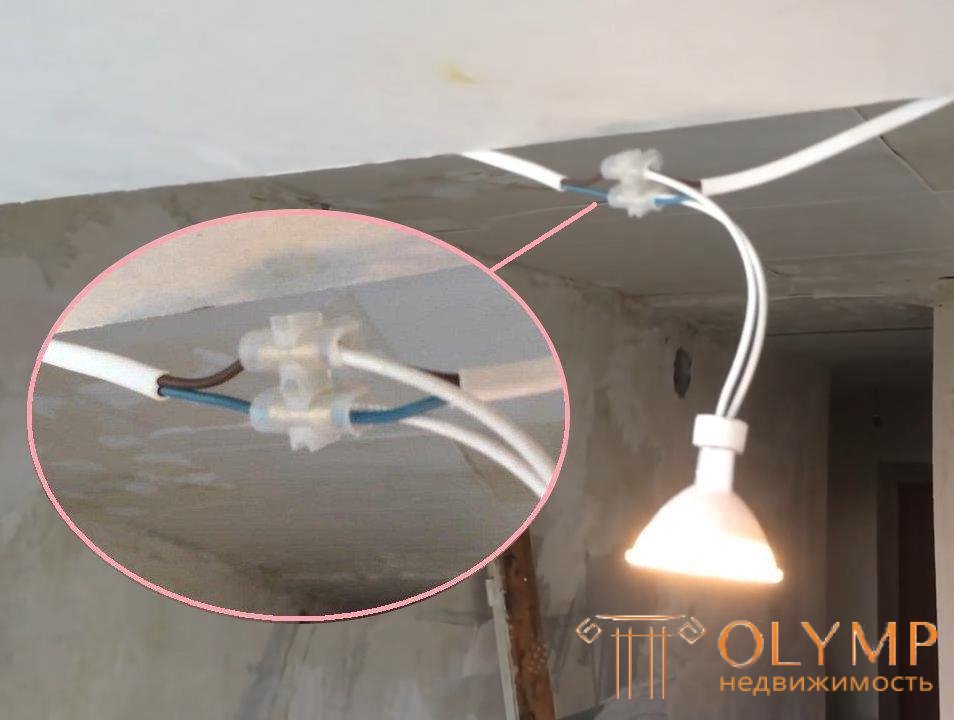
A great way to connect the lamp
The loop is pulled out and the lamp is attached to it. You can fasten them through the usual twist of wires, which are then necessarily isolated. But if the wires are stranded, they are undesirable to twist, since such fixation weakens with time, which leads to sparking and burning. It would be ideal to use a terminal block to connect all wires.
The luminaire itself has special clamps that secure it to the ceiling. In the end, it remains to check whether everything was connected correctly, after which you can proceed to the finishing works.
If you have already assembled a suspended ceiling of plasterboard, and then you wanted to make the illumination with the help of spotlights, then this is realizable. It is not desirable to do this, but in the absence of a better option, you can resort to the method shown in the video.
Что бы оставить комментарий войдите
Комментарии (0)