Proper design of the ceiling in the kitchen can completely transform the whole room. The kitchen has certain features that require a special approach. We need to take care of the beautiful view of the curtains in the kitchen, as well as hide the unsightly air vent somewhere. Now everyone uses the hoods, so you have to hide the ventilation pipe that goes from the hood to the hole in the wall. These problems will help solve the ceiling of plasterboard in the kitchen.
It is not necessary to use moisture resistant drywall, although it is desirable. Humidity in the kitchen is not so high, and all the steam from the stove must be removed due to the kitchen hood. So in the kitchen it is possible to use the usual GCR.
Content: [hide]
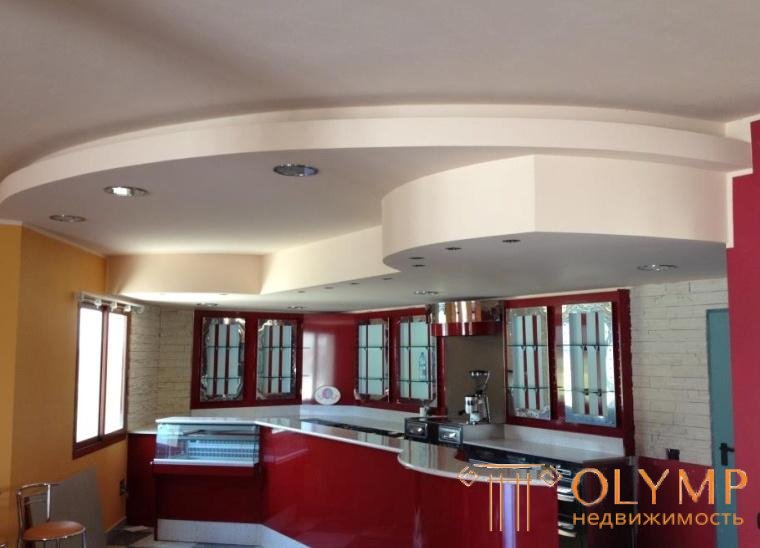
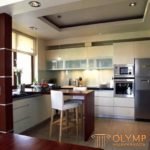
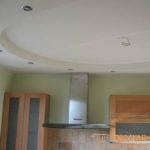
The larger the kitchen, the more massive you can make the construction of GCR
Like any finishing material drywall has its positive and negative sides. However, we are still interested in the pros and cons of using this material to create a ceiling in the kitchen. Let's start with the positives.
Such characteristics as environmental friendliness, good sound insulation, flexibility in work, etc. characteristic of drywall, regardless of where it is used.
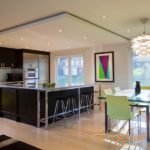
Stretch and suspended ceilings go well together
The plasterboard ceiling in the kitchen has drawbacks that are definitely worth mentioning.
After weighing all the pros and cons, you need to make your choice. If he was in favor of plasterboard structures, then you need to think about their design and types.
The design of gypsum ceilings for the kitchen plays a very important role, it’s not just that we were going to spend a lot of time, effort and money. At the exit should get a masterpiece, or at least something that will be nice to look at. Before you think through the design, you need to decide on the type of design.

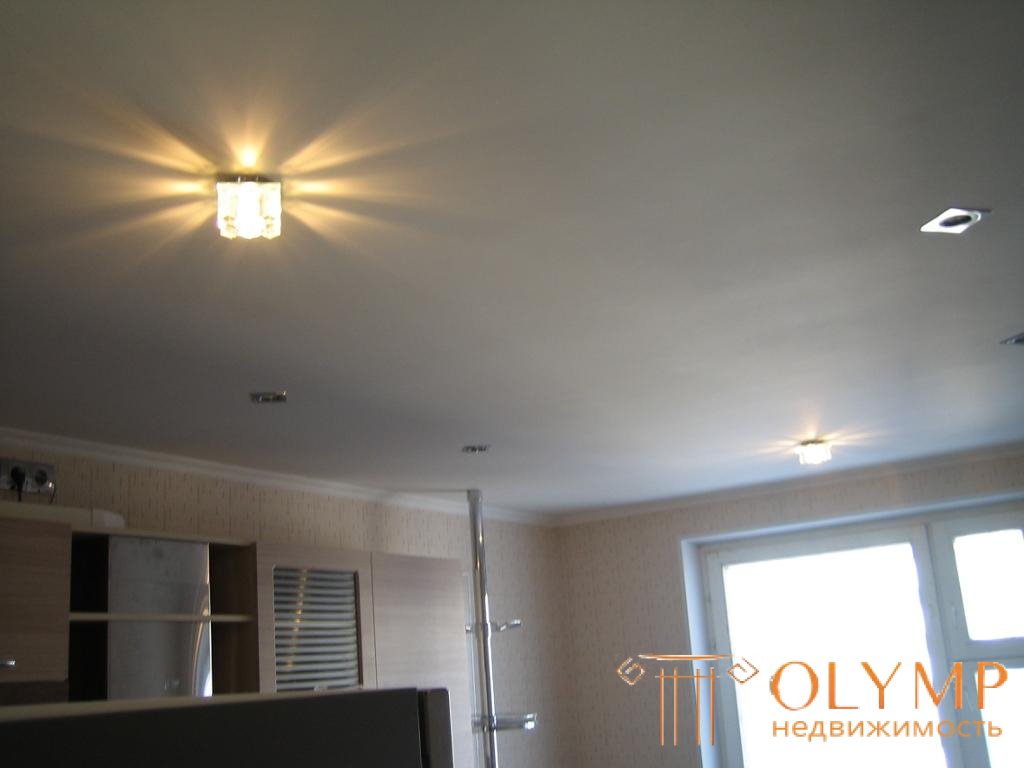
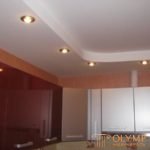
Single-level ceiling can be made with built-in lights
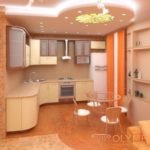
Ideal for small kitchens are single-level ceilings . Complex designs on a small square look ridiculous.

In order not to visually reduce the small kitchen center of the ceiling is better not to touch
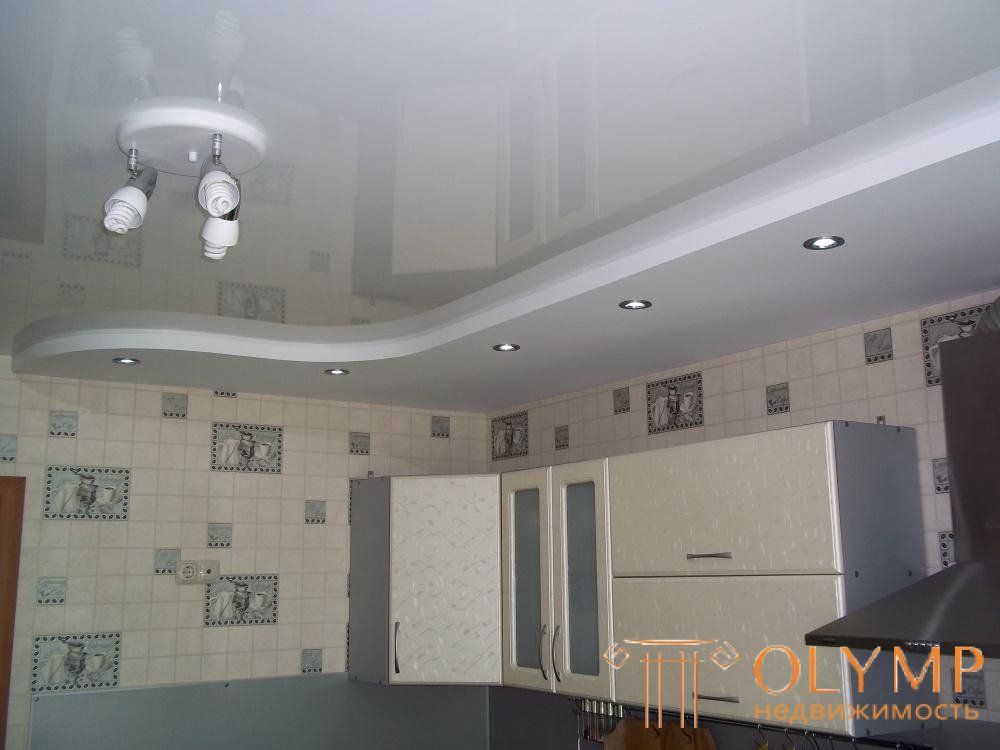
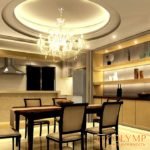
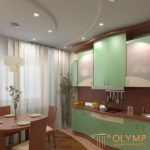
Two-level ceiling has a number of useful features . In addition to the aesthetic component, it hides ventilation pipes, and can also create a curtain rod for curtains. This design allows you to create a variety of geometric shapes and zone the room (for example, to separate the part where the food is prepared from the part where it is eaten).
Without special skills to make such a ceiling is almost impossible.
Multi-level ceilings can only be used in modern apartments, where large areas stand out for the kitchen . Otherwise, this type of suspended structures will look inappropriate.
Most often in practice, there are two-level ceilings made of plasterboard for the kitchen. This is primarily due to the need to hide the ventilation box.
When choosing a design, you need to think through a number of important points:
Thinking through the design, you need to decide how to hide the pipe from the kitchen hood to the air vent. Under the ceiling, it can be hidden in a box, but there is still a part of the pipe that rises from the hood up the wall. It can also be hidden under drywall.
When selecting a design, visual stimulation is very important. In other words, you need to look at all sorts of options, and then choose something suitable for yourself. Plasterboard ceilings in the kitchen: photo gallery.

Regardless of the design and the type of gypsum ceiling in the kitchen, you will need to do some preparatory work. So need sheets of plasterboard ceiling. It differs from the usual gypsum in its weight and thickness. The thickness of the ceiling GKL 9.5 mm, not 12.5 mm, as in the wall. On average, one sheet of gypsocraton for a ceiling weighs 3 kg less than a sheet for a wall.
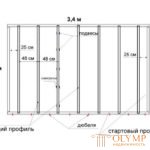
The number of sheets is easy to calculate for a single-level ceiling. It is necessary to calculate the area of the ceiling and divide it into an area of one sheet (standard size is 1.25x2.5 meters). It is better to round the area of the sheet to 3 sq.m. So for a rectangular kitchen 3x4 meters will require 4 GCR. But this is an idealistic option in which there will be no waste.

Layout and fixing plasterboard
However, the ceiling of the drywall in the kitchen can be unpredictable in the sense that the sheets may leave more due to improper cutting. Therefore, it is necessary to estimate in advance where the whole sheets will fall down, and where the cuts will go, and how to cut them correctly so that there is a minimum of waste.
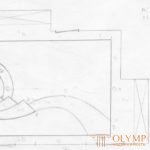
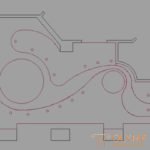
If we are not talking about a simple design, then we will have to create a sketch in order to calculate the amount of material needed. You can make a simple sketch or a detailed drawing. The harder the job, the harder the sketch will be. Below you can see what are the sketches of plasterboard ceilings for the kitchen.

The work will require special tools (level, screwdriver, stationery knife, drill, etc.) and fasteners (various profiles, dowels, screws, etc.). You also need to mark the work surface, but this step is highly dependent on the type of ceiling chosen.
Creating this type of ceiling is no different from similar works in other rooms.

Stages of creating a simple false ceiling of gypsum
Of course, that the profile should be cut to the required length. Jumpers can also be used, which are inserted between the CD profiles and serve as additional stiffening ribs. Such additional measures are required only for rooms with a large area. If the room is small and the CD profile pitch is 40 cm, then jumpers can be discarded. Moreover, it is used not heavy moisture resistant gypsum plasterboard, but lighter ceiling gypsum board.
Now you have an idea how to make a plasterboard ceiling in the kitchen. But this is the easiest case available to every newbie.
It is the need to hide the ventilation pipe and the curtain rod leads to the creation of two-level plasterboard ceilings in the kitchen. In the case of a niche, everything is simple, the suspension structure simply does not reach the end. The extreme profile is attached not to the wall, but to the suspensions that will hold it. In both cases (the ventilation duct and the curtain rail for curtains), the same design is used only with different sizes. Therefore, we consider the creation of a box that hides a pipe for drawing. There are several options for creating a box, but we will focus only on one of them.
A guide profile is screwed across the wall where the box will go. This will be the bottom level of the box, so you need to make it so high that the pipe fits there. After this, parallel to the ceiling is mounted the same guide profile. It will denote the width of the box.

A box with an additional ventilation window for repair work
Now is carried out the ventilation pipe, which is raised to the level of the vent. It is fastened with special clips to the ceiling. A box in the kitchen of plasterboard on the ceiling is needed to hide the ventilation pipe. But this does not mean that it should be in the box. Moreover, a simple design is made that is not designed for additional weight.
Next, the drywall stripes are screwed to the upper profile along the entire length. They should hang down from above parallel to the wall. These bands should be about 5 cm higher than necessary.
To the back of the screwed sheets of drywall fastened guide profile. It must be at the same level as the wall profile. When it is attached, the surplus GCR (those same 5 cm) are trimmed. If a newcomer makes a plasterboard ceiling in the kitchen, he often misses the dimensions and misuses the level incorrectly. Therefore, we needed a stock of 5 cm.
It remains to secure the lower bands of the FCL and the box will be ready. Do not forget about the hole for the pipe, because it must go somewhere.
It is this design of drywall most in demand in the kitchen. Using two tiers for the ceiling, you can create beautiful patterns on it, but it requires great skills. Also, such a construction in the kitchen is simply necessary to hide the ventilation pipe in the box. With its help, a niche or a cornice for curtains is created so that the boom on which they drive is not visible. This was described in detail earlier.
If the ceiling is two-level, then spotlights on it look especially beautiful. The ceiling in the kitchen of plasterboard with lighting allows you to evenly distribute the light throughout the room, if you use a spotlights.

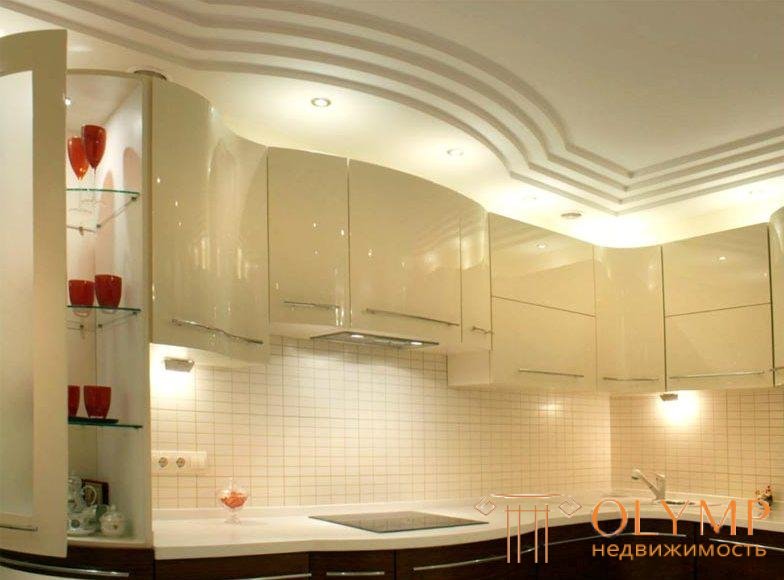
The hood box can have beautiful curved shapes.
When all the boxes are created, you can simply make a suspended ceiling, as if it were single-level, and the box acts as part of the wall. However, in this case, it will be necessary to fasten the suspensions close to the boxes, so that the suspensions carry the main load from the profiles. Also, the inner ceiling should be of a lower height than the parts that were created by the ducts.
If you make wide boxes, the space between them (the central part of the room) can be left for the stretch ceiling. This combination is welcome, especially if you make the center oval or round. But this job requires special skills. The ideal option would be to think through all the details at the level of creating the frame.
No matter what kind of gypsum ceiling in the kitchen was made, he needs a finishing finish. First, the caps of the screws are puttied, like all joints. Serpyanka is superimposed on the putted joints between gypsum boards and is pressed. Otherwise, cracks may appear on the surface. If necessary, set up painting corners. When everything is dry, the ceiling is completely puttied.
Next, dried out putty sand with sandpaper, primed and again putty. Now the surface is ready for the finish. This coating is always poured wallpaper or paint. How to paint the ceiling of plasterboard in the kitchen? The answer to this question can be given to oneself after analyzing the differences between the main types of paints.
| Comparing paints for plasterboard ceiling in the kitchen | |||
| High price | Moisture resistant | Need to update every few years | |
| Water emulsion | Not | Not | Yes |
| Water dispersion | Not | Yes | Not |
| Acrylic or latex | Yes | Yes | Not |
| Silicate | Yes | Yes | Not |
| Silicone | Yes | Yes | Not |
Что бы оставить комментарий войдите
Комментарии (0)