Ceramic tile was and remains the best material for finishing the bathroom and toilet. She is not only practical, but also beautiful. The choice today is huge: a variety of sizes, and a variety of colors, and an abundance of decors. I would like to take the opportunity to create something like that in the interior of my bathroom - not like everyone else. Facing the walls with tiles of the same color is an elegant but rather boring solution. The combination of colors provides not only the originality of the interior - this scheme also has another advantage: competent tile layout allows you to make the room more comfortable and even correct its disadvantages.
How to combine two or three color tiles so as to achieve not only high aesthetics, but also favorable visual effects? First, it is necessary to objectively evaluate the “possibilities” of a room: is it high or low, spacious or similar to a narrow corridor? Immediately you need to decide what nuances you would like to correct. In accordance with the objectives selected tile layout.
If a few basic patterns layouts tiles in the bathroom and toilet.
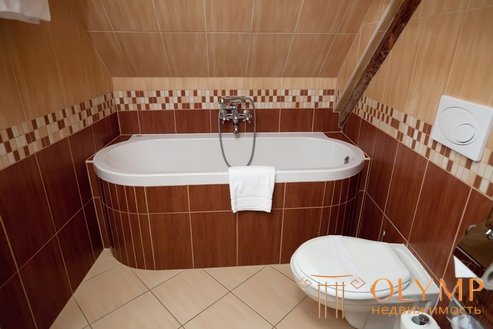
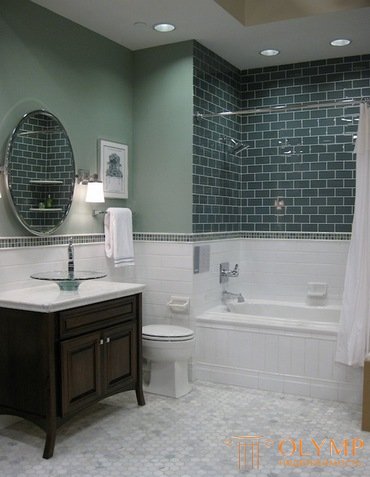
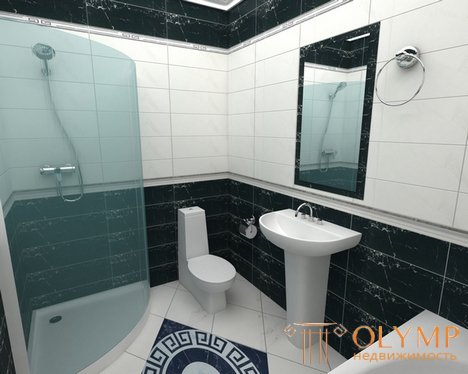
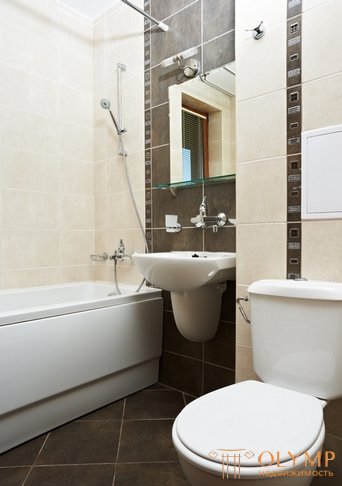
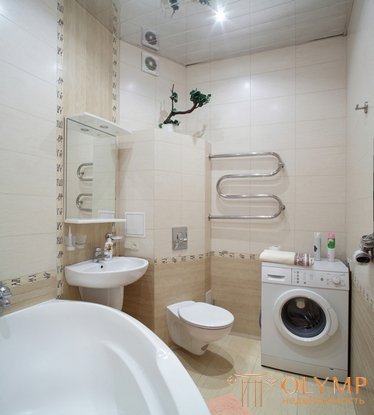
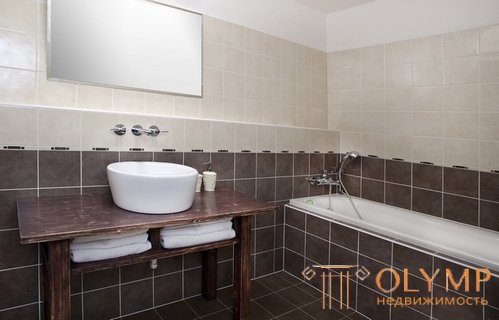
1. As a wall panel. This is a classic solution that is suitable for any bathroom, regardless of its size and style. It reduces the room a little, but adds volume to it. The scheme is simple: about a third of the height from the floor the wall is faced with darker tiles, and above and up to the ceiling - light. The joint can be decorated with a decorative border.
Floors with such a layout may coincide with the color of the “panel” or contrast with it - this is a matter of taste.
Bold interpretation - light bottom and darker top. Such a tile layout is successful for narrow and very high premises. A light "panel" at the bottom visually expands the room, and the upper part seems to dissolve.
If the room is very high, you can raise the "panel", that is, put a section of contrasting tiles not from the floor, but from half the wall or even higher.
2. Horizontal stripes. The upper "panel", which was mentioned above, can be attributed to this type of layout. Horizontal stripes are narrow, created from decors, or wide in several tiles.

The strips can be located on the lower third of the wall, in the middle or under the ceiling. Horizontal stripes may be several, and in different colors.
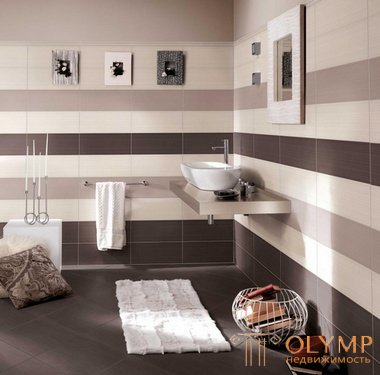
Such a tile layout visually expands the room, adding volume and creating a sense of order.
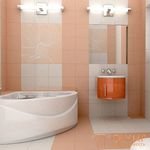
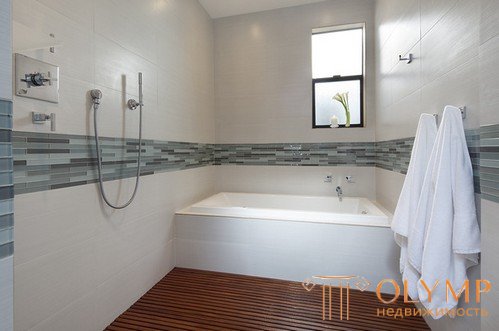
A popular scheme for a bathroom in a modern style: a dark floor, light walls and a wide strip (for example, in the color of the floor), located somewhere at half the height of the wall.
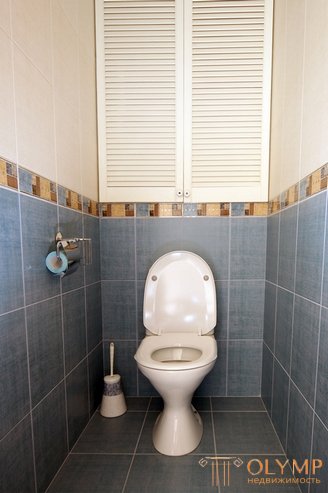
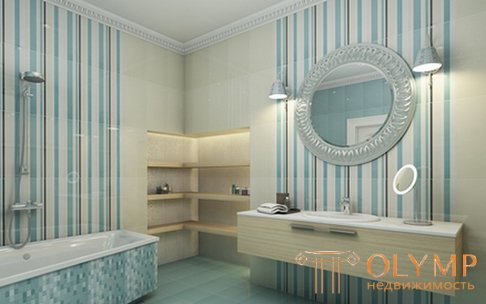
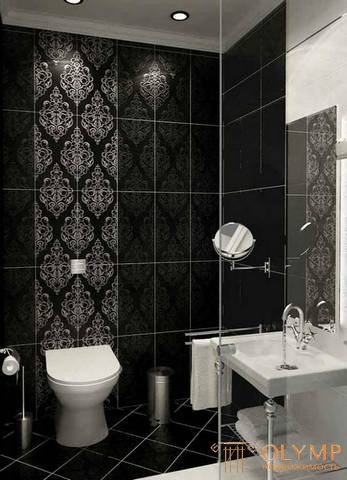
3. Vertical stripes. Such a tile layout visually increases the height, adds some monumentality to the bathroom and the toilet, but makes the room more narrow in appearance. Therefore, for the bathrooms, similar to the corridor, this scheme is not recommended.
However, if you combine two types of layouts - horizontal and vertical stripes - the effect of narrowing can be avoided.
Like horizontal, vertical stripes can be wide and narrow. The length and location of the strips are different:
1. Strip from floor to ceiling
2. Strip "hanging" above the floor
3. The band that ends before reaching the ceiling.
4. Several lanes, starting and ending at different heights.
Vertical stripes, especially multi-level - this is the pattern most often used for modern bathrooms and toilets.
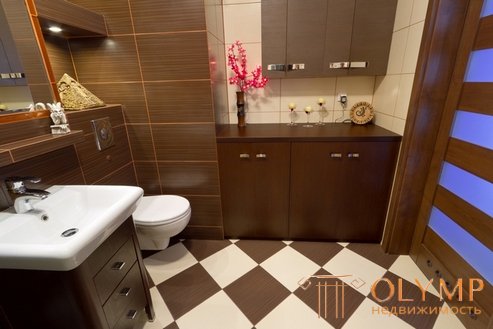
4. Paul with a "curb." Tile, which is laid on the floor, comes to the wall. In other words, on the bottom of the wall a strip is laid out, identical to the floor, one or two tiles high. A simple scheme that makes the room visually a little wider, but lower.
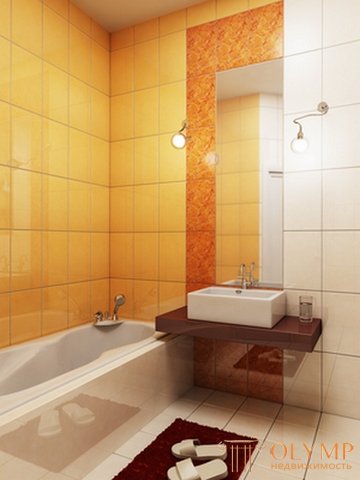
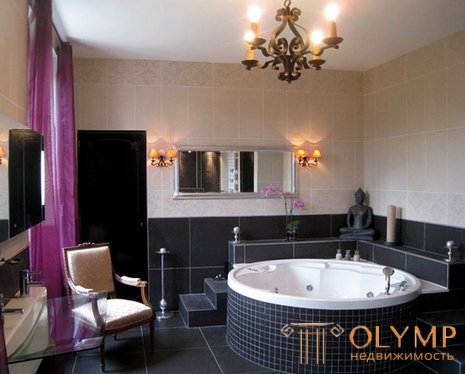
5. Accent fragments. This tile layout is very popular today. However, it is not suitable for every bathroom.
The scheme involves the use of background tiles for cladding most of the surfaces, while the functional areas are highlighted with contrasting or decorative tiles (panels). This allows you to zone the space and organize it. However, in small rooms such accent fragments can create imbalances.
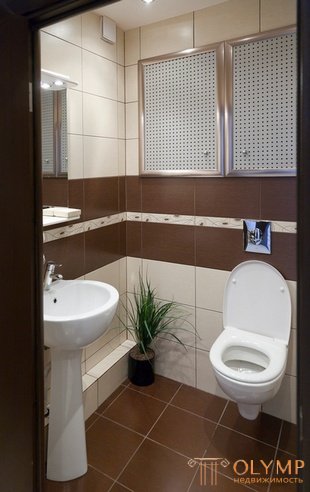
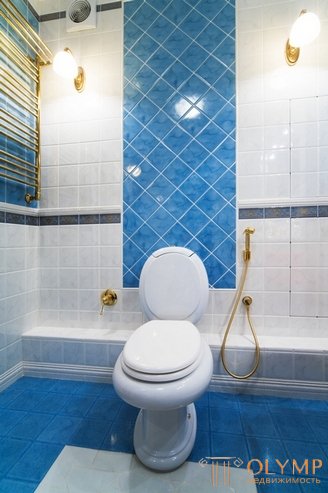
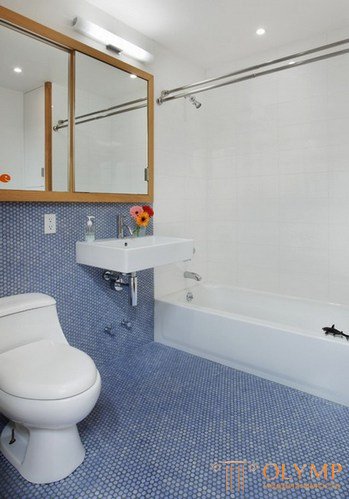
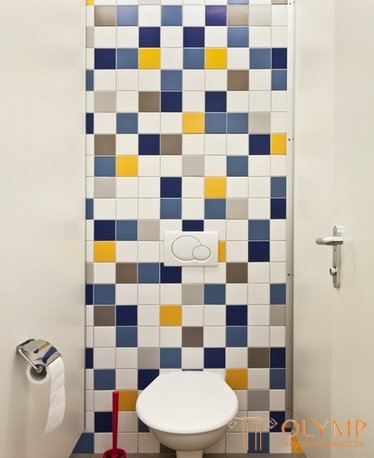
For example, a high lane behind the toilet in a narrow toilet can visually narrow it even more, making the bathroom look like a pipe. If you select several areas in the bathroom, there may be "confusion."
It is not necessary to emphasize in the bathroom, even in very spacious, more than two or three sites. It is possible, for example, to create accent fragments in the area of a washstand, a shower corner and a heated towel rail.
So that the vertical accent portion of the tile does not increase the height of the bathroom, it should not be started from the floor. Or, on the contrary, to affect the floor, but not to bring the "focal" element to the ceiling.
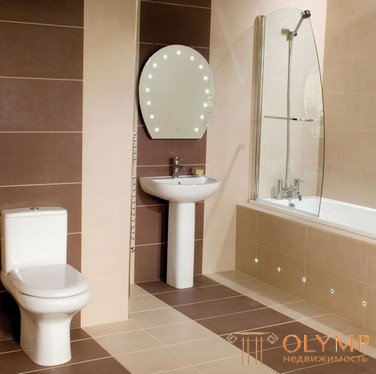
6. Equality of colors. According to this scheme, two or three primary colors are introduced approximately evenly, but not mixed together. One half of the bathroom is finished with one tile, the other with the second, and so on.
The layout of the tile in this case is carried out taking into account the location of the elements: for example, the half where the bath is installed is faced with tiles of the same color, and the opposite wall and areas adjacent to it - the other. One color can be used to highlight a shower zone, another - a moderhod, a third - a “dressing room”.
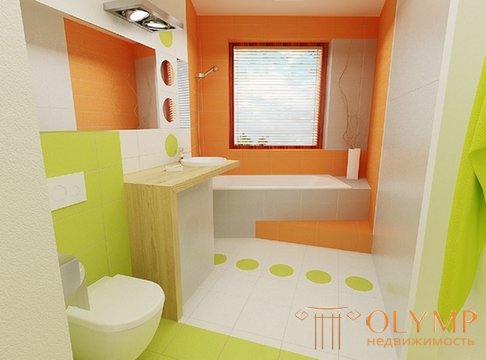
In this case, the floors can be tiled with tiles of both colors, arranged in staggered order or joined together approximately in the middle.
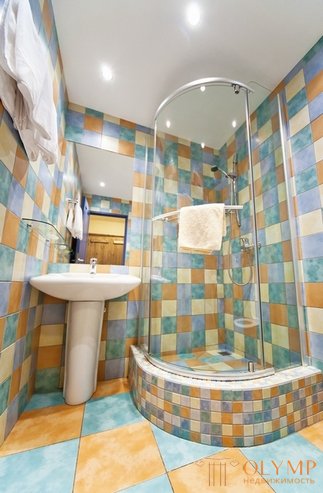
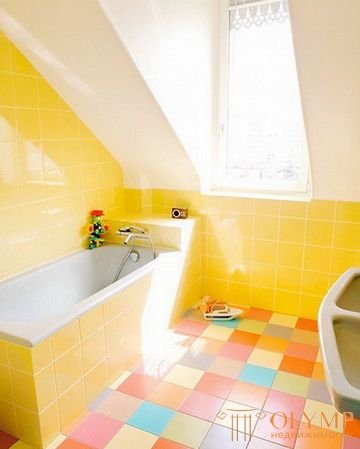
7. “Patchwork” or “Kaleidoscope”. This pattern involves the combination of tiles several colors, alternating randomly or orderly. This is a solution for creative people with a strong nervous system that easily perceive the “creative mess”. The cheerful atmosphere in the bathroom or toilet will charge them with positive energy and create a cheerful mood.
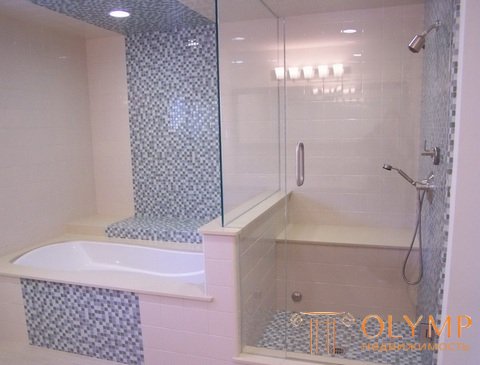
8. "Spray". The main part of the wall is lined with calm monochromatic tiles, and several noticeably prominent tiles are introduced that are randomly located on this serene background. Accent tiles really look like splashes or colored drops. This spectacular technique is best used only in spacious rooms. In a small bathroom, the walls with “splashes” will create a feeling of confusion.

9. "Layering." We gave this name to the scheme implying the use of several of the listed patterns in one room.

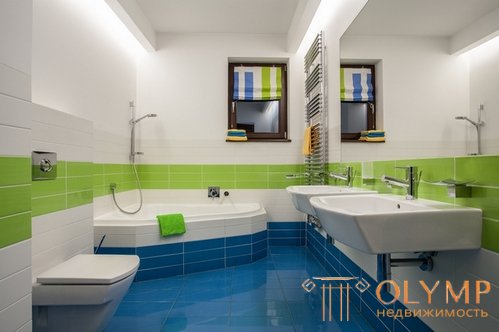
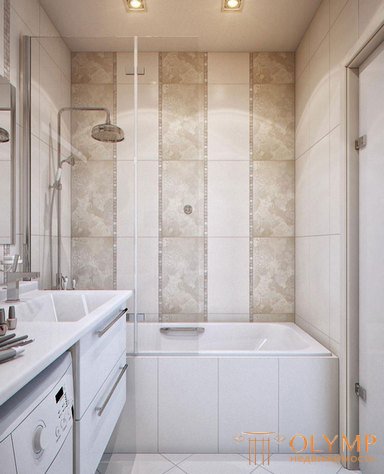
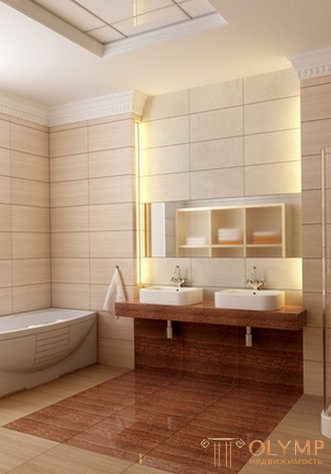
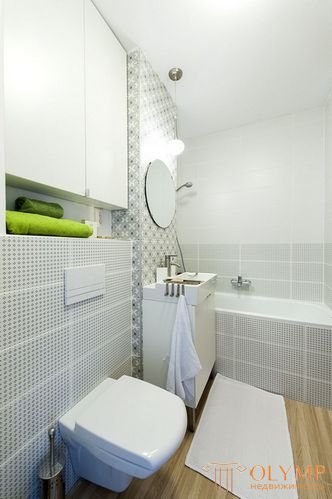
Two types of layouts were used: by panel type and three accent fragments
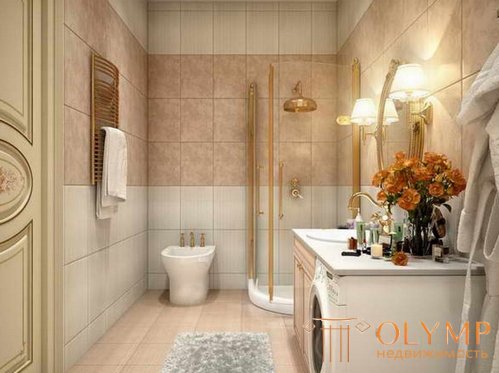
Two types of layouts: panel type and accentuation of the area behind the sink
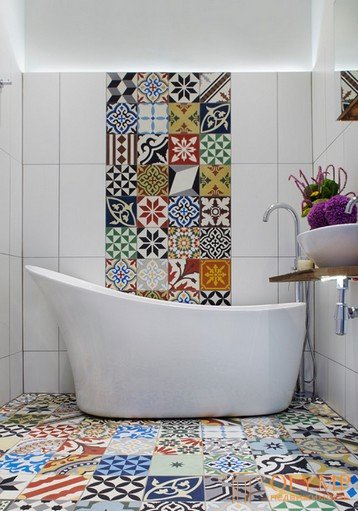
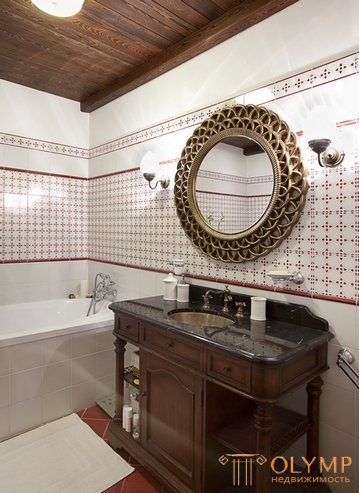
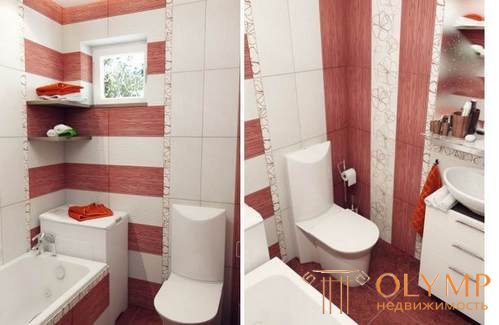
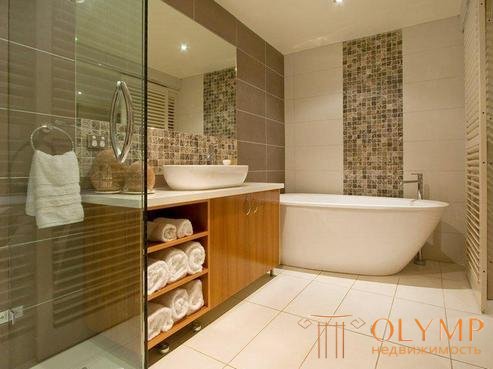
Accent Fragment + Kaleidoscope
For example, the following combined layout can be used in a bathroom: a “panel” along the bottom of the wall, several narrow horizontal stripes, and accent fragments behind a washbasin and a heated towel rail.
The larger the space, the more patterns can be layered on top of each other. And vice versa: in a compact room it is better to stay on one or two schemes, nothing more.
These are just some of the possible layouts. The tile is a “flexible” material in terms of design and allows you to create various geometric patterns and patterns on the floor and walls: diamonds, ladders, ziggurats, triangles, and more. Remember that the smaller the room, the easier it should be tile layout.
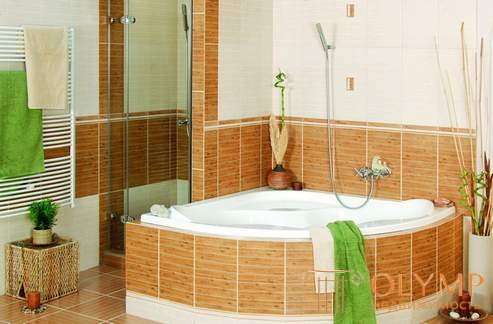
We should also mention the tile, which is faced with the so-called "screen" for a bath. How to include this site in the general scheme? It is best to veneer the frame in accordance with the main layout template. So, if the decision is made to lay out the “panel” on the bottom of the wall, then the frame in which the bathtub is embedded can be “sheathed” with this “panel”, that is, lined with the same tile. If the walls are decorated with vertical stripes, the bath frame is lined with background tiles and is complemented by a similar strip that can move to the floor and wall. According to the pattern "equality of colors" the box under the bathroom is faced with tiles corresponding to this half of the interior. In addition, the frame can be accent, background or merging with the font itself.

Что бы оставить комментарий войдите
Комментарии (2)
с чего начинать ремонт?
Какой ремонт вашей квартире необходим: косметический или капитальный Определитесь с дизайном интерьера и планом ремонта Продумайте места расположение мебели. Определить очередность ремонта комнат Ремонт будет производиться самостоятельно или при помощи специалистов Составить список необходимых материалов и инструментов Подсчет расходов Освобождение помещений Ремонтные работы следует начинать с самых пыльных: Разметьте места установки дополнительных розеток, Прежде чем ремонтировать стены, полы, потолки, необходимо проверить их состояние лазерным или водяным уровнем. Затем выполяется ремонт потолка, стен, пола. Вначале выполняются работы с использованием шпаклевочных, цементных, гипсовых смесей. Затем приступают к работам по монтажу пола, дверей, откосов. Завершающие ремонтные работы: Оклейка или окраска потолка. Оклейка обоями или окраска стен. Установка полового покрытия. Монтаж плинтусов,порожков, наличников.