The rack can be used for zoning rooms and storing various things (books, CDs, souvenirs, toys, etc.). To save money, you can make a rack of drywall with your own hands. The construction itself is not very complicated, so it can be easily assembled if the hands grow from the right place. Using the same plasterboard sheets will make the rack more light and decorative.
Content: [hide]
You can roll up your sleeves and get to work, but in the process the question arises, what exactly are we collecting? In order not to fall into such awkward situations, you need to decide in advance on the purpose of the assembled structure. One thing if the rack will zone a large room and it will accommodate small souvenirs. It is quite another thing if you need a structure for storing kitchen utensils and appliances. From the purpose of the rack will depend on its shape. Profiles of different thickness can be used, different drywall, and the step of fixing parts will be different.
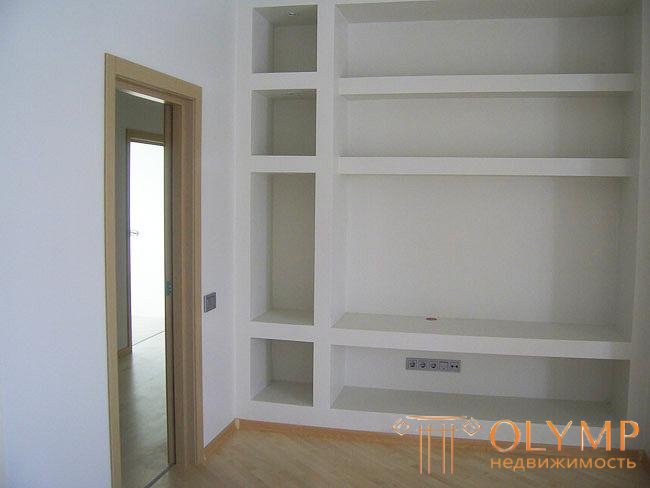
Shelves shelves can have very different shapes.
If the structure has to withstand heavy loads, then a more durable gypsum plasterboard (18 mm thick), as well as a thicker profile, can be used. If the loads are minimal, then the usual gypsum board with a thickness of 12.5 mm paired with standard guides will suffice. Despite all this, going to a rack from a drywall profile is quite simple with your own hands.
If the rack has many curvilinear forms, then for its covering it is best to use more bending drywall thickness from 6 to 9.5 mm.
Even before proceeding to the workflow, it will be necessary to stock up on the necessary materials.
For high-quality work with all these materials, special tools and devices are needed. May need:
From the list above, it is clear that before you make a rack of drywall, you can stock up on both more expensive and cheaper set of tools. In the first case, the work will go faster and easier, but in the second case it will be possible to save on expensive tools.
Also required tools and materials for finishing. These are spatulas, putty, reinforcing mesh, corner, primer and roller. But this is a completely separate story.
A drawing or sketch of a future construction will greatly simplify its assembly. If the paper shows what a drywall rack will look like and have all the dimensions, then the workflow will be much simpler. This is especially true of complex structures with many shelves, niches and figured elements. If there is a classic rack of plasterboard in the form of racks and even shelves between them, then you can do without a sketch.
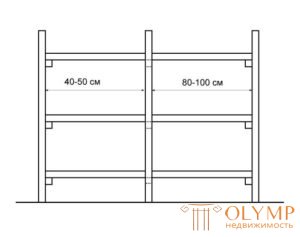
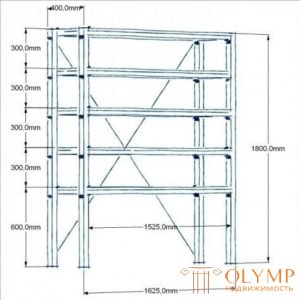
Another important point is the assembly option. The fact that the rack can be assembled in the middle of the room, and it must be sheathed on all sides, and can be assembled right next to the wall. In the second embodiment, the design can be assembled simultaneously with a wall of plasterboard, and can be mounted separately against the wall. How to make a rack from the profile for drywall do it yourself up to you. If the rack is made at the same time as the wall, then it is made in the form of niches.
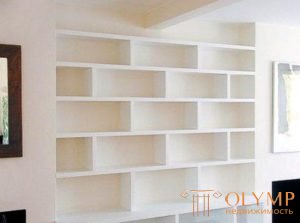
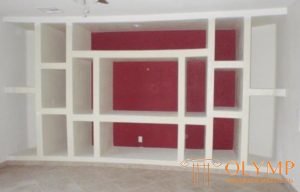
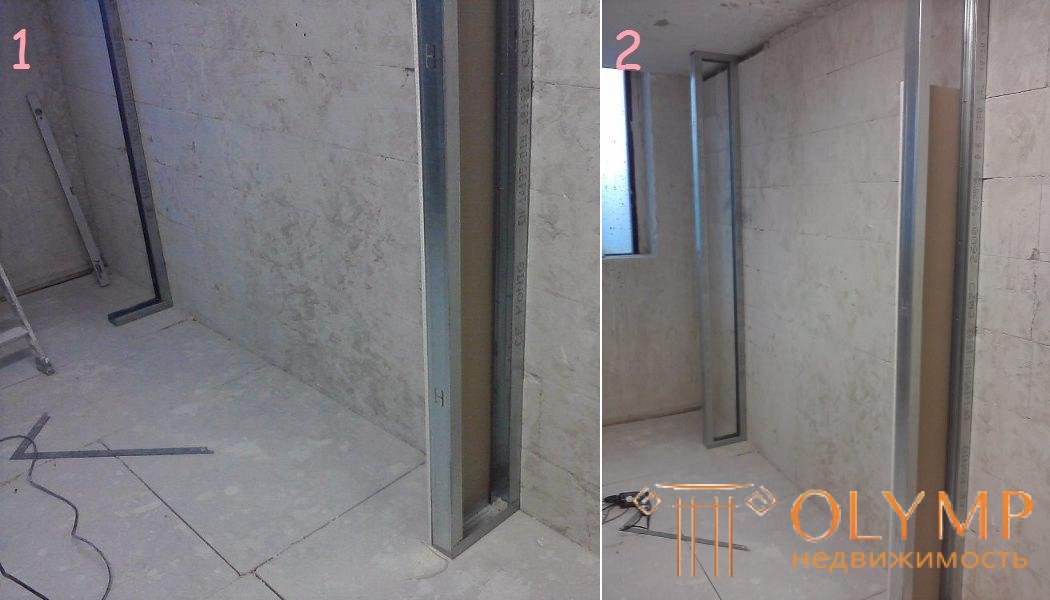
We will consider the option of assembling the rack close to the finished wall. Having an idea of how the work can be done in the simplest case, you can easily understand how to build a rack in other conditions.
The most reliable is the frame that is attached to the maximum number of surfaces. You can assemble various frames that will not be attached to the walls in the room or to the ceiling, but the more mounting, the more reliable the design.
You can buy several different profiles, some used as guides, others as racks, and others as jumpers. But do not bother so much, because the whole structure can be assembled from the usual three-meter guide profile 50/40. It is reliable enough to cope with the tasks assigned to it. Yes, and novice the less different materials, the easier it is to work.
Before the assembly of the frame, you can make a layout on the floor and ceiling. This will greatly speed up and simplify the work.
The height of the rack when assembling the frame does not play any role. As for the depth, it should not exceed 50 cm, otherwise additional supports will be required. The width is a bit more complicated, because everything depends on the severity of the things under which the rack is made of drywall with your own hands.
The side walls of the rack may not be adjacent to the wall of the room
The first thing going to the side walls. If the rack is planned to be wide, then you also need to create internal walls-partitions. The outer wall is created as follows.
By the above method, a second wall of the rack is created, as well as as many partitions as required by the design feature.
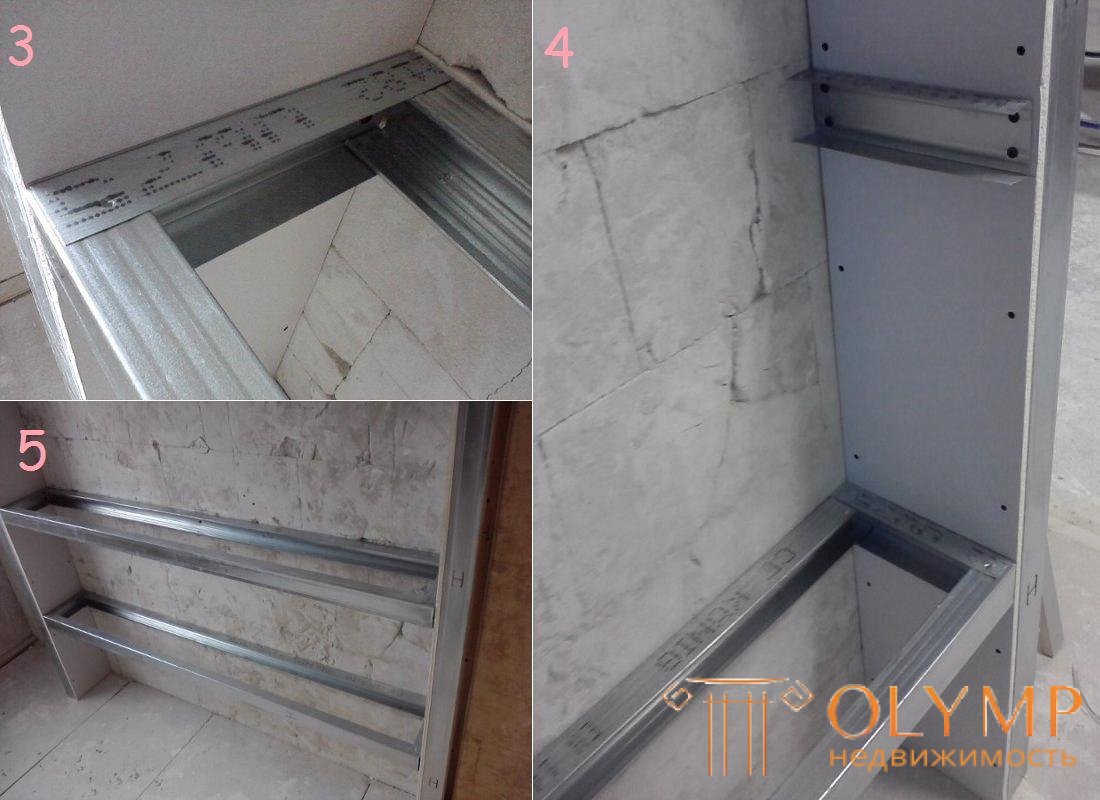
The easiest option to create shelves
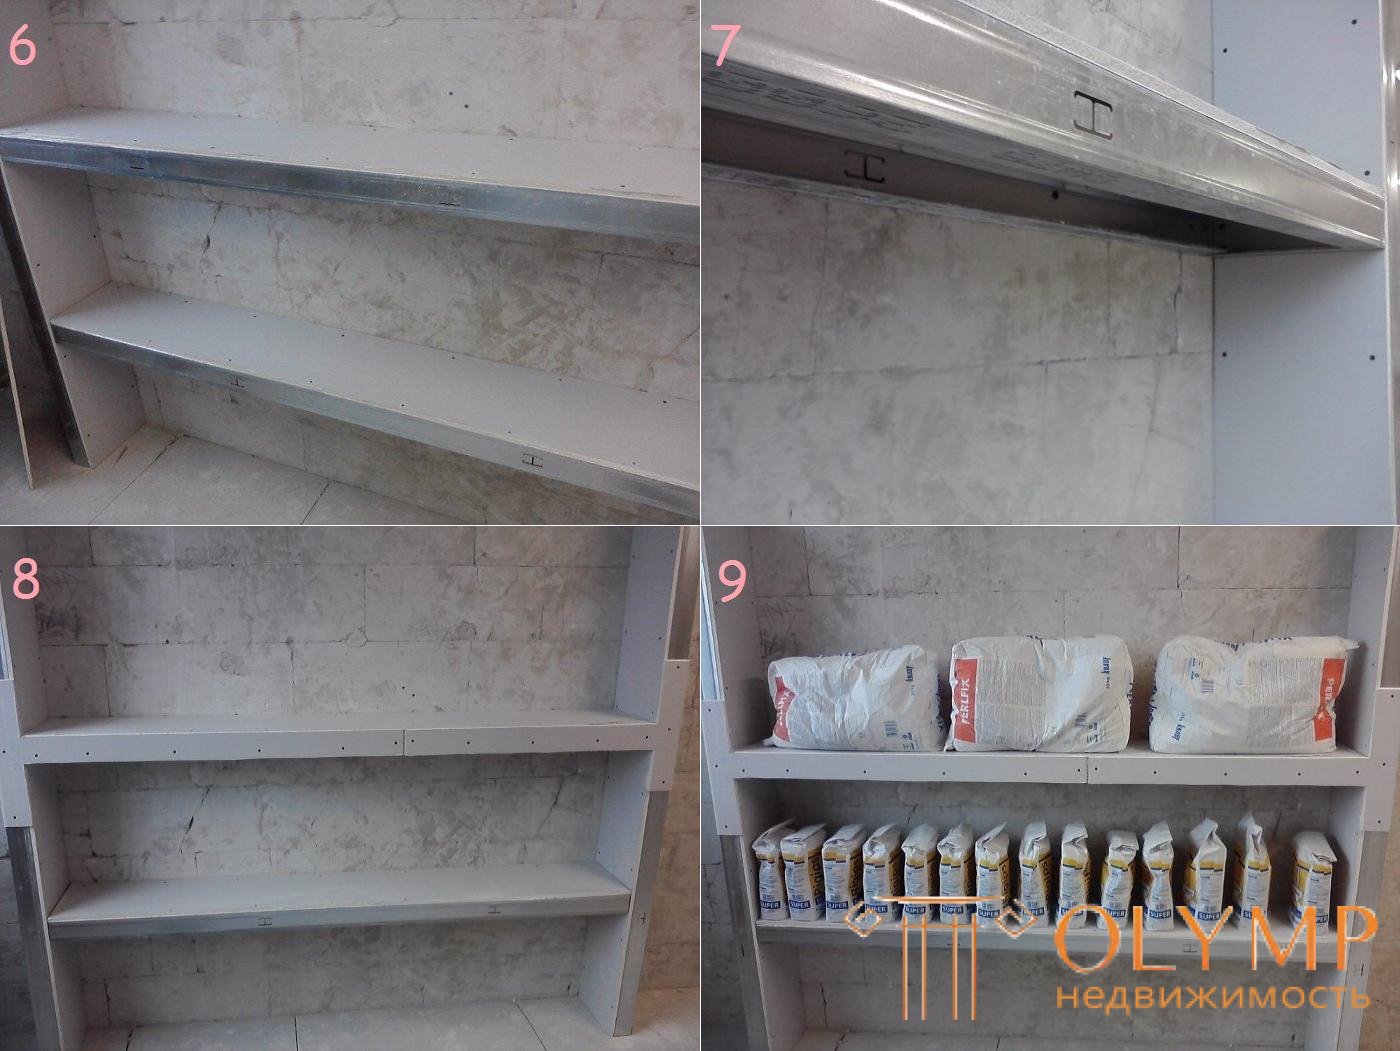
There are two ways to assemble a rack of drywall with your own hands. These methods differ in the time when shelves are installed. They can be mounted together with the frame, and can be installed after plating the frame with drywall. In the first case, it will be necessary to cut horizontal jumpers that will interconnect the walls and partitions. These jumpers are trimmed and installed from left to right so as to create a shelf plane. Then the whole structure is sheathed with plasterboard from all sides.
If the rack is made in a room with high humidity, then drywall should be moisture resistant. In some moments, you need to use fire-resistant gypsum board, but in most cases you can take the usual wall plasterboard.
The second method involves the plating of the plasterboard of the created shelving, and then the installation of the shelves. In this case, after plastering the plasterboard in a rack on the site of future shelves, profile sections are screwed with their backs to the gypsum board. They are fastened with screws not only to the drywall, but also to the jumpers that were installed earlier. Now, one more front profile will have to be attached to the left and right profiles with a void inside the rack (the profiles are still fixed with the help of a cutter or metal screws). Now the profiles are sheathed with plasterboard from the bottom, top and front.
In both cases, the rear profile that forms the shelf is attached to the wall on the dowel. With this mount it will be possible to place even very heavy objects on the shelf.

Rack shelves can withstand loads up to 30 kg
Regardless of the method chosen, the rules for fixing drywall remain unchanged. It is important to properly cut the sheets to the desired size. It is much easier to work with small pieces than to cut the GCR in place. The material is fastened to the screws, which should be used in the corners and in the places where the gypsum board is in contact with the metal profile.
The standard fastening step is 15 cm. At the same time, it is desirable to slightly sink the heads of the screws into the gypsum board so that they do not stick out and do not pierce the material. For this purpose, you can use a special bit on the screwdriver.
In fact, the rack of plasterboard is ready and it remains only to carry out plastering work, as well as to carry out the finishing work at its discretion.
It is worth noting that the frame can be assembled on the floor, and then bring it to the desired place, where to install. How to do this is shown in the video.
Что бы оставить комментарий войдите
Комментарии (0)